Category: Lab Software
-
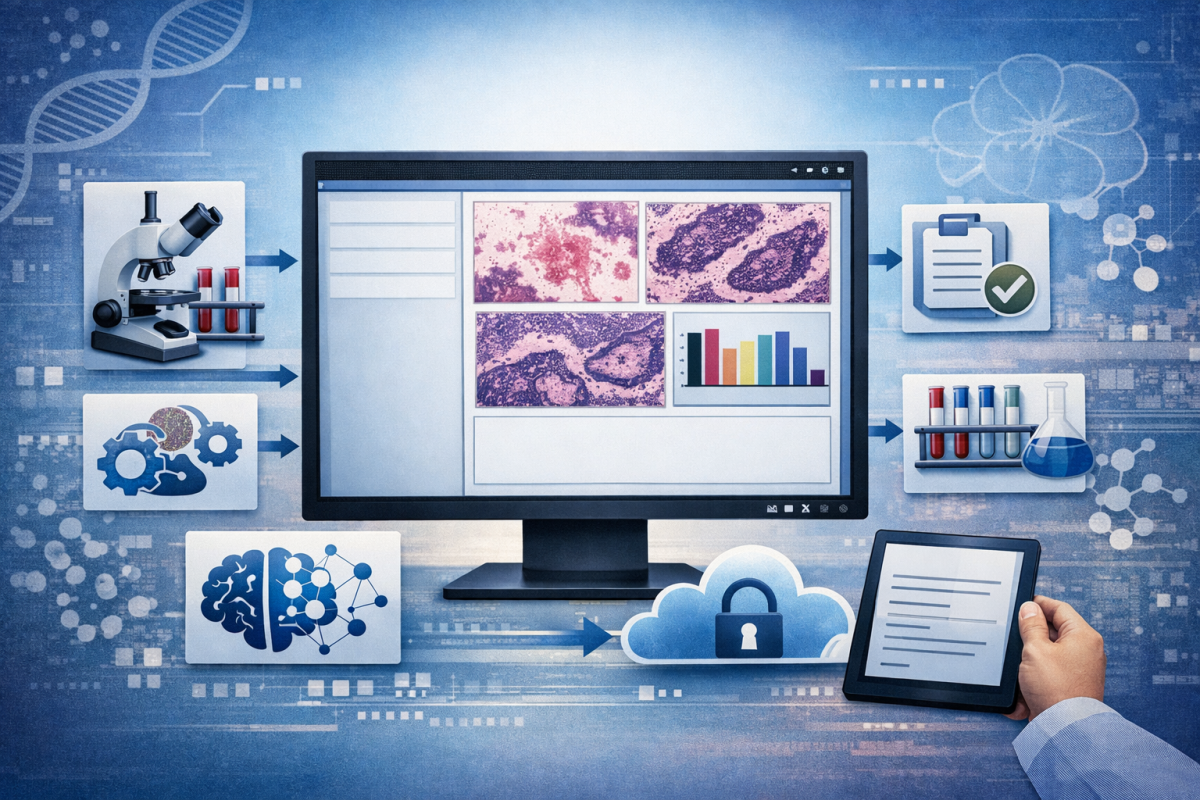
Advanced Pathology Reporting Software for Diagnostic Labs: Kalcee Lab Solutions
Managing pathology reports manually can be time-consuming and error-prone for diagnostic laboratories. As patient volumes increase, labs require a smart and efficient pathology reporting software that can automate report generation, streamline patient records, and ensure accurate test results. This is where Kalcee Lab Solutions comes in. It is a modern pathology reporting software designed specifically…
-
Advanced Diagnostic Lab Billing Software By Kalcee Lab Solutions
Managing billing and reporting in a diagnostic lab can be challenging. From handling multiple test packages and patient records to generating accurate reports and sharing them quickly, laboratories require a streamlined digital system to ensure efficiency. Manual billing systems or scattered tools often lead to errors, delays, and confusion. This is where diagnostic lab billing…
-

Why Kalcee Lab Solutions Is the Ideal Clinical Pathology Software For Modern Diagnostic Labs?
Clinical pathology laboratories handle large volumes of tests daily — from blood investigations to specialized diagnostic panels. Managing reports manually can lead to delays, formatting inconsistencies, calculation errors, and poor patient experience. To ensure speed, accuracy, and professional reporting, labs need a reliable clinical pathology software. Kalcee Lab Solutions is a comprehensive lab management system…
-
Struggling with Manual Reports? Switch to Smart Blood Test Report Software With Kalcee Lab Solutions
In today’s healthcare environment, speed and accuracy are critical, especially when it comes to blood test reports. Patients expect quick results, doctors require structured data, and labs must maintain precision and professionalism. Manual reporting methods can cause delays, calculation errors, and data mismanagement. That’s why investing in a reliable blood test report software is no…
-

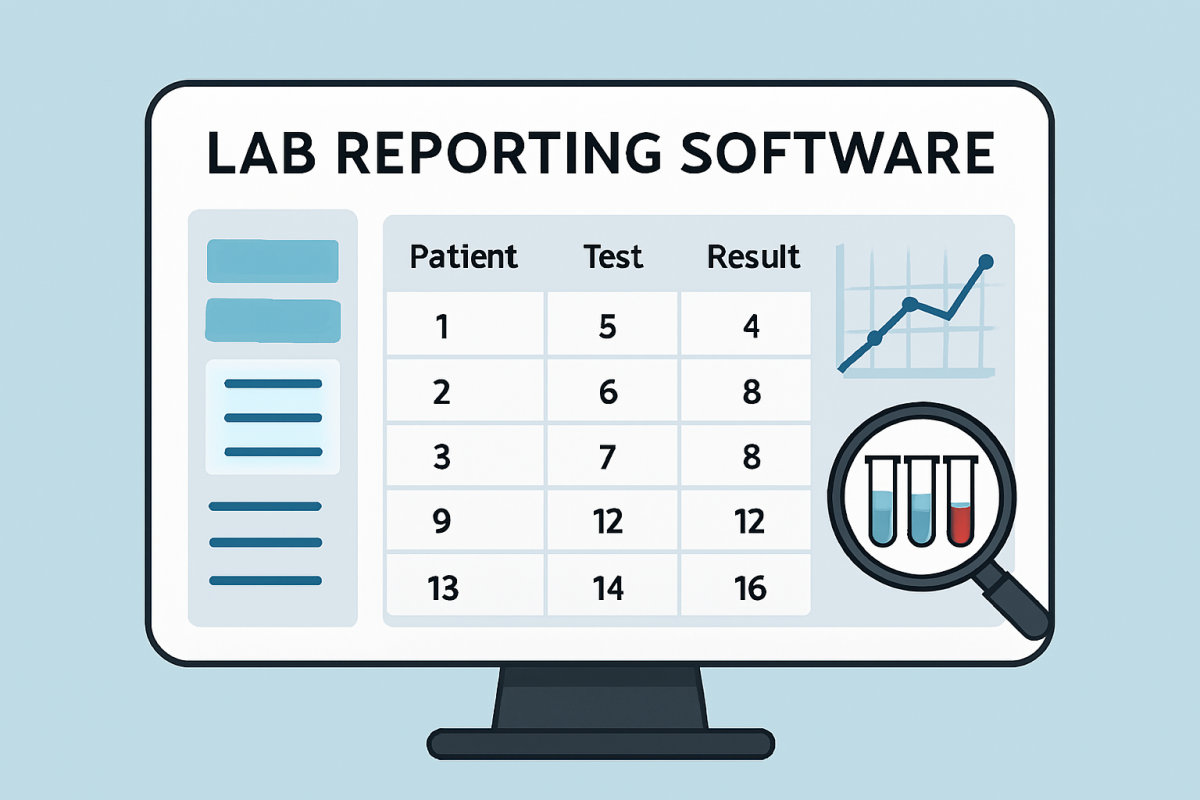
Lab Test Report Software: How Kalcee Lab Solutions Is Transforming Diagnostic Lab Reporting
In today’s fast-paced healthcare environment, diagnostic labs and pathology centers need speed, accuracy, and convenience more than ever. Manual report generation, delayed report sharing, and unorganized patient data can lead to inefficiencies and poor patient experience. This is where lab test report software plays a crucial role. If you are running a diagnostic lab, pathology…
-

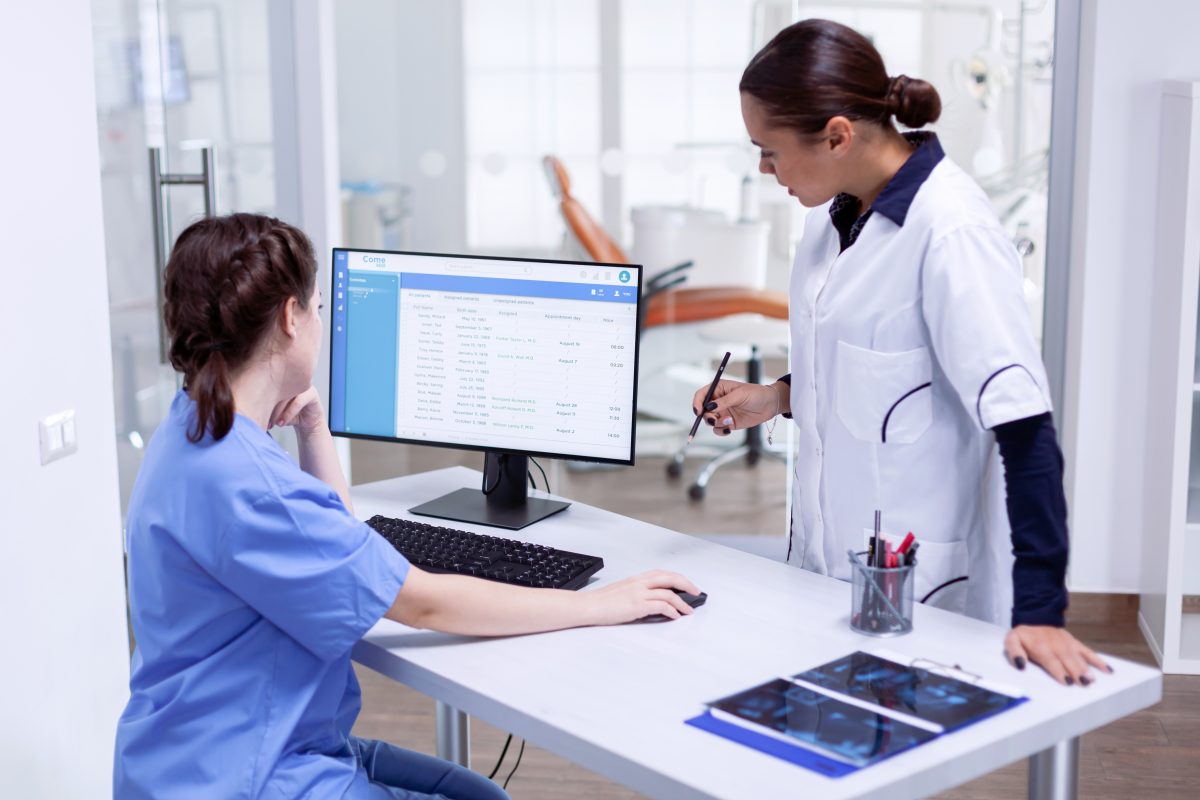
Kalcee Lab Solutions – Smart Laboratory Management System Software for Modern Diagnostic Labs
Modern diagnostic laboratories handle high volumes of patient data, reports, doctor referrals, and test packages daily. Managing these operations manually often leads to errors, delays, and inefficiencies. This is why labs are increasingly adopting a reliable Laboratory Management System Software to automate workflows and ensure accurate reporting. Kalcee Lab Solutions is a comprehensive laboratory management…
-
Kalcee Lab Solutions: Advanced Lab Reporting Software for Fast & Accurate Reports
In today’s fast-paced diagnostic environment, laboratories must deliver accurate test reports quickly. Manual report preparation often leads to delays, formatting errors, and patient dissatisfaction. This is why diagnostic centers are adopting advanced Lab Reporting Software to automate report generation and delivery. Kalcee Lab Solutions is a powerful lab reporting software designed to simplify the complete…
-

Streamline Your Diagnostic Center with Kalcee Lab Solutions: The Ultimate Lab Management Software
In the fast-paced world of modern healthcare, the efficiency of a diagnostic center is measured by two things: speed and accuracy. As patient expectations rise, manual record-keeping and slow report delivery are becoming things of the past. Enter Kalcee Lab Solutions, a robust, all-in-one Lab Management Software designed to automate your workflow, impress your patients,…
-

Kalcee Lab Solutions – The Most Efficient Pathology Lab Software for Modern Labs
Managing a pathology lab manually is no longer practical in today’s fast-paced healthcare environment. From test registration to report delivery, accuracy and speed determine patient satisfaction and operational efficiency. This is where a smart Pathology Lab Software like Kalcee Lab Solutions becomes essential. Kalcee Lab Solutions is a powerful and user-friendly Lab Management Software designed…
-

Streamline Reporting And Patient Management With Kalcee Lab Solutions
In today’s fast-paced healthcare environment, diagnostic laboratories need more than just accurate testing, they need speed, automation, secure reporting, and seamless patient communication. This is where a reliable diagnostic lab software like Kalcee Lab Solutions becomes essential. It is a modern diagnostic lab software designed to help pathology labs, diagnostic centers, and healthcare providers manage…