We can add any new test category in nevino lab software whenever there is need to add new test as per requirement of Lab. So now we learn that how to add new test category in nevino lab software.
Click Here To Buy Nevino Lab Software
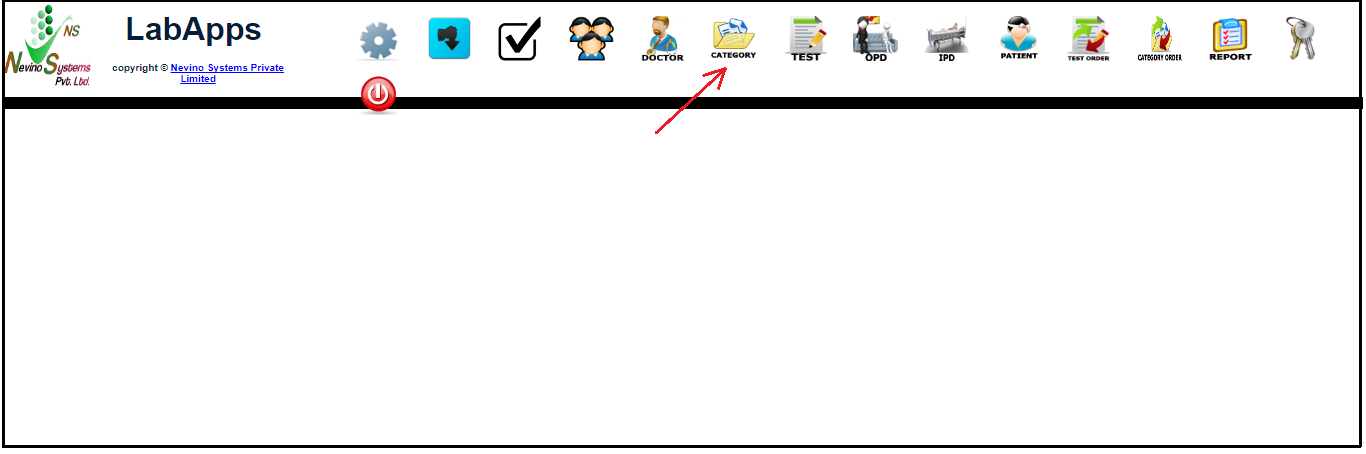
Step 1. On the Nevino Lab Software main window click on ‘Category’ as indicated in the image below.
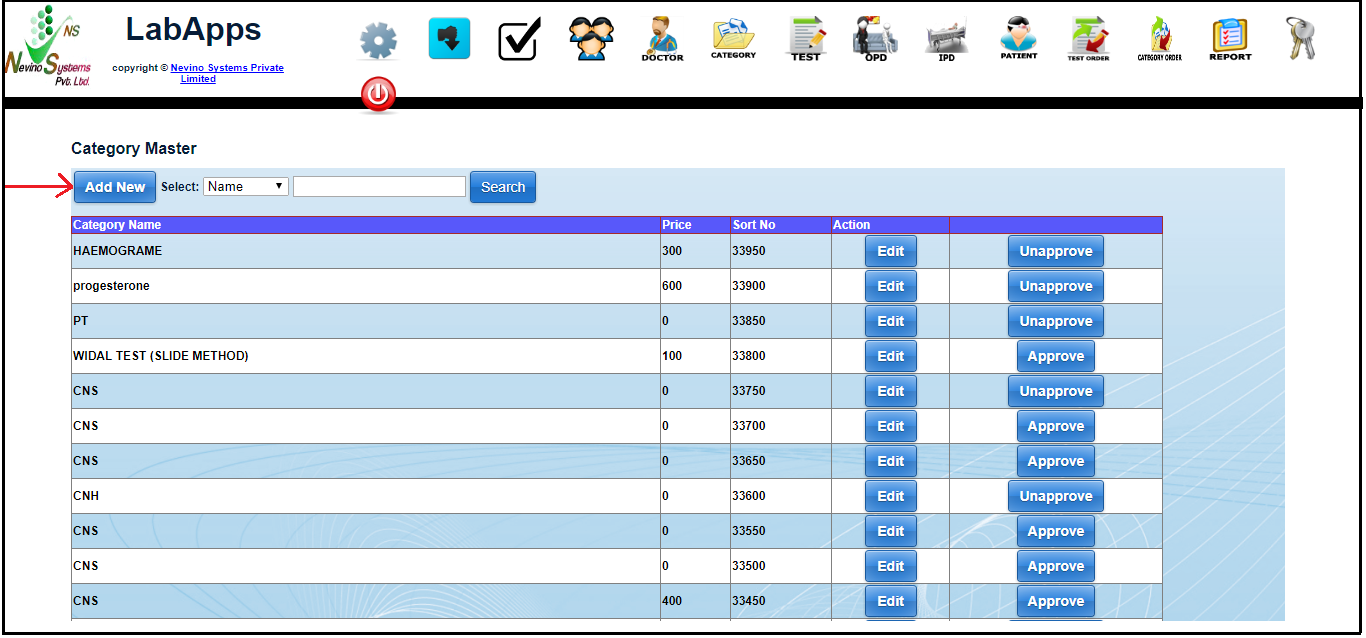
Step 2. Then a new window will open where you have to click on ‘Add New’ as indicated in below image.
Step 3. On the click of ‘Add New’ button a new window will open as shown in image below.
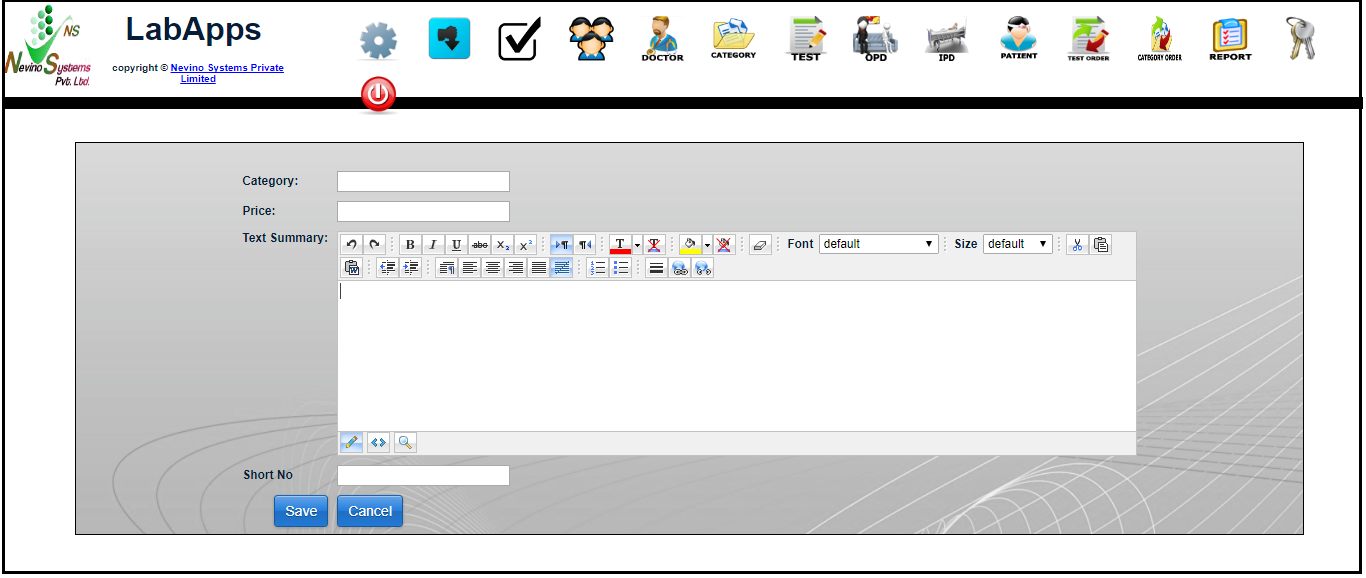
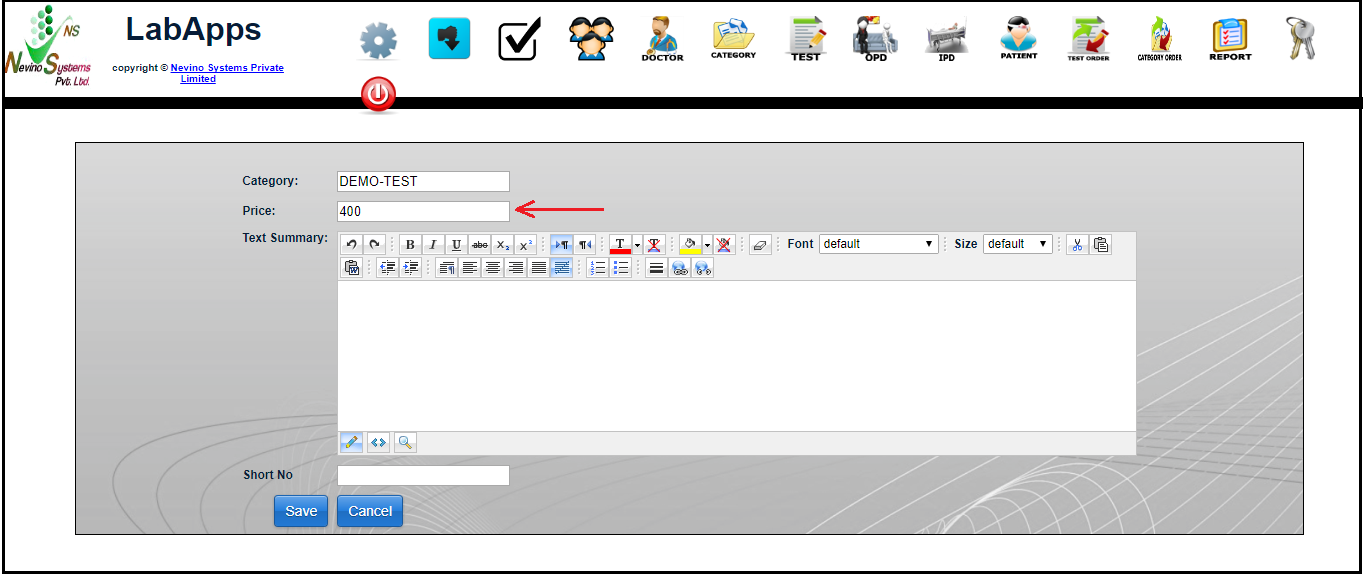
Step 4. First we will enter the ‘Category’ for example we will add category name as ‘DEMO-TEST’ as shown in image below.

Step 5. Next we will add the price of test so for example we will add price as ‘400’ as per below image.
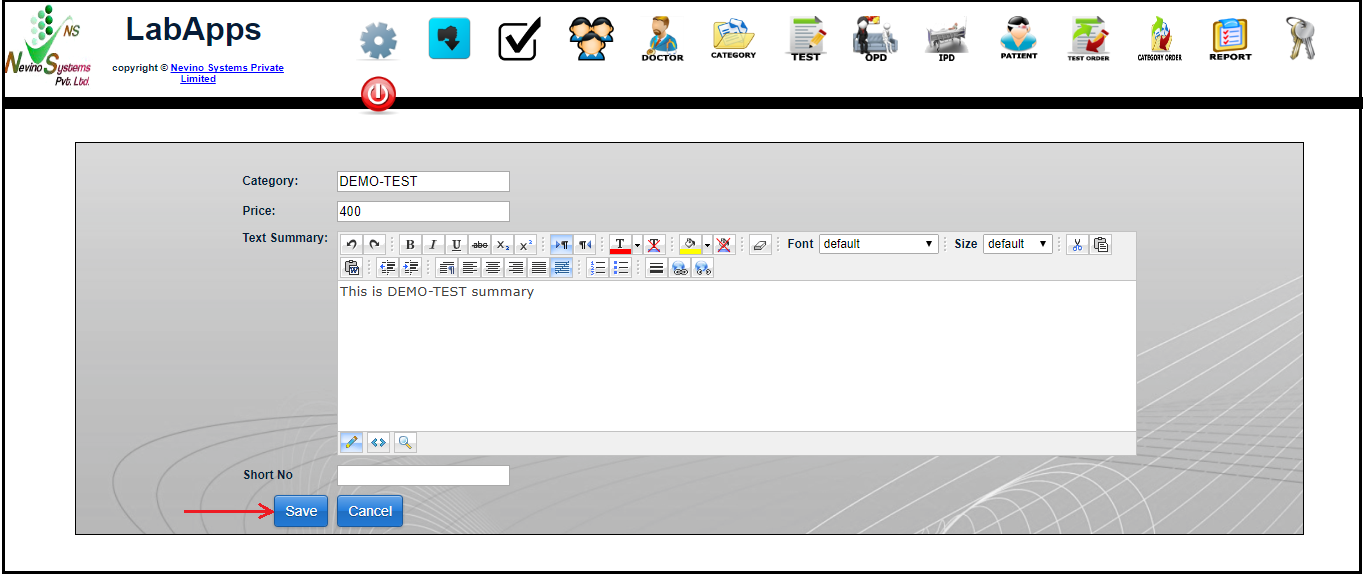
Step 6. Now we will enter the summary for test as shown in below image. For example we will add ‘This is DEMO-TEST summary’.

Step 7. When summary is entered click on ‘Save’ button as indicated in the image below.
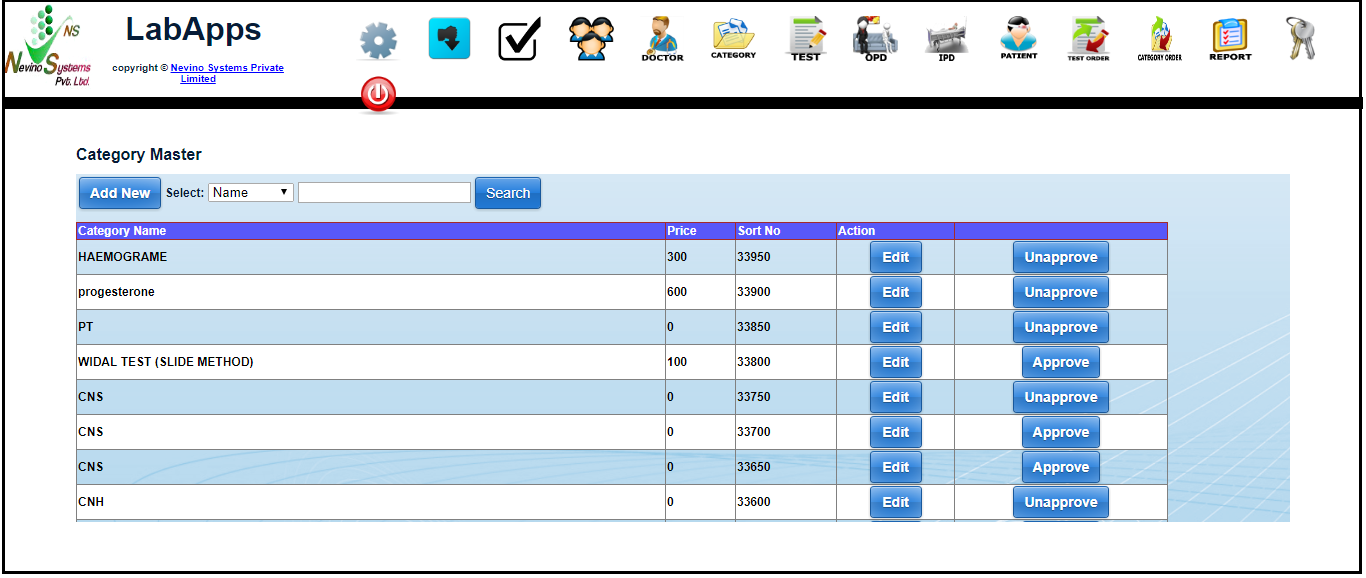
Step 8. On the click of ‘Save’ button all the entered data will be saved and a new window will open as shown in below image.
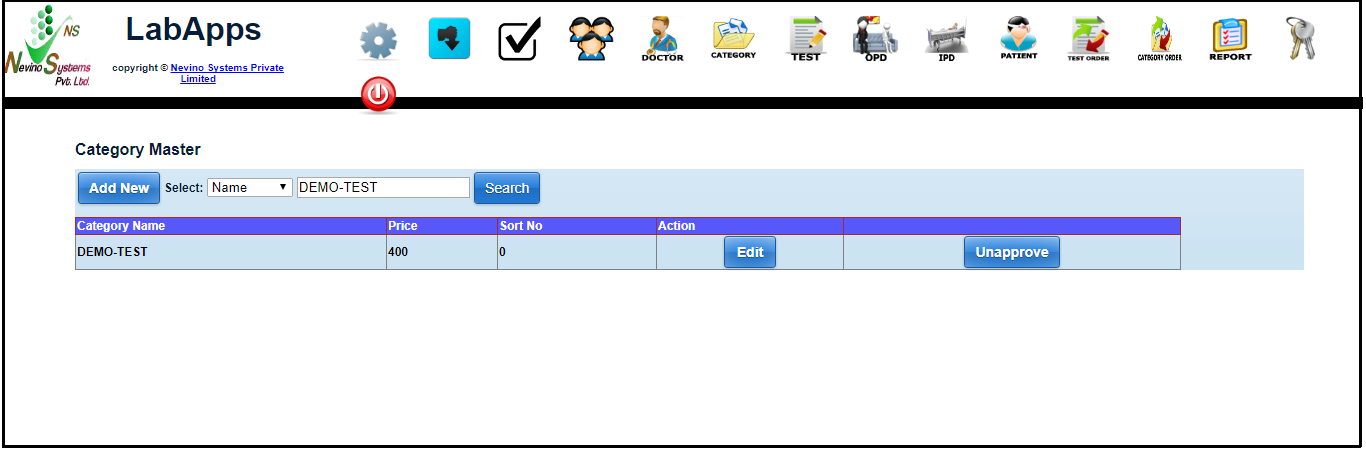
Step 9. If we want to see that whether our new test category is saved then we will enter its name in ‘Search’ box and click on Search button as shown in below image.
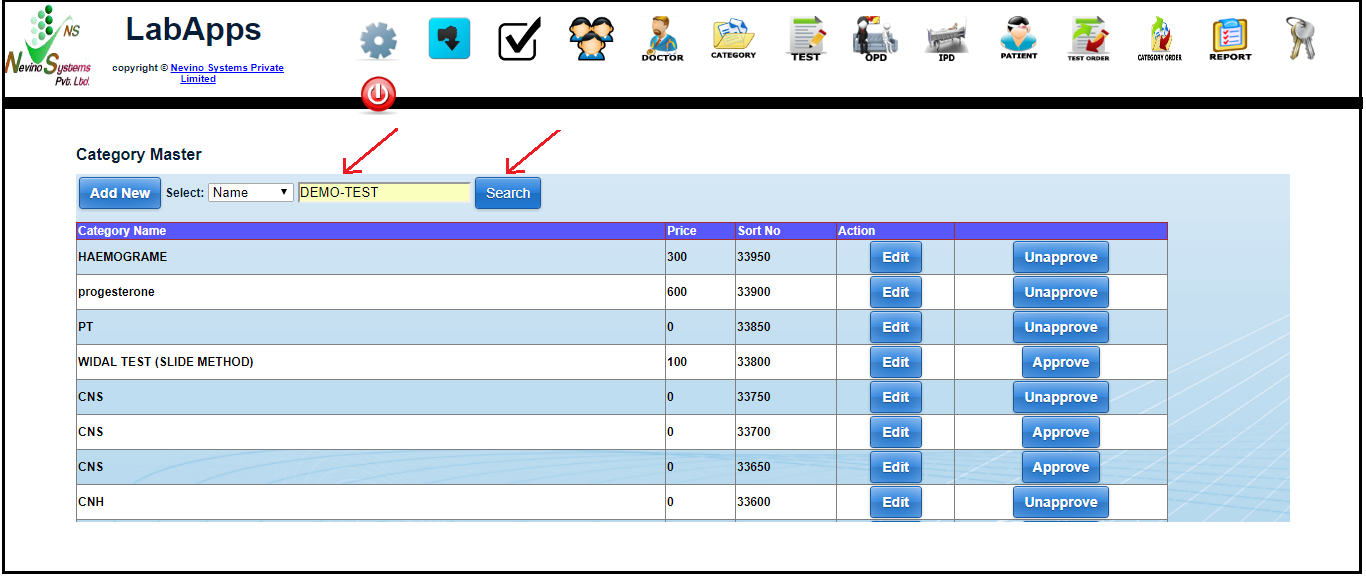
Step 10. On the click of search button the name of new test category will be displayed as shown in below image.