How to add Ledger Group in Nevino Billing Software

Whenever we add Ledger name of any company or firm we need to define its Ledger Group so that account details of that company saved correctly. So now we learn that how to add Ledger group in nevino billing software.


Click Here To Buy Nevino Billing Software


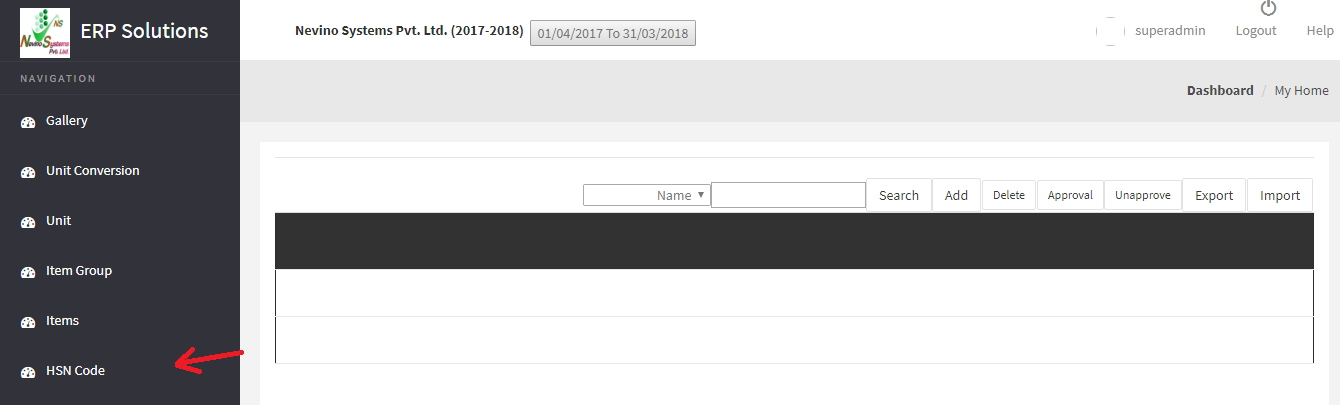
How to add HSN code << Already gone through this page >> How to add item

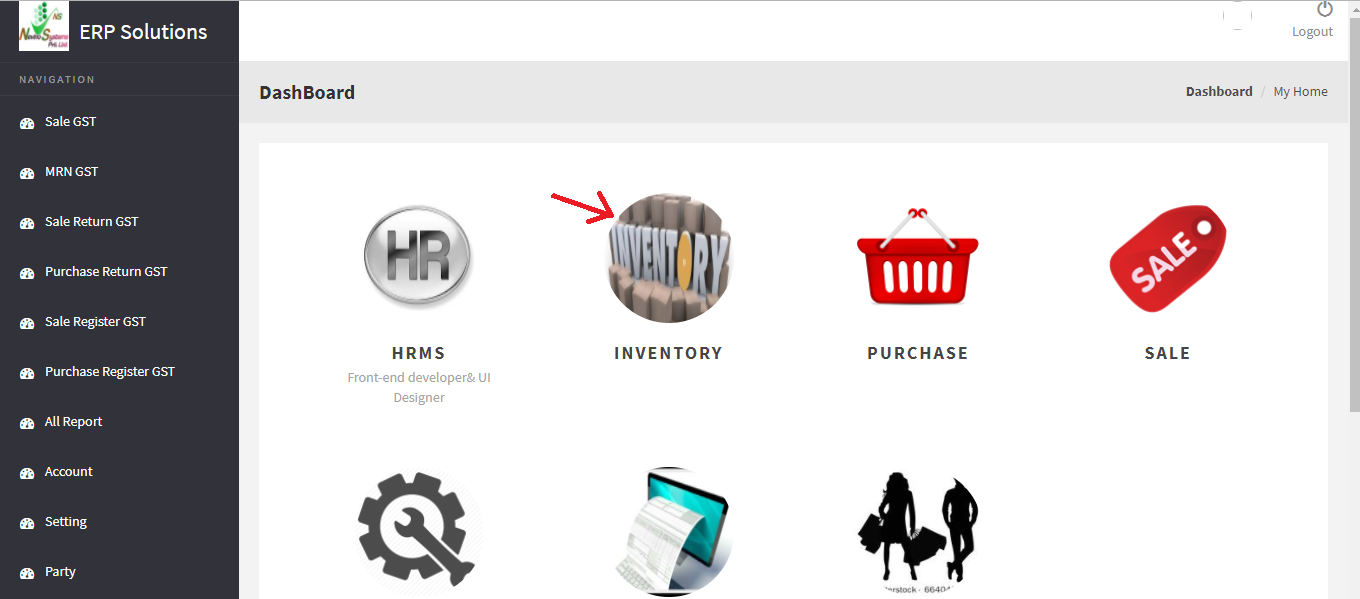
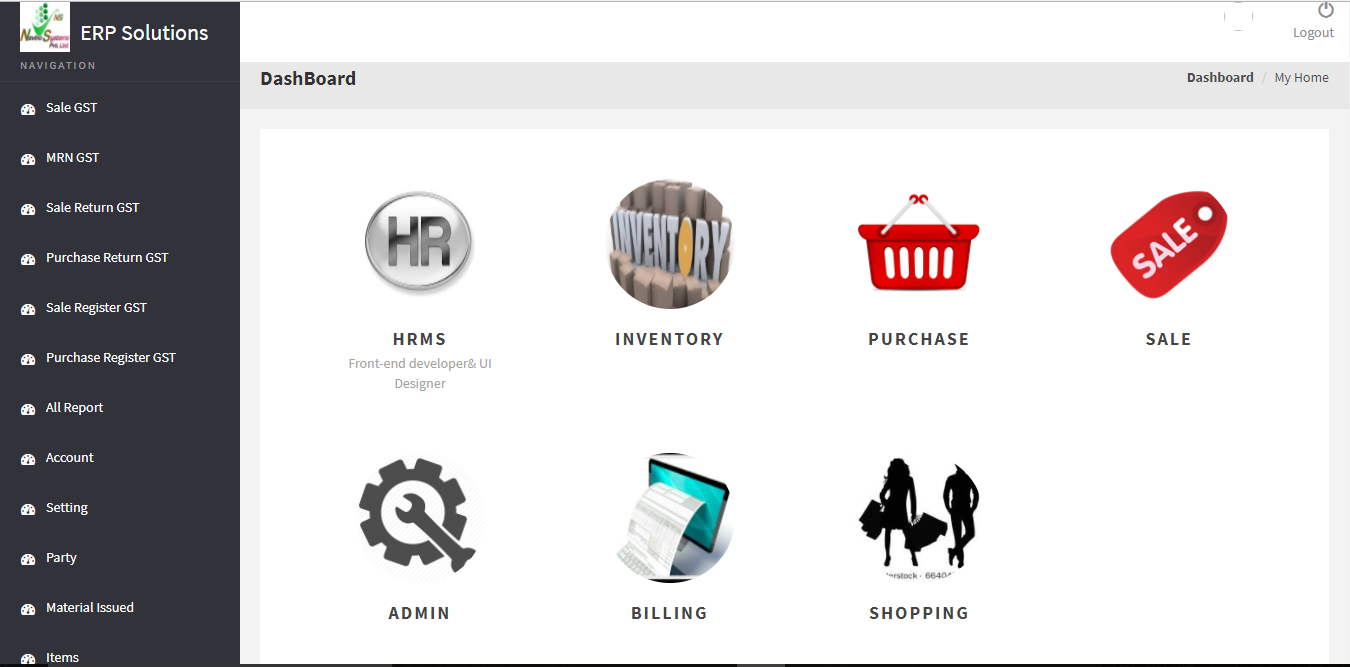
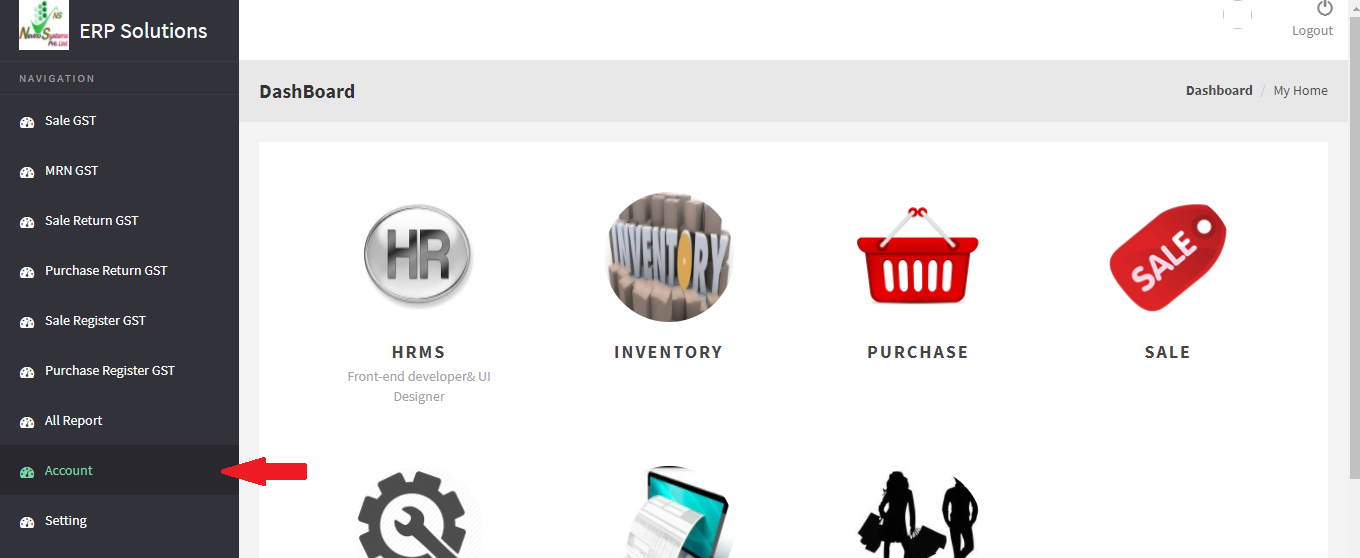
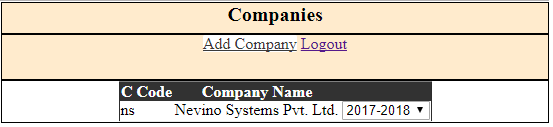
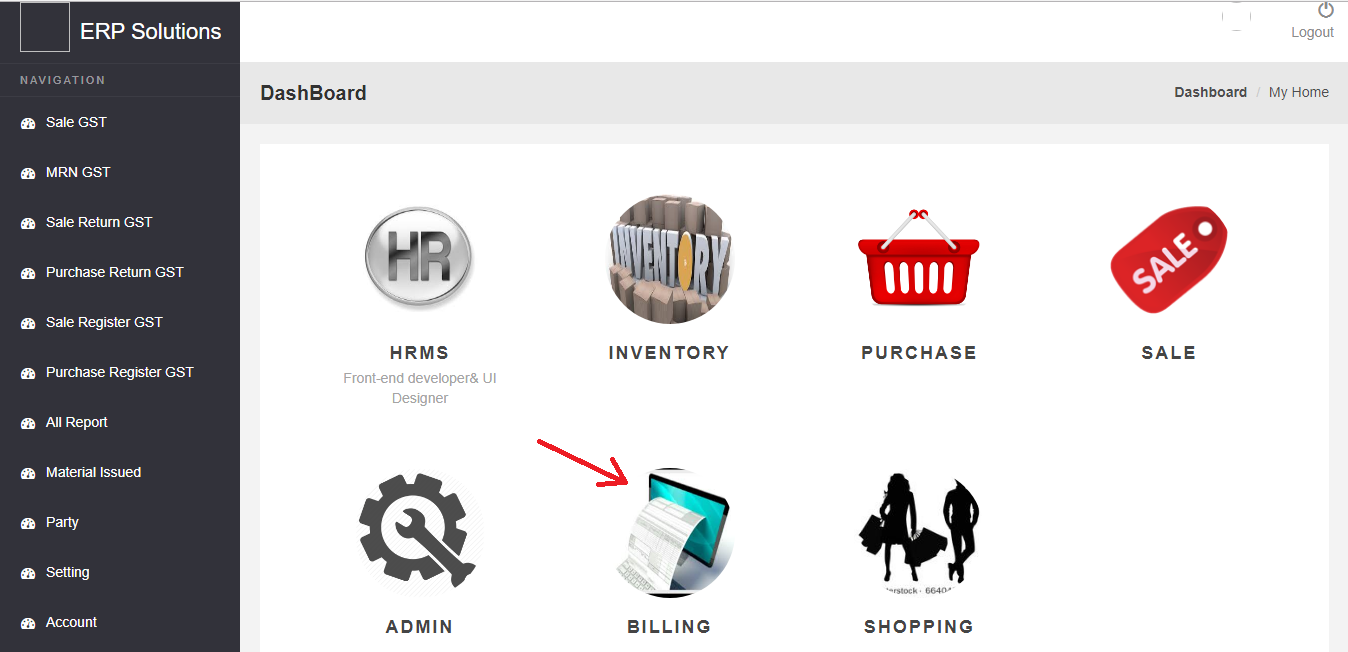
Step 1.From the main page window of Nevino Billing Software click on ‘Billing’ as shown in image below.

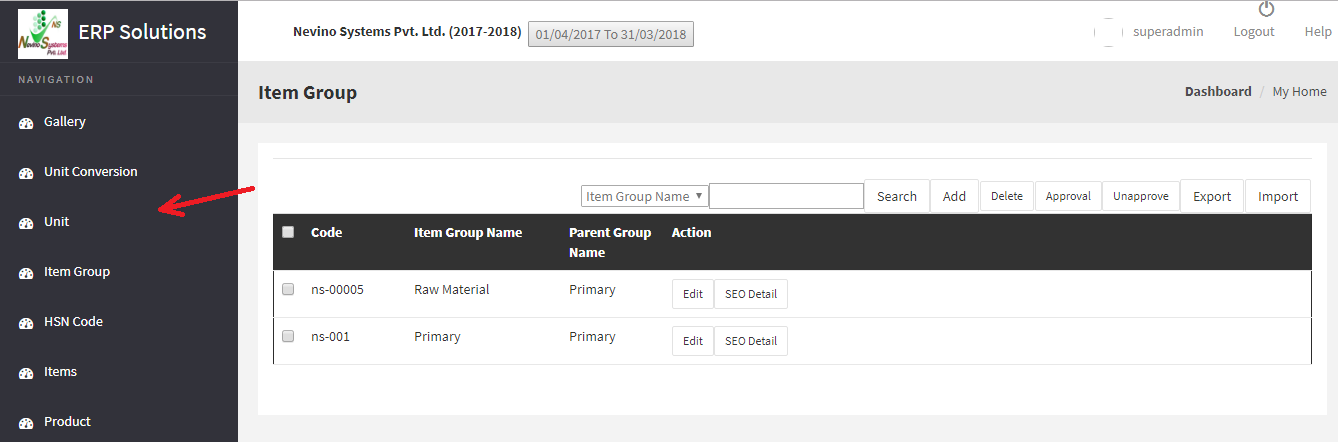
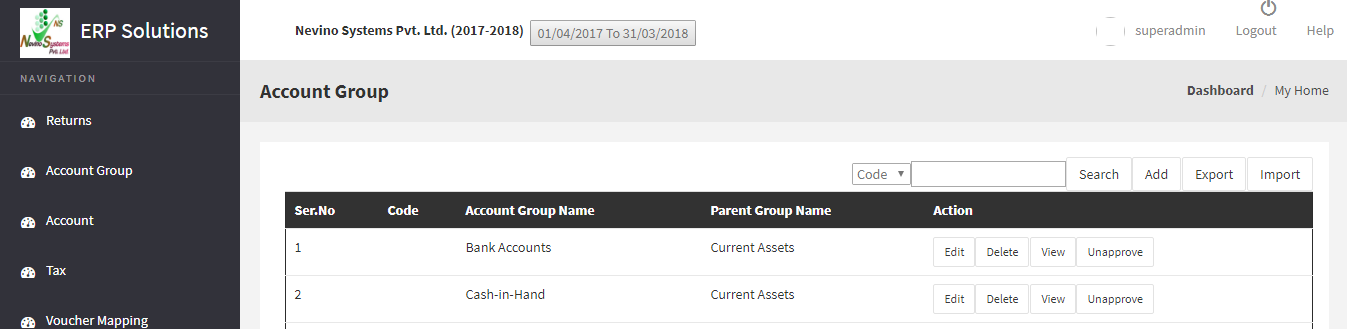
Step 2. Now click on ‘Account Group’ appearing in menu bar on left hand side.

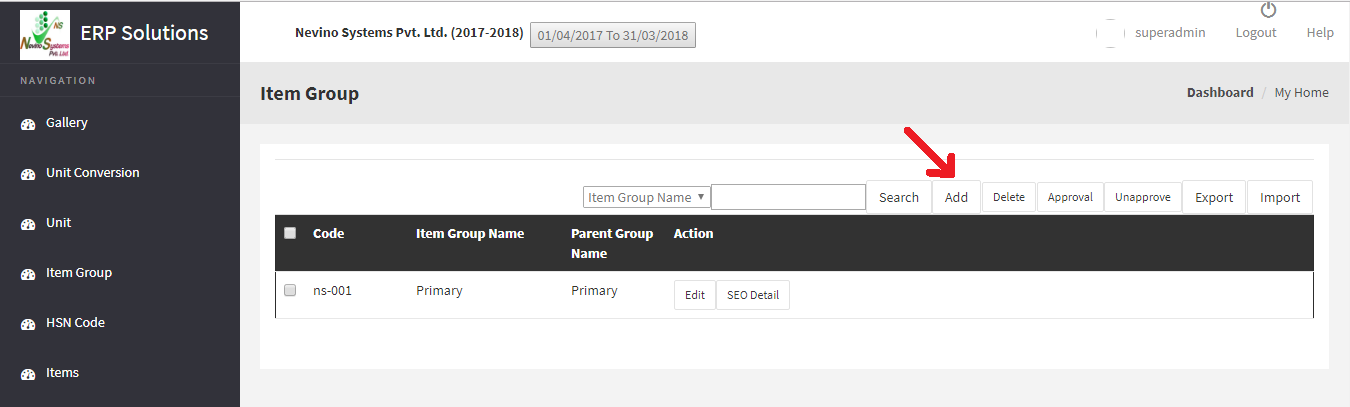
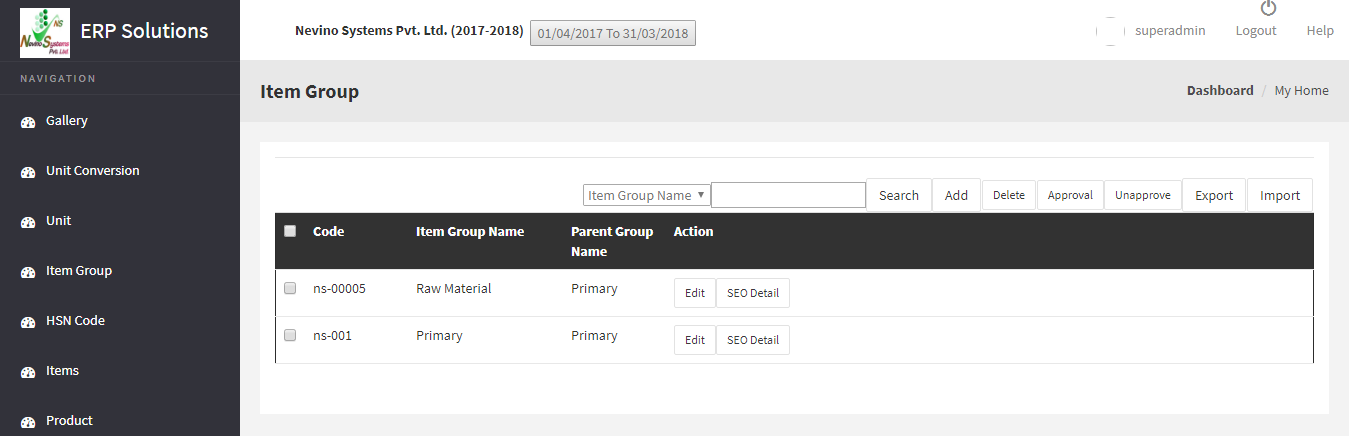
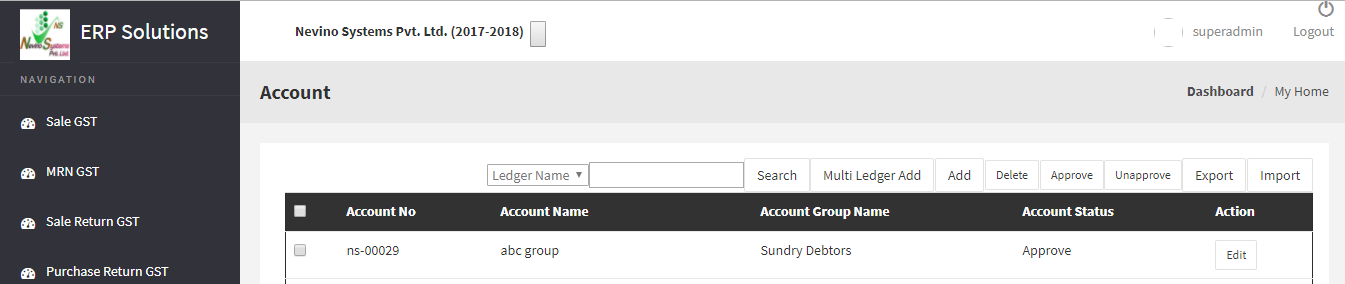
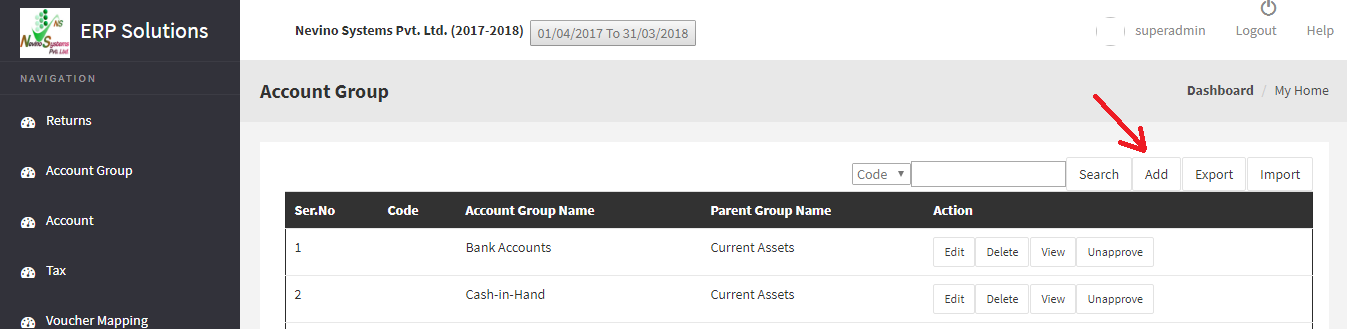
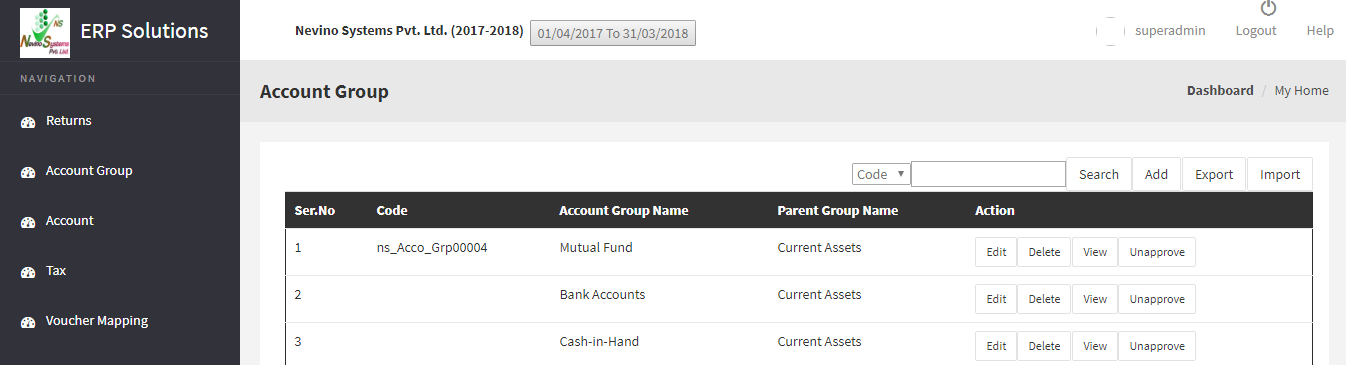
Step 3. ‘Account Group’ window will appear as shown below.

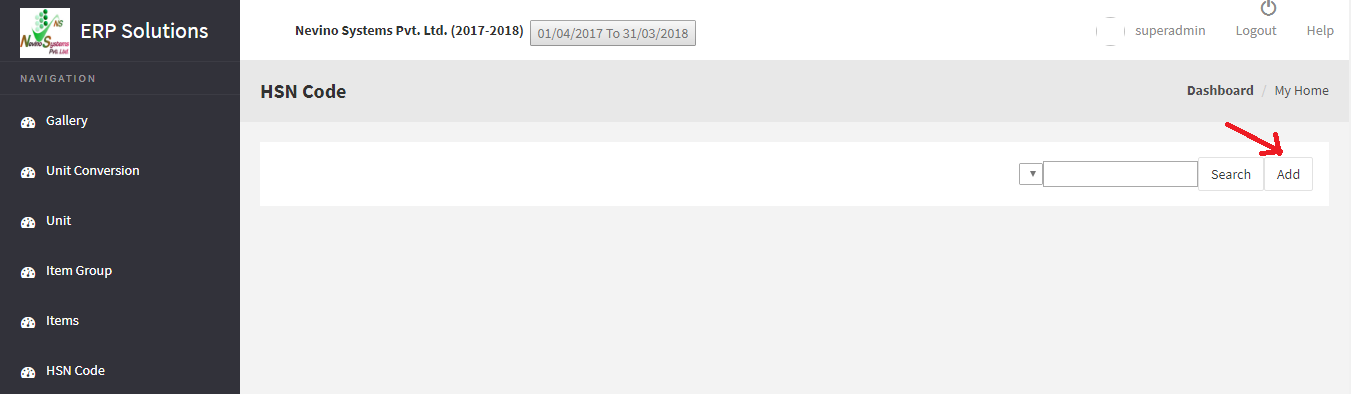
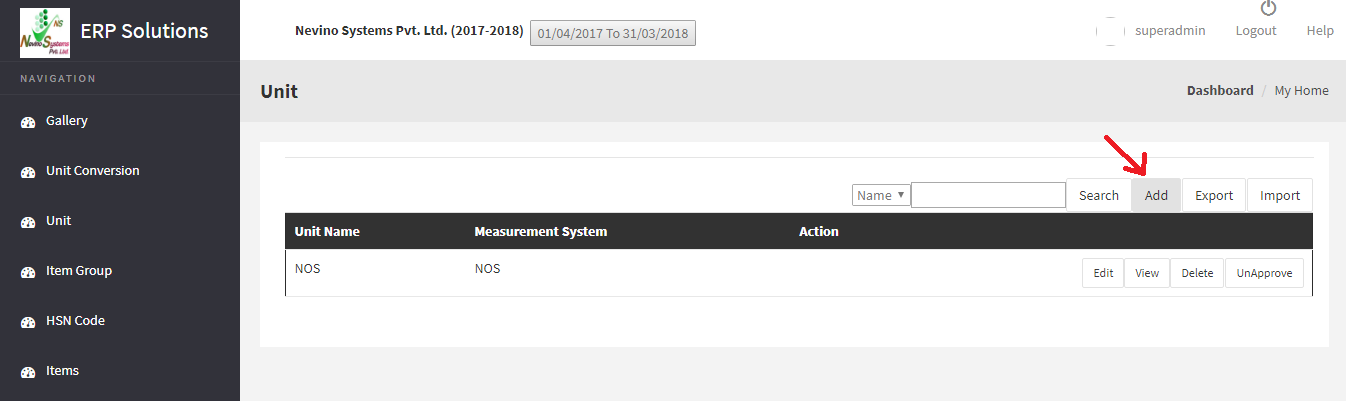
Step 4. Now click on ‘Add’ button as shown below.

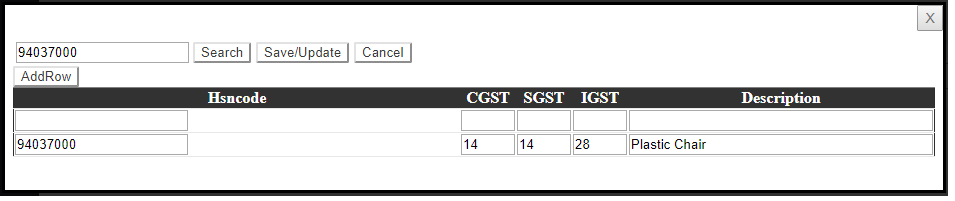
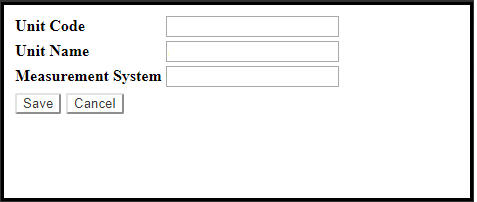
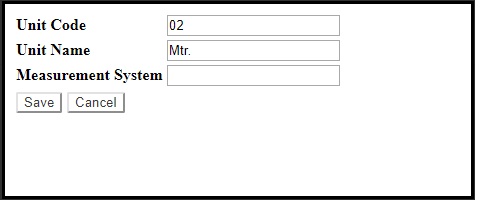
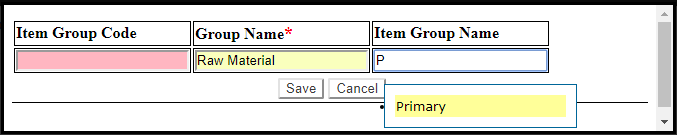
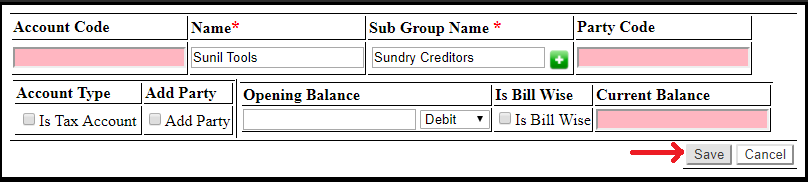
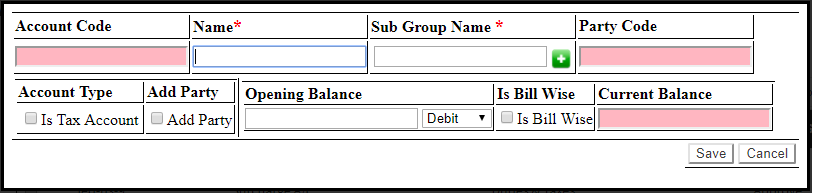
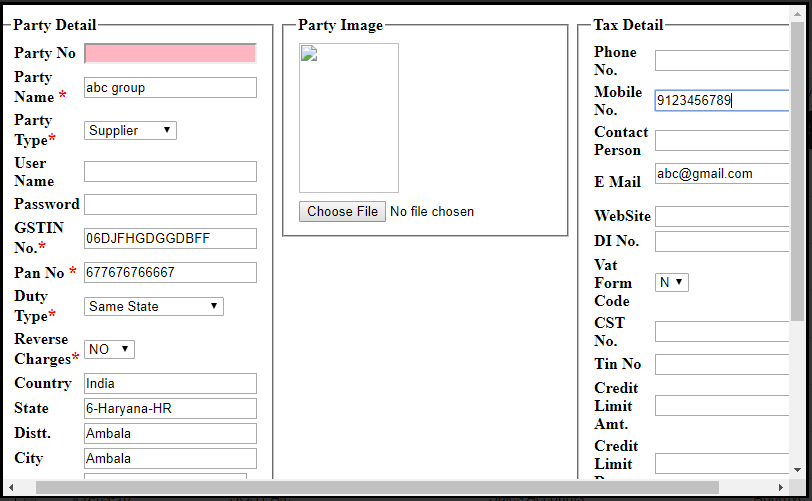
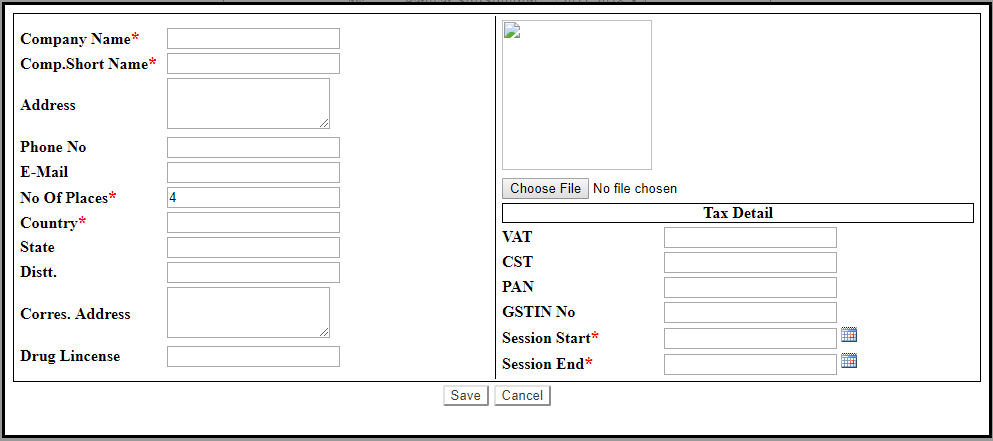
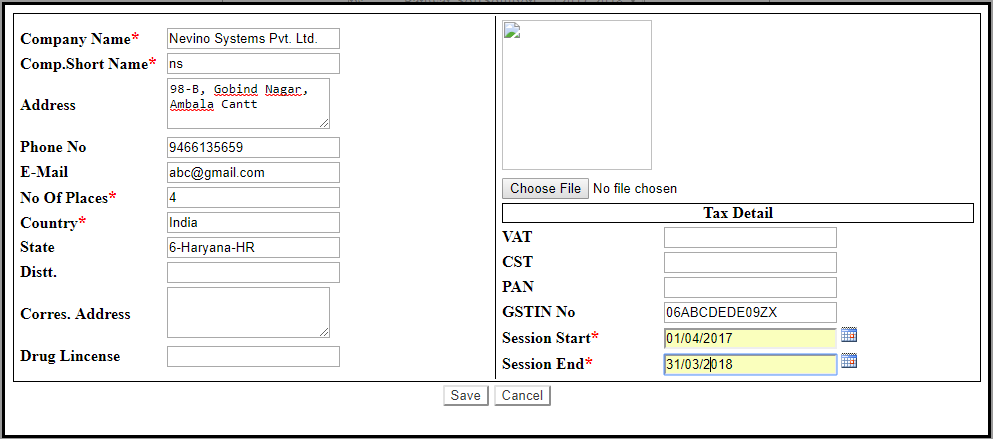
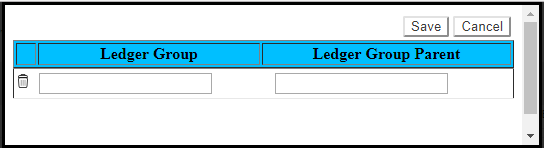
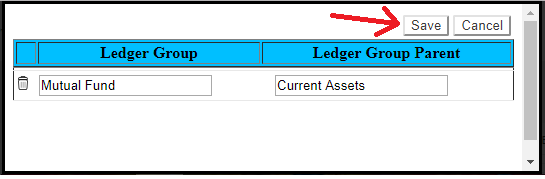
Step 5. A window as below will appear.


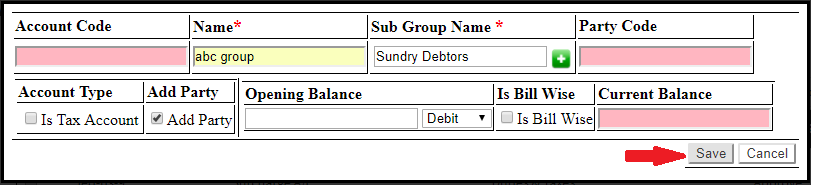
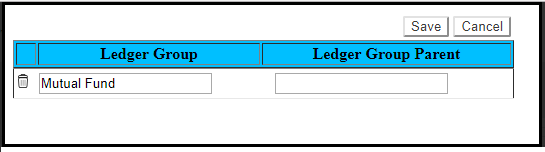
Step 6. Now enter the Ledger Group name for example ‘Mutual Fund’.


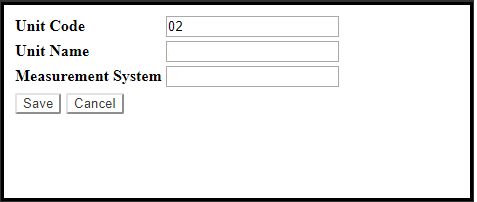
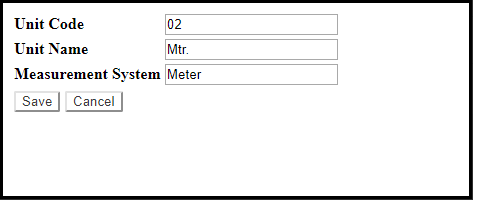
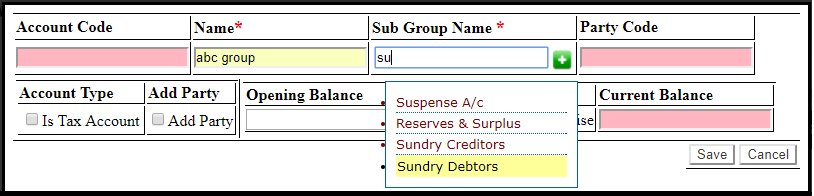
Step 7. Next we will enter ‘Ledger Group Parent’ as ‘Current Assets’.


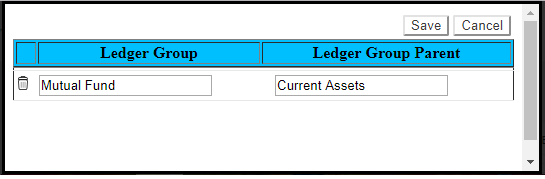
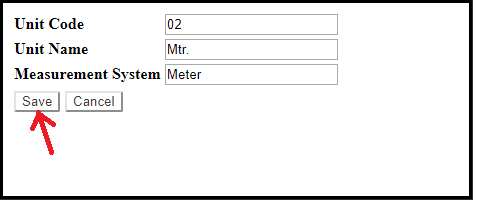
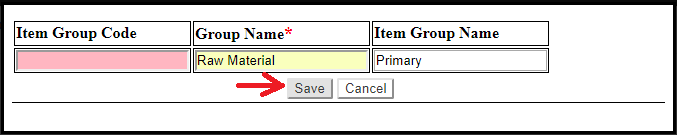
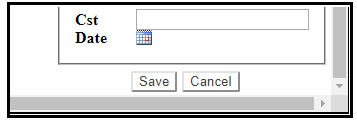
Step 8. Now click on ‘Save’ button.


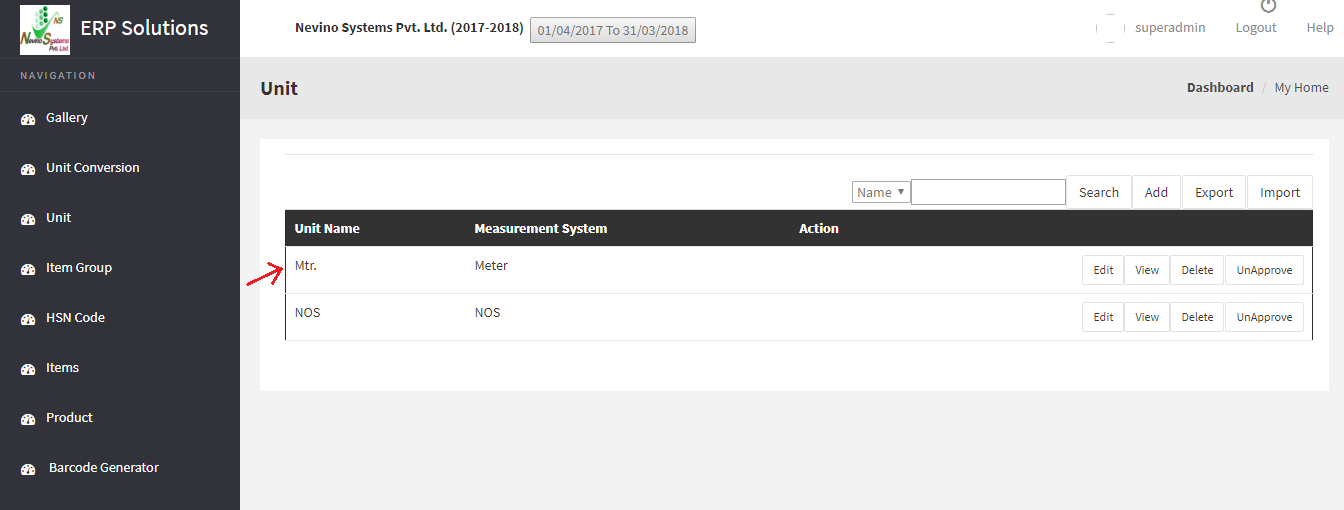
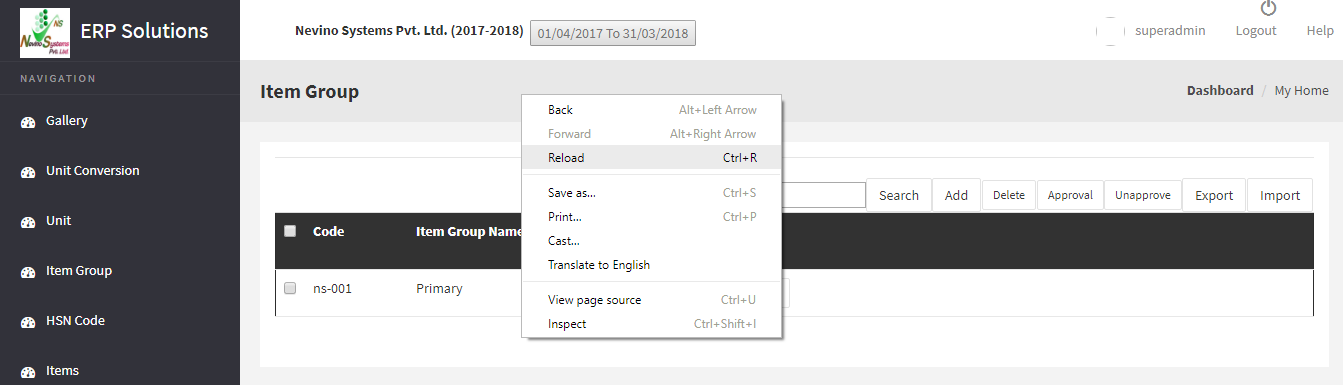
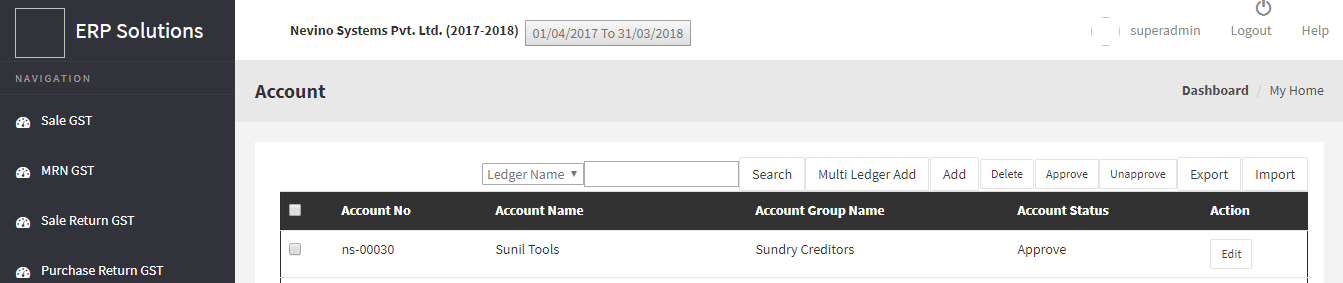
Step 9. When ‘Save’ button clicked Ledger group will be shown as per below screen shot.


Click Here To Buy Nevino Billing Software


* The Content stated above is for informational purpose only. Expert Software Team is not responsible if any part of content found meaningless in any manner or condition.

How to add HSN Code in Nevino Billing Software

As per implementation of GST system now it is necessary to add HSN code for every item or product. So in this blog we will learn about how to add HSN code in Nevino Billing Software.

Click Here To Buy Nevino Billing Software

Learn through below video how to add HSN Code in Nevino Billing Software.

How to add UOM<< Already gone through this page >> How to add Ledger group

Step 1.On the main window of Nevino Billing Software click on ‘Inventory’.

Step 2.When below screen appears click on ‘HSN Code’.

Step 3.After clicking on the ‘HSN code’ a window as below will appear.

Step 4. Now click on ‘Add’ button as shown in screen shot below.

Step 5. When ‘Add’ button is clicked a screen as below will appear.

Step 6. Now enter HSN code for example ‘94037000’ for ‘Plastic Chair’ as per screen shot below.

Step 7. As GST for plastic chair is 28% so we add 14% in CGST and 14% in SGST. Please refer below screen shot.

Step 8. Next is we add IGST which is necessary for other state transactions so we add it in the following way as shown in screen shot.

Step 9. We can also add description of this HSN code in the ‘Description’ box so as to remember the item name in future for which this HSN code is used

Step 10. Now click on ‘Save’ button as per screen shot below.

Step 11. When ‘Save’ button is clicked the screen shown below will appear. To check whether our HSN code is saved or not we will click on ‘Add’ button.

Step 12. When below screen appears enter the HSN code in blank box in left of ‘Search’ button as shown below.

Step 13. Now click on ‘Search’ button as per below screen shot.

Step 14. On the click of ‘Search’ button HSN code details which we have entered will be shown as below window.


Click Here To Buy Nevino Billing Software

 
Learn through below video how to add HSN Code in Nevino Billing Software.

* The Content stated above is for informational purpose only. Expert Software Team is not responsible if any part of content found meaningless in any manner or condition.

How to add Unit of Measurement in Nevino Billing Software

When we add items name the unit of measurement is also required to be added. So now we learn how to add Unit of Measurement.

Click Here To Buy Nevino Billing Software

How to add category name<<Already gone through this page>> How to add HSN code

Step 1. From the main window click on ‘Inventory’ as per screen shot below.

Step 2. When below screen appears click on ‘Unit’ as shown below.

Step 3.  After clicking on ‘Unit’ below screen will appear where you need to click on ‘Add’.

Step 4. When ‘Add’ button is clicked as mentioned above a screen shown below will appear.

Step 5. Enter the code of Unit for example ‘02’ in the screen below.

Step 6. Now enter the name of unit for example ‘Mtr.’ in the screen below.

Step 7. In third box enter the system of measurement for example ‘Meter’ in the screen below.

Step 8. Now click on ‘Save’ button

Step 9. When ‘Save’ button clicked as mentioned above then this new Unit of Measurement will appear as shown in window below.

Click Here To Buy Nevino Billing Software

* The Content stated above is for informational purpose only. Expert Software Team is not responsible if any part of content found meaningless in any manner or condition.

How to add Category Name in Nevino Billing Software

There is a requirement in accounts of giving category names to every item. So now we learn how we can add category name in Nevino Billing Software.

Click Here To Buy Nevino Billing Software

Learn through below video how to add category name in Nevino Billing Software.

How to add ledger << Already gone through this page >>How to add UOM

Step 1. On the main window of Nevino Billing Software click on ‘Inventory’ as below screen shot.

Step 2. After clicking on ‘Inventory’ screen as below will appear,now click on ‘Add’ button.

Step 3. When ‘Add’ button as mentioned above clicked screen as below will appear

Step 4.Leave the first column ‘Item Group Code’ blank as it picks code automatically. Enter the name of group for example ‘Raw Material’ under ‘Group Name’ as per screen shot below.

Step 5. Now in next column ‘Item Group Name’ enter ‘Primary’. When you enter ‘P’ primary will be shown automatically as below screen shot then press enter. ‘Primary’ will be shown.

Step 6. When all required columns filled click on ‘Save’ button below.

Step 7. When ‘Save’ button clicked screen as below will appear.

Step 8. Now press Function Key ‘F5’ to refresh the page. In case function key not working then right click on the screen in blank space, drag the cursor to ‘Reload’ and click on it or you can press ‘Ctrl+R’ key as per screen shot below.

Step 9. When the page is refreshed as per above process you will find ‘Raw material’ as your ‘Category Name’ under ‘Item Group Name’ as shown in screen shot below.

Click Here To Buy Nevino Billing Software


Learn through below video how to add category name in Nevino Billing Software.

* The Content stated above is for informational purpose only. Expert Software Team is not responsible if any part of content found meaningless in any manner or condition.

How to add Ledger in Nevino Billing Software

Ledger is a very important part of Accounts used to maintain the records. So now we learn how to add Ledger in Nevino Billing Software.

Click Here To Buy Nevino Billing Software

Learn through below video how to add ledger in Nevino Billing Software.

How to add party<< Already gone through this page >>How to add item

Step 1. In the Nevino billing software main window click on ‘Accounts’ appearing on left side of screen as shown in image below.

Step 2.Nowclick on ‘Add’ buttonas shown with red arrow in below image.

Step 3. When this ledger account window appears fill in the name and sub group name as shown in image below.

Step 4. After filling up the required information click on ‘Save’ button.

Step 5. When the save button clicked Ledger will be saved and shown under the account heading list as per image below.

Click Here To Buy Nevino Billing Software


Learn through below video how to add ledger in Nevino Billing Software.

* The Content stated above is for informational purpose only. Expert Software Team is not responsible if any part of content found meaningless in any manner or condition.

How to add Party in Nevino Billing Software

Now the Nevino Billing Software is available to work upon. We start with adding the party details and from below lesson we will know about how to add party.

Click Here To Buy Nevino Billing Software

Learn through below video how to add Party in Nevino Billing Software.

How to Login << Already gone through this page >>How to add ledger

Step 1.When below screen appears click on ‘Account’ option appearing on the left hand side of screen as below screen shot.

Step 2. Now screen will appear as below now. You must have noticed company’s name appearing on top of the window. Click on ‘Add’ button appearing in line with other buttons.

Step 3. When ‘Add’ button is clicked a new window will appear as below where you can add the party details.

Step 4.Enter the party name and sub group name will be the type of account concerned to that party. For example, party name is ‘abc group’ and sub group name as ‘Sundry Debtors’.

Step 5. Now tick on ‘Add Party’ and click on ‘Save’ button.

Step 6. When save button is clicked a new window will open where you can add all details related to that party as per the image below.

After filling all details click on ‘Save’ button located in lower right corner of the window.

Step 7. Now the details are saved and the party name will be shown as per screen shot below.

Click Here To Buy Nevino Billing Software


Learn through below video how to add Party in Nevino Billing Software.

* The Content stated above is for informational purpose only. Expert Software Team is not responsible if any part of content found meaningless in any manner or condition.

How to add company in Nevino Billing Software

To start maintaining account records first we need to add company name and details to our accounting software. So when you have installed Nevino Billing software to your computer then you can start adding company for your records as below steps.

Click Here To Buy Nevino Billing Software

Introduction to Nevino Billing Software << Already gone through this page >> How to login in Nevino Billing Software
 
Step 1. After the installation below screen will appear where you have to click on ‘Add Company’ then another screen will be displayed and there you can add details of the company.


Step 2. The headings indicated with ‘*’ are compulsory to be added. Fill in the details as per screen below starting from the ‘Company Name’ till the ‘Session End’. When you have entered all the details as below then click on ‘Save’ button and company will be created.

 
Step 3. When company is created it will be shown in list as below screen shot.

Click Here To Buy Nevino Billing Software

* The Content stated above is for informational purpose only. Expert Software Team is not responsible if any part of content found meaningless in any manner or condition.