To start maintaining account records first we need to add company name and details to our accounting software. So when you have installed Nevino Billing software to your computer then you can start adding company for your records as below steps.
Click Here To Buy Nevino Billing Software
Introduction to Nevino Billing Software << Already gone through this page >> How to login in Nevino Billing Software
Step 1. After the installation below screen will appear where you have to click on ‘Add Company’ then another screen will be displayed and there you can add details of the company.

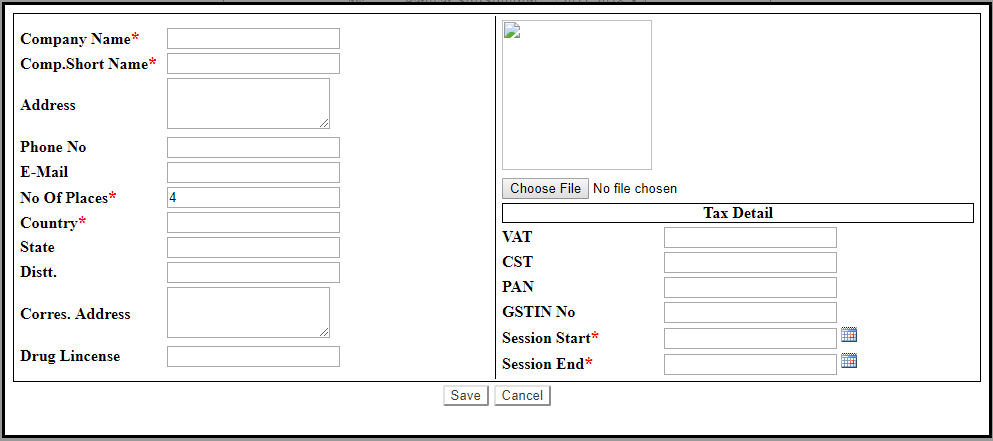
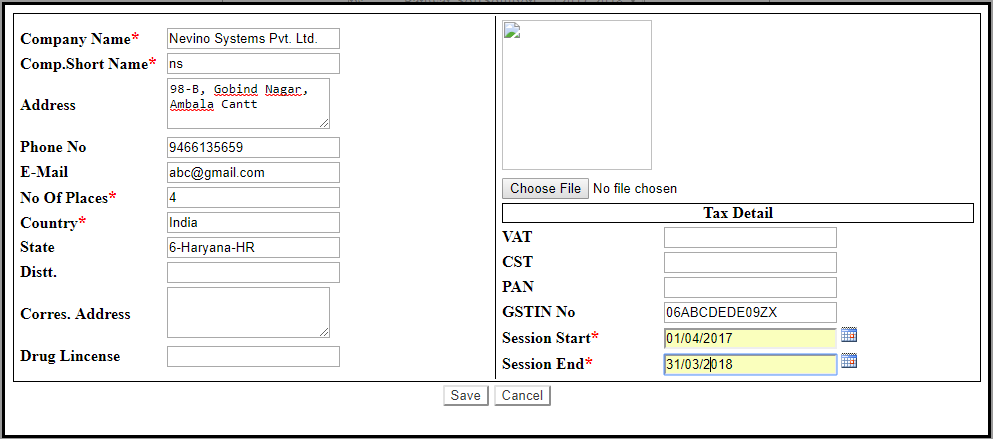
Step 2. The headings indicated with ‘*’ are compulsory to be added. Fill in the details as per screen below starting from the ‘Company Name’ till the ‘Session End’. When you have entered all the details as below then click on ‘Save’ button and company will be created.
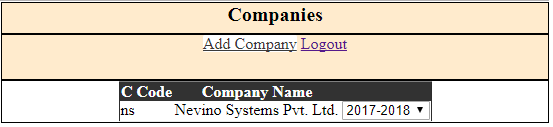
Step 3. When company is created it will be shown in list as below screen shot.