Adding an item is the most important work of any account system. So now we learn how to add item in nevino billing software.
Click Here To Buy Nevino Billing Software
How to ledger group << Already gone through this page >> How to make Sale Invoice in Nevino Billing Software
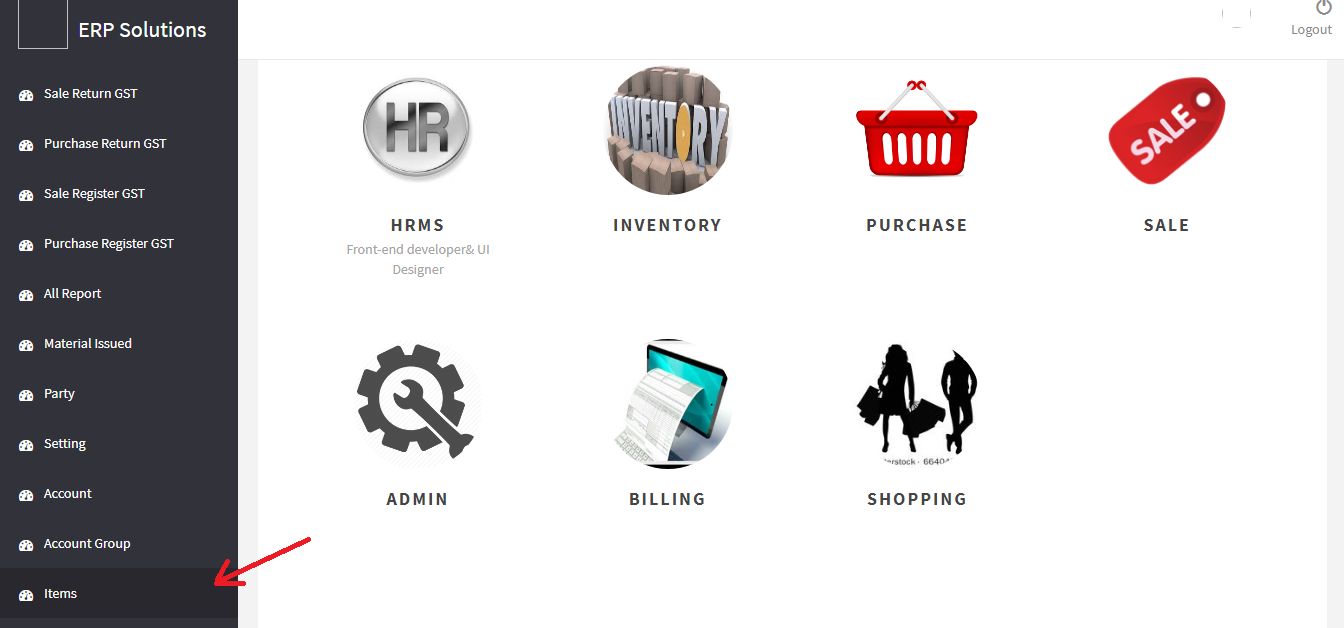
Step 1. On the main window of Nevino Billing Software click on ‘Items’ located at the lower left corner of the screen.
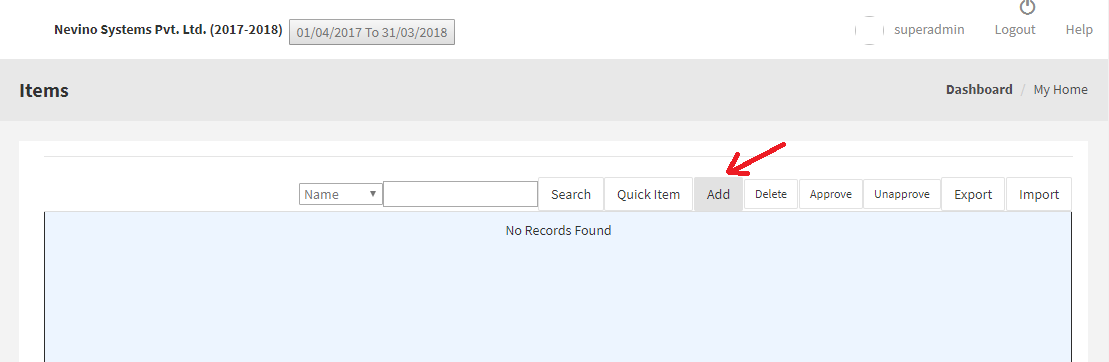
Step 2. A new window will appear as below screen shot where you have to click on ‘Add’ button.
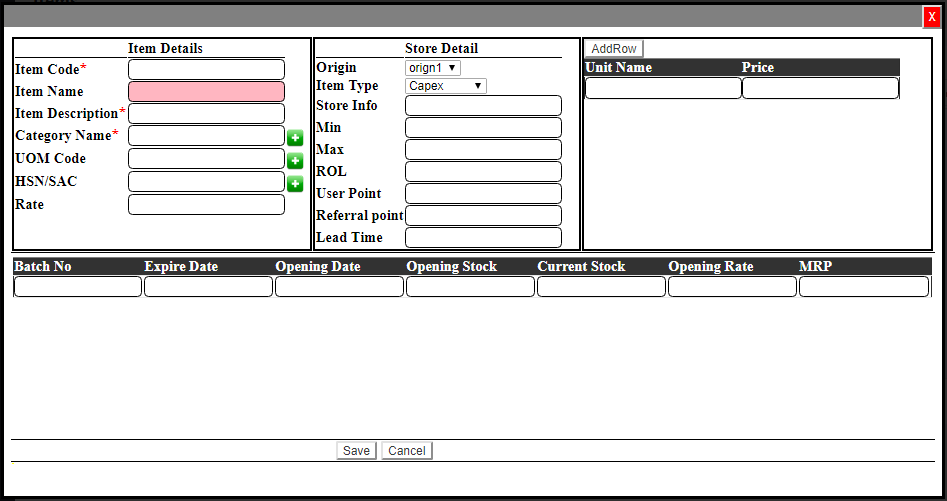
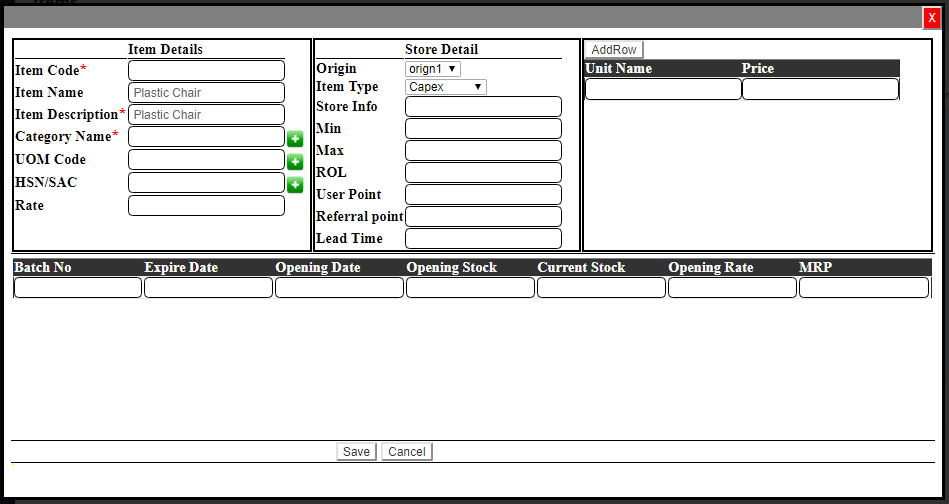
Step 3. When below screen appears leave the ‘Item code’ blank as it will be generated automatically.
Step 4. Enter the ‘Item Name’ for example as ‘Plastic Chair’ as shown below.
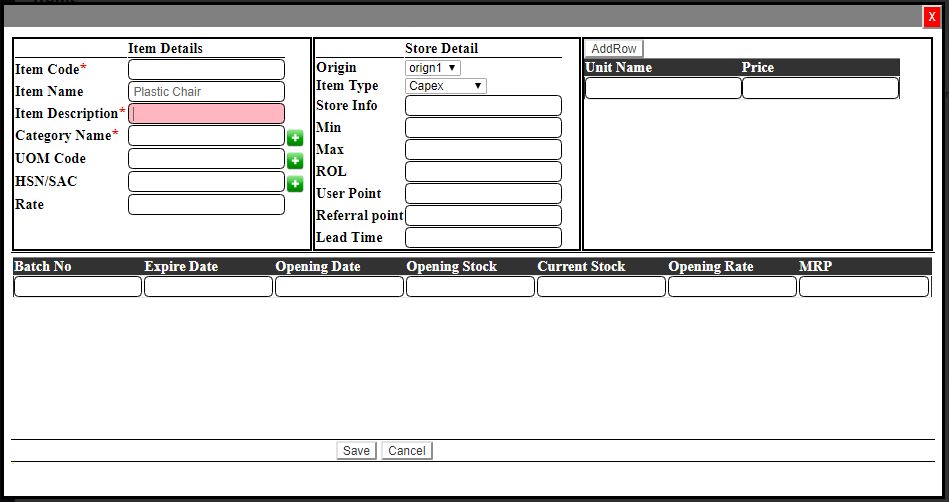
Step 5. Now enter the same name ‘Plastic Chair’ in ‘Item Description’ as shown below.
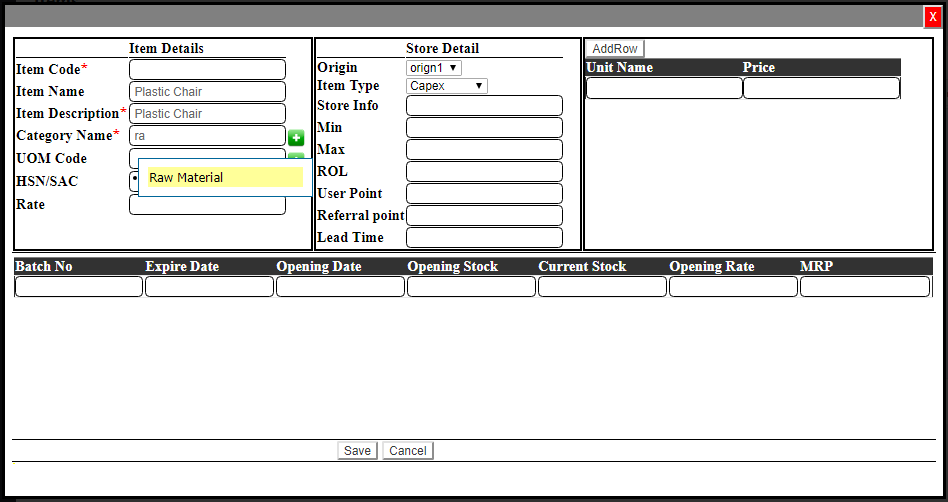
Step 6. We will enter its category name as ‘Raw Material’ so type ‘ra’ and as we had already made category name as ‘Raw material’ then it will be shown as below.<How to add category name>
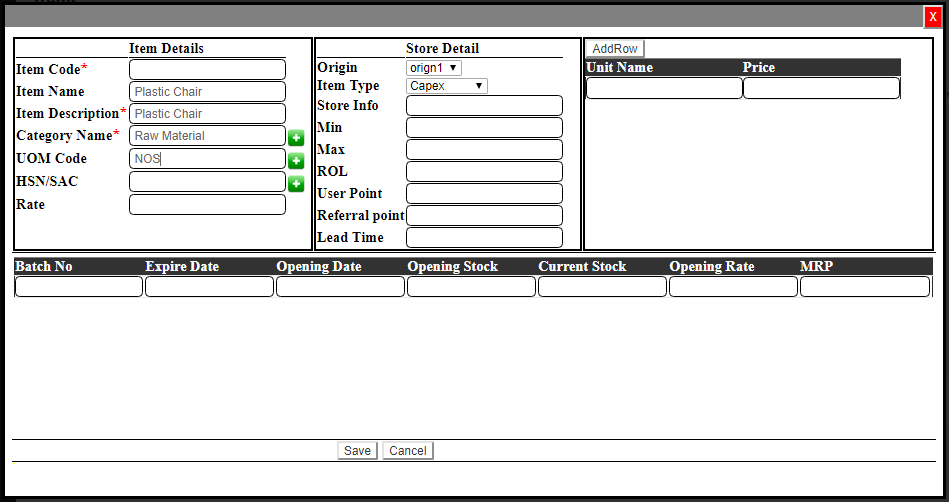
Step 7. Select the ‘Raw Material’ and it will be added automatically as below screen shot.

Step 8. Now enter the ‘UOM code’ as ‘Nos.’ so we enter ‘no’ as shown in screen below as it is already made.<<how to add UOM CODE>>

Step 9. Select the ‘Nos’ and it will be added automatically as shown below.
Step 10. Now we enter the HSN code of plastic chair as ‘94037000’, enter ‘9’ this code will be shown as we had saved it before.<<how to add HSN CODE>>
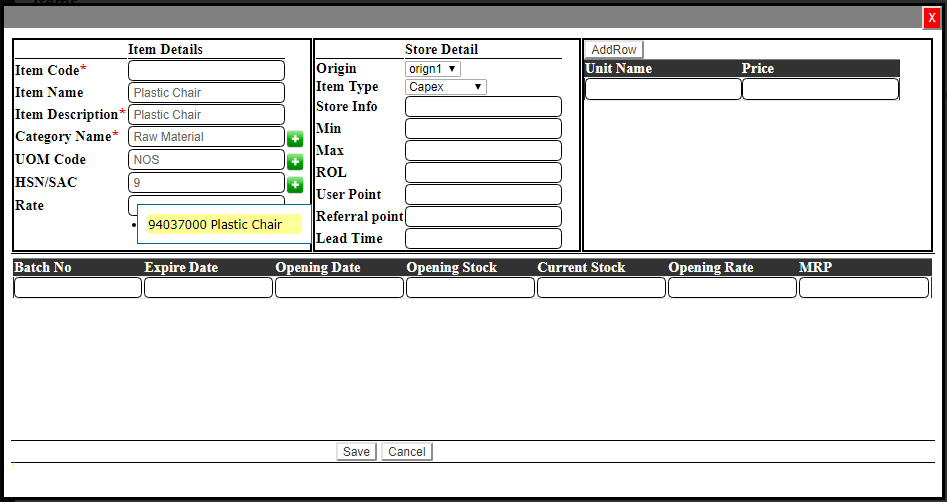
Step 11. Select this code and it will be added automatically as shown in below screen shot.
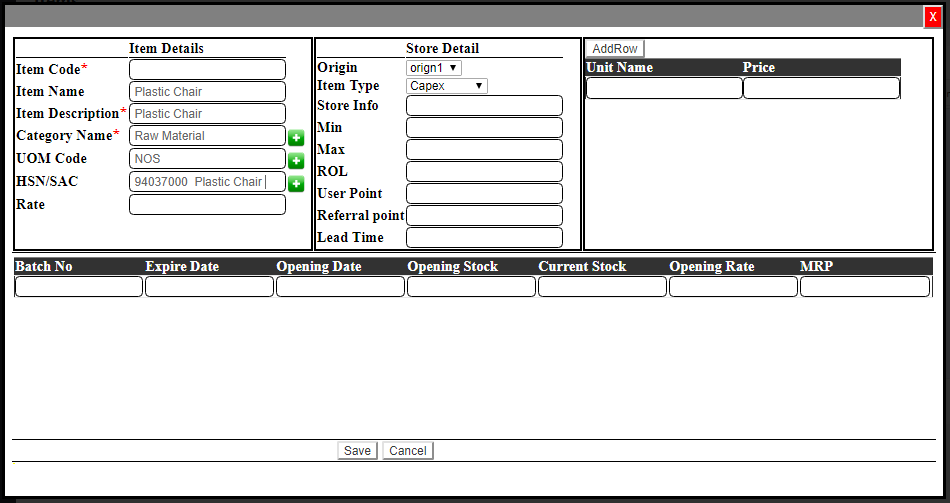
Step 12. Now we enter Rate of this item as shown in below screen shot.

Step 13. Next we will click the ‘Save’ button as shown in screen shot below.

Click Here To Buy Nevino Billing Software
* The Content stated above is for informational purpose only. Expert Software Team is not responsible if any part of content found meaningless in any manner or condition.