Category: Billing Software
-

Kalcee HR Software Solutions: Real Time Attendance Software for Small and Medium Businesses
Managing employee attendance manually can be challenging for businesses. Traditional registers and spreadsheets often lead to confusion, payroll errors, and inefficient workforce management. In today’s digital work environment, organizations need smarter solutions that provide accurate and instant tracking. This is where real time attendance software becomes essential. Kalcee HR Software Solutions is a modern HR…
-

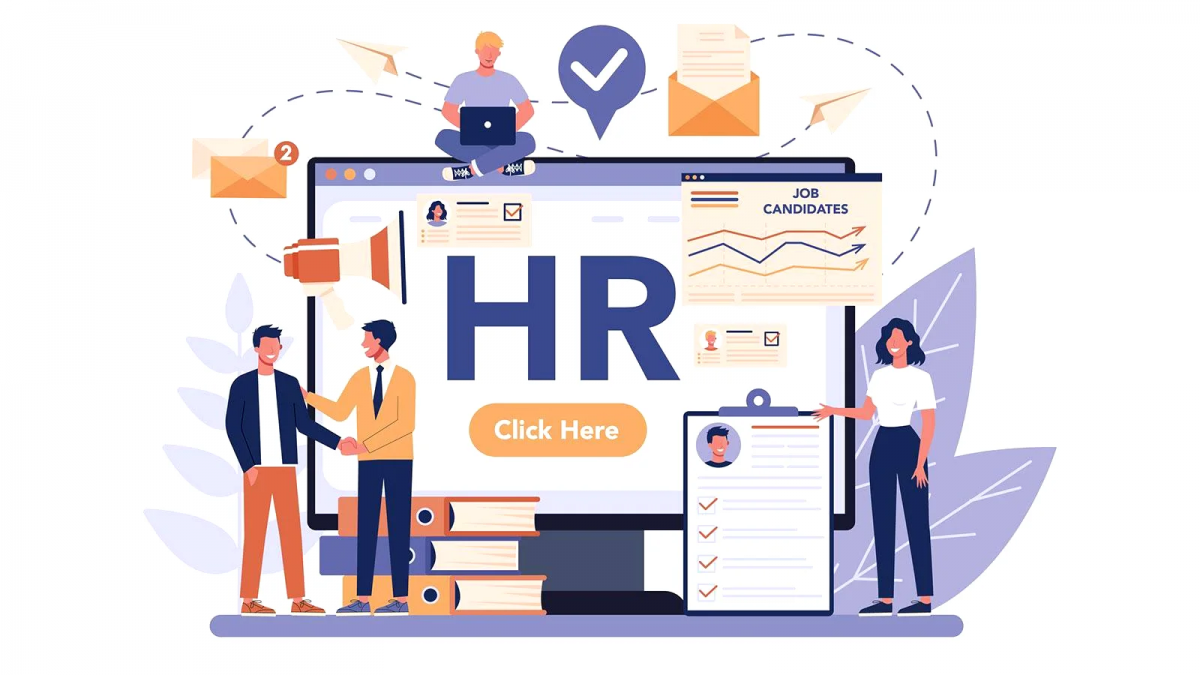
All-in-One Web-Based Human Resource Management Software – Kalcee HR Software Solutions
Managing HR operations manually is time-consuming and prone to errors. From attendance tracking and payroll processing to leave approvals and employee record management, businesses often struggle with scattered systems and paperwork. A modern web based human resource software provides a centralized platform to handle all HR tasks efficiently. Kalcee HR Software Solutions is a powerful…
-

Streamline Employee Onboarding System with Kalcee HR Software Solutions
Hiring new employees is only the first step. The real challenge begins with managing their records, attendance, payroll, leaves, and schedules efficiently. Many businesses still rely on paperwork, spreadsheets, and manual tracking which leads to confusion and errors. A modern employee onboarding system helps companies digitize and organize the entire employee management process from day…
-

Attendance Tracking Software: Why Kalcee HR Software Solutions Is the Smart Choice for Modern Businesses?
Managing employee attendance manually can lead to errors, payroll confusion, and unnecessary administrative workload. Businesses that still rely on registers, spreadsheets, or outdated systems often struggle with tracking leaves, shifts, and salary calculations accurately. This is where attendance tracking software becomes essential. If you’re looking for a reliable and efficient solution to manage attendance, payroll,…
-

Kalcee HR Software Solutions – Smart Staff Management Software for Modern Businesses
Managing staff manually with registers, spreadsheets, and scattered records often leads to payroll errors, attendance mismatches, and scheduling confusion. As businesses grow, these challenges multiply. This is why organizations today are shifting to reliable staff management software to automate HR processes and maintain accurate employee records. Kalcee HR Software Solutions is a complete staff management…
-

Streamline Employee Scheduling with Kalcee HR Software Solutions
Managing employee schedules manually often leads to confusion, missed shifts, payroll errors, and miscommunication between teams. As businesses grow, handling attendance, shifts, leaves, and salaries using spreadsheets or registers becomes inefficient. This is why organizations are moving towards automated Employee Scheduling Software. Designed to bridge the gap between complex HR needs and user-friendly technology, Kalcee…
-
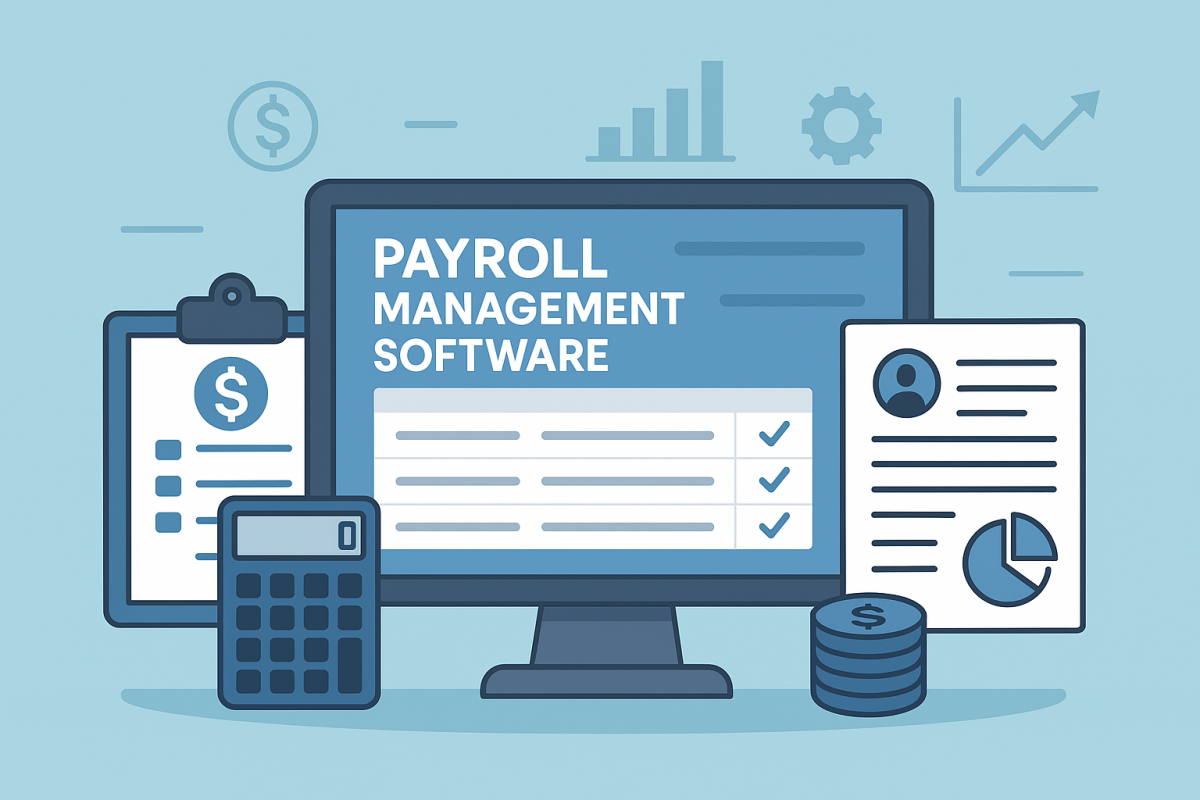
Kalcee HR Software Solutions – The Most Efficient Payroll Management Software for Modern Businesses
Payroll processing is one of the most critical HR responsibilities. From tracking attendance to calculating salaries, deductions, and leaves, even the smallest mistake can cause payroll delays and employee dissatisfaction. This is why businesses are switching to automated Payroll Management Software like Kalcee HR Software Solutions that ensures accuracy, transparency, and faster salary processing. Kalcee…
-

Streamline Your Diagnostic Center with Kalcee Lab Solutions: The Ultimate Lab Management Software
In the fast-paced world of modern healthcare, the efficiency of a diagnostic center is measured by two things: speed and accuracy. As patient expectations rise, manual record-keeping and slow report delivery are becoming things of the past. Enter Kalcee Lab Solutions, a robust, all-in-one Lab Management Software designed to automate your workflow, impress your patients,…
-
Kalcee HR Software Solutions – The Smartest Employee Management System for Modern Businesses
Managing employees manually is time-consuming, error-prone, and inefficient – especially in growing businesses. From attendance tracking to salary calculations, HR teams often struggle with spreadsheets, paperwork, and constant follow-ups. This is where a powerful Employee Management System like Kalcee HR Software Solutions becomes essential. Kalcee HR Software Solutions is an advanced HR management tool designed…
-

Kalcee HR Software Solutions: The Smart HR & Payroll System for Businesses
Managing employees for small businesses often becomes complicated when everything is handled manually—attendance registers, handwritten salary sheets, leave tracking, and data entry errors. To simplify HR tasks and improve accuracy, Kalcee HR Software Solutions offers a powerful and easy-to-use HR management tool specially designed for local businesses, shopkeepers, and small enterprises. Whether you run a…