For every business Sale transaction is a very important part as it is related with customers and when we sale anything we need a sale invoice to be given to the customers and for self-record of transactions for account purpose. So now we learn how to create sale invoice in nevino billing software.
Click Here To Buy Nevino Billing Software
How to add item<< Already gone through this page >>
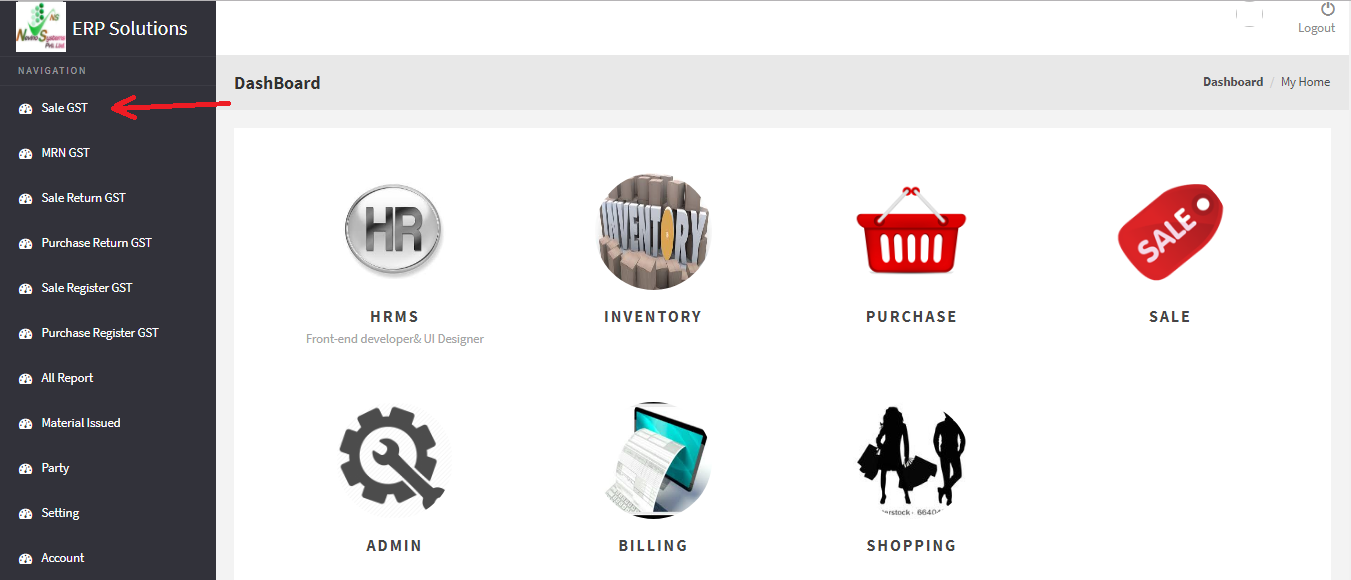
Step 1.On the main page of Nevino Billing Software as shown in screen shot below click on ‘Sale GST’ appearing on the left hand side of the screen.
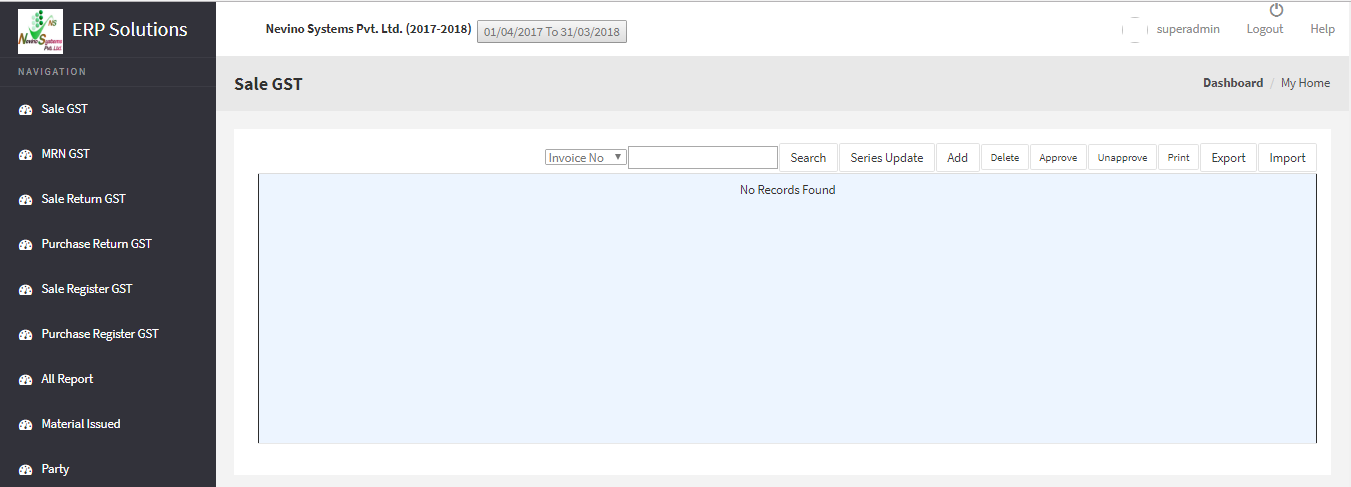
Step 2. New window of Sale GST will be open as per below screen shot.
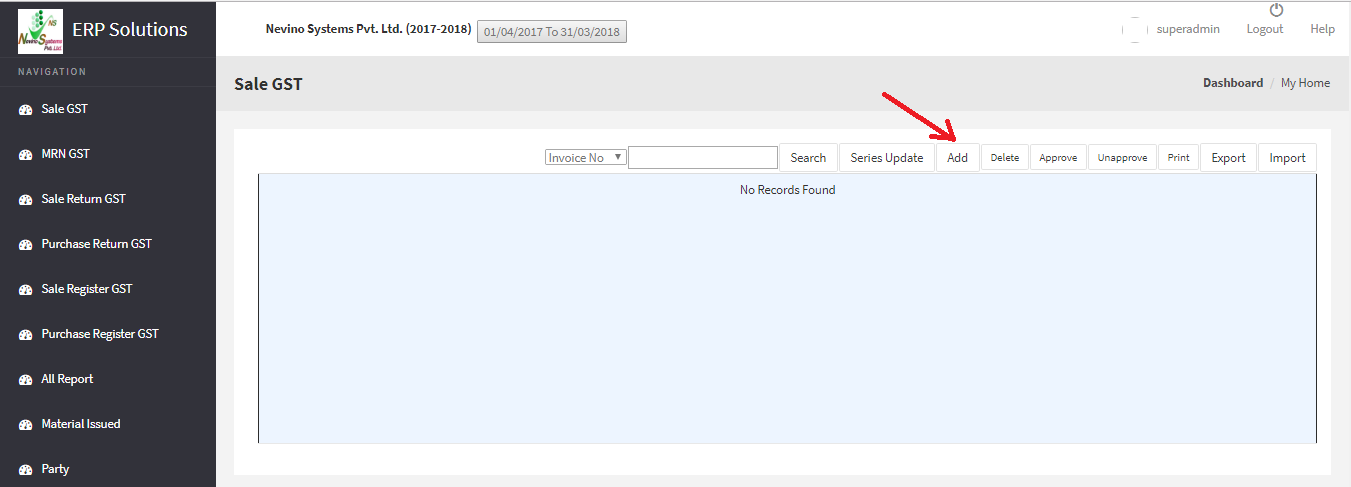
Step 3. Now click on ‘Add’ button as shown with arrow in the screen shot below.
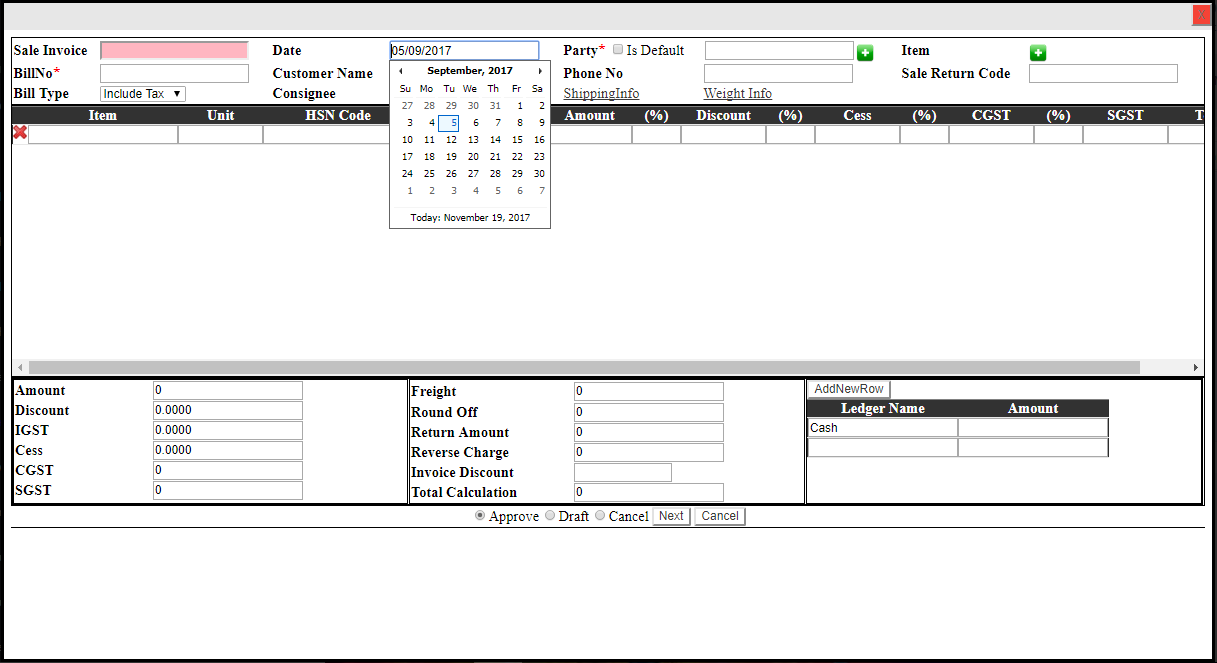
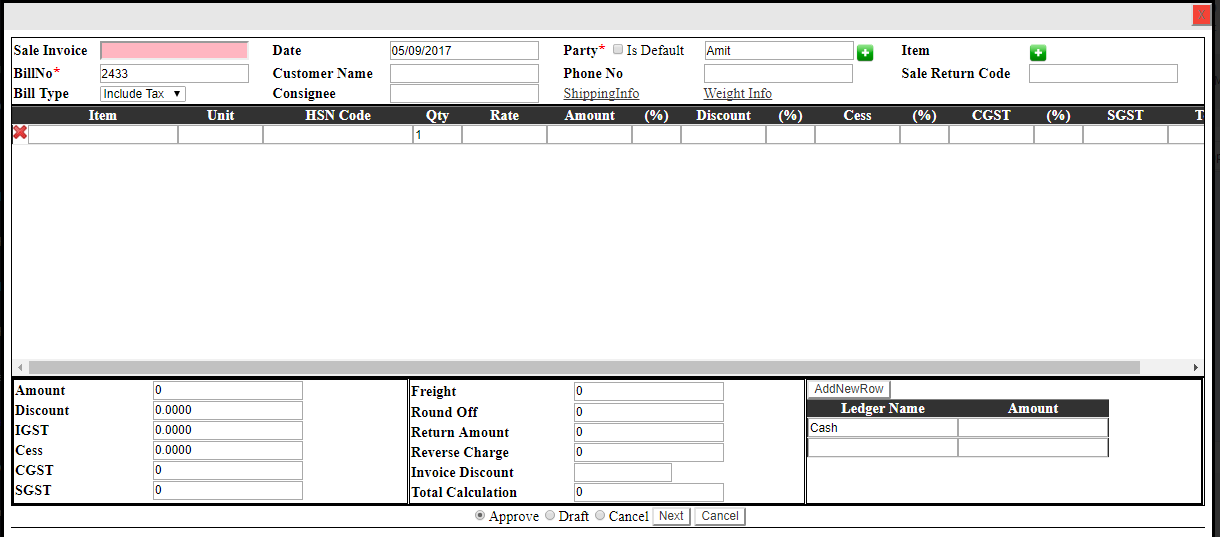
Step 4. When ‘Add’ button is clicked the sale invoice window will open where we can add all details of the invoice. Please refer the screen shot below.
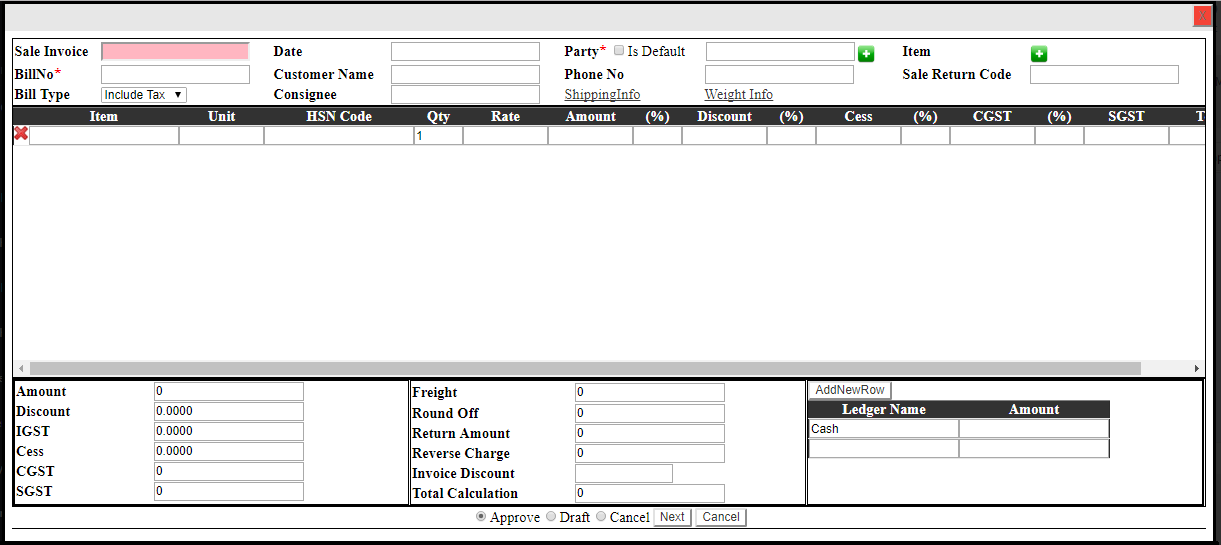
Step 5. First box is of Sale Invoice number, no need to fill it as it is auto generated. Next box is date, click in blank box in front of it then a date window will open. Kindly select the date you want in invoice as shown in screen shot below.
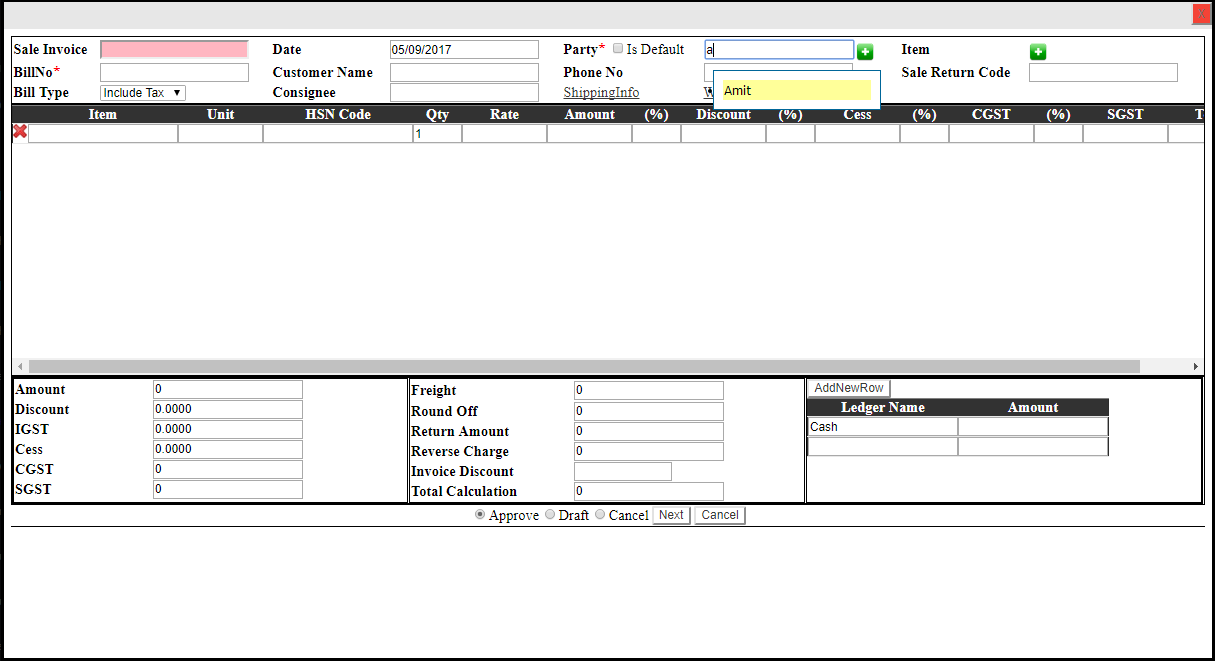
Step 6. Now press ‘Tab’ key to move to the next box and next box is for Party name. If you have already added the party name then enter first alphabet of it and name will be highlighted as below screen shot.
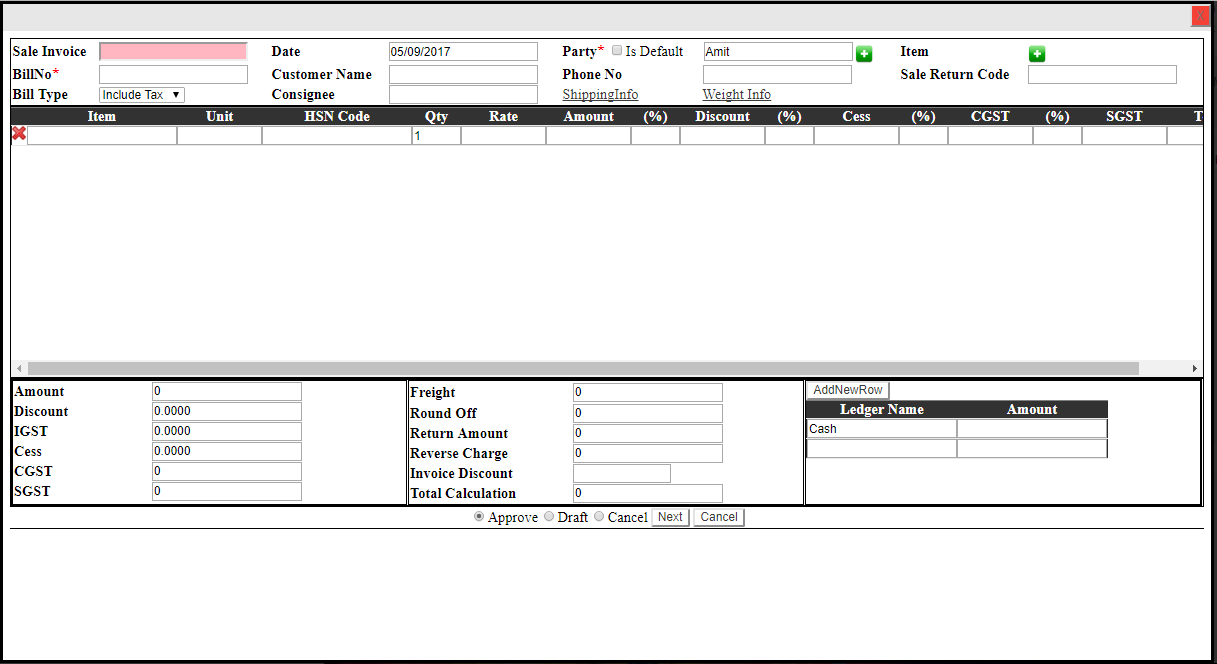
Step 7. Select the party name and press enter. Then press Tab key to move to the next box.
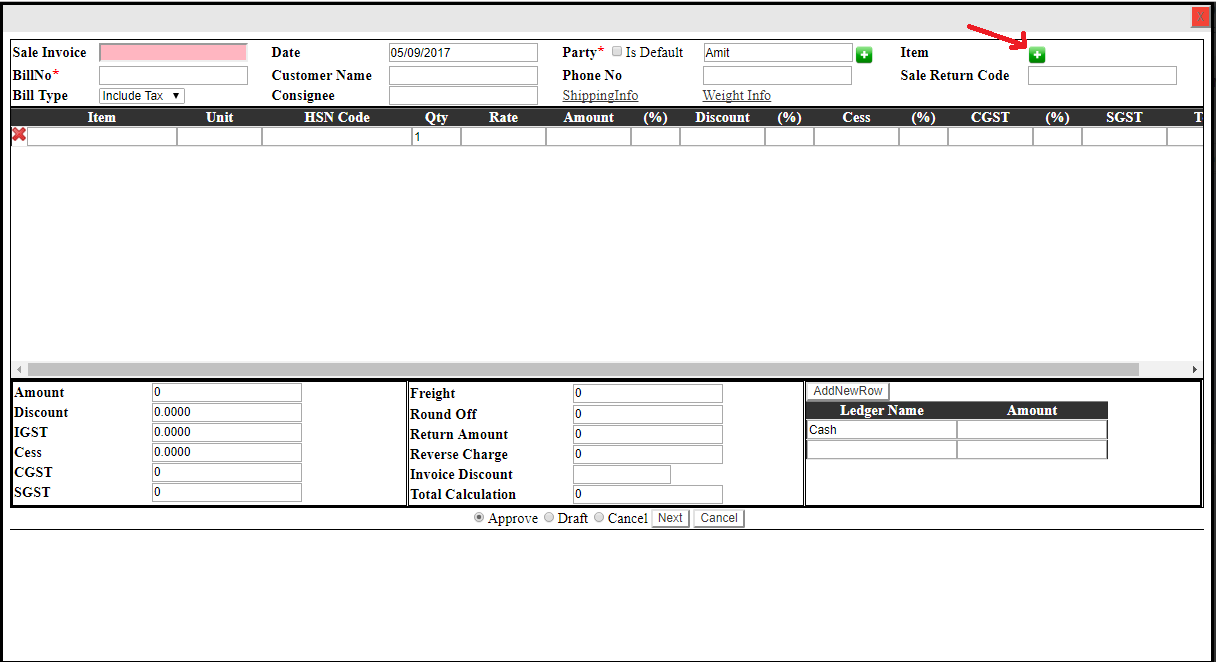
Step 8. Next is Item box, you can add Item if you have not added it before by clicking on ‘+’ button. Please refer to the link provided to know how to add Item.
Step 9. Next box is Bill Number here you can add the same in the blank box in front of it as shown in screen shot below. Press ‘Tab’ for next box.
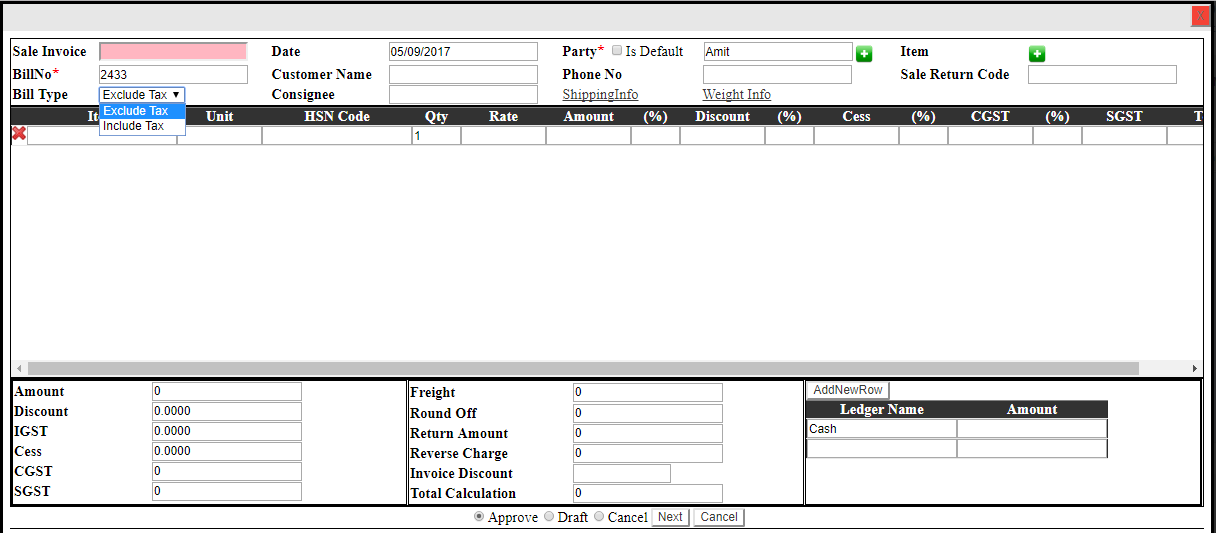
Step 10. Next is Bill type. Here you can select ‘Include Tax’ or ‘Exclude Tax’. For example we will select ‘Exclude Tax’ as shown in screen shot below.
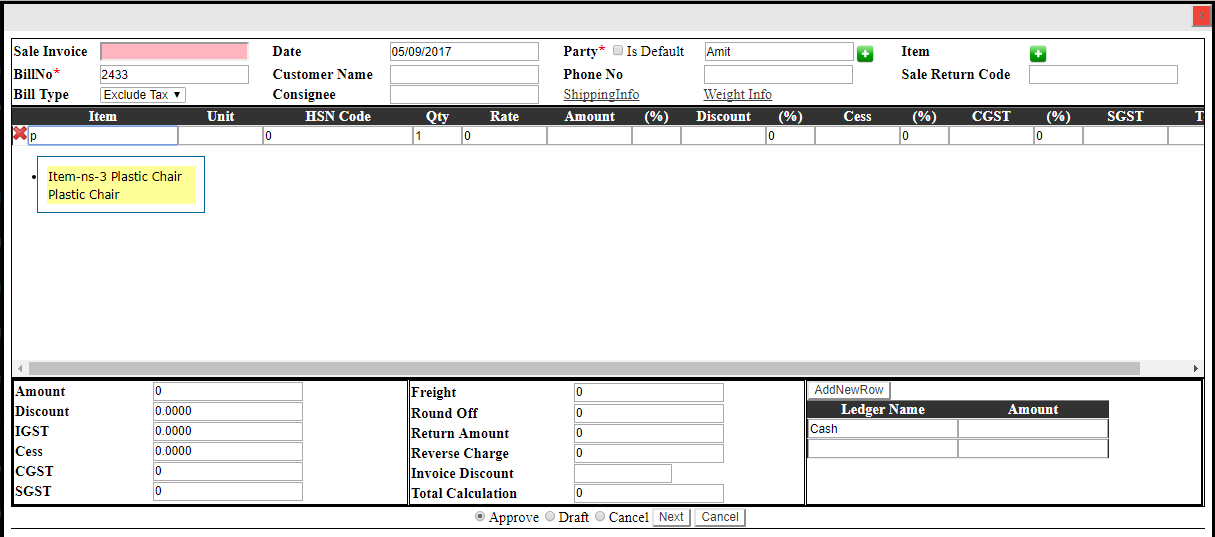
Step 11. Pressing the ‘Tab’ key again move us to the next box ‘Item’. In this box we enter the Item name as shown below in screen shot.
Step 12. Select the name of item appearing by pressing ‘Enter’ key and then press ‘Tab’ key. The screen as below will appear.
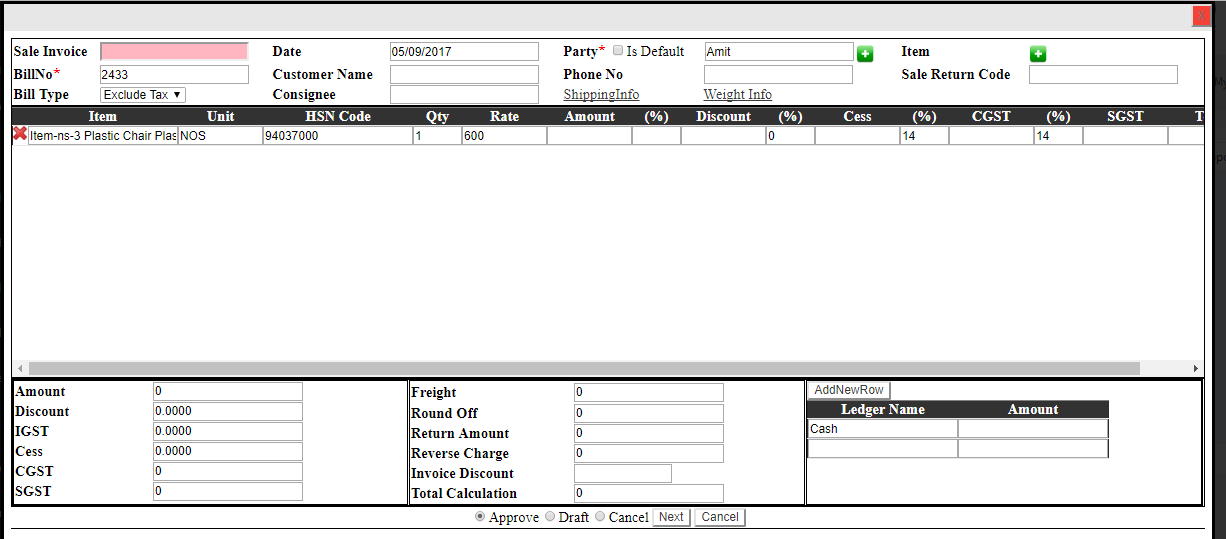
Step 13. You will see that Unit, HSN code and Rate have been shown automatically. Now we enter the Quantity of item and press ‘Tab’ key. The total as per quantity will be shown as per below screen shot.
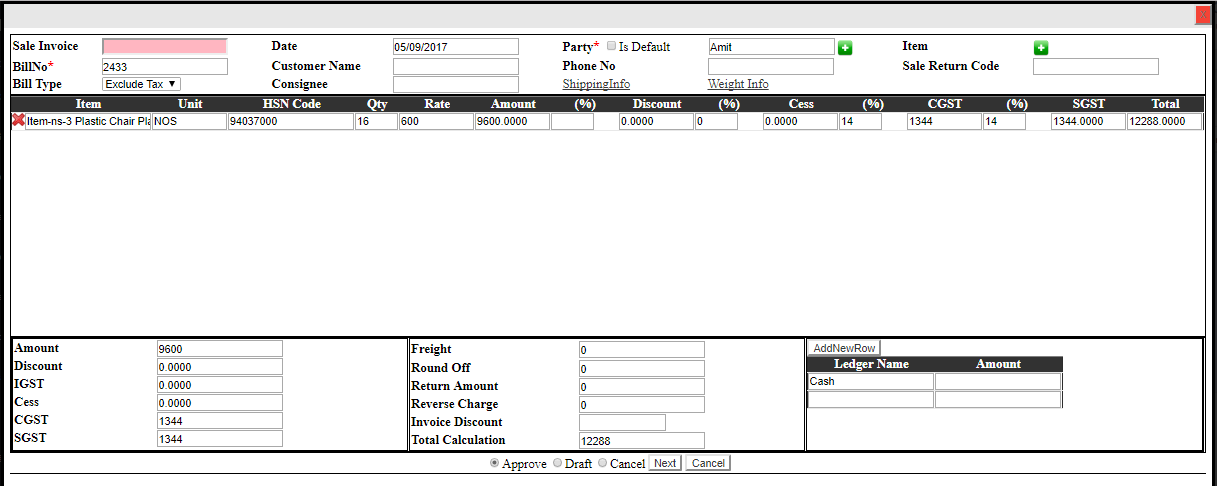
Step 14. Now click on ‘Next’ button as shown below.

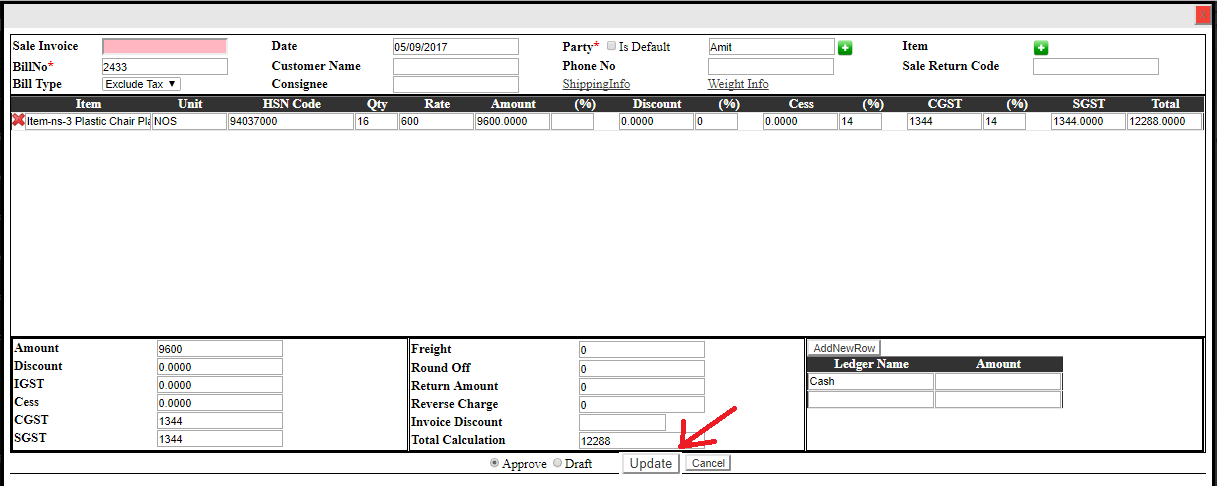
Step 15. On the same window ‘Update’ button will appear, kindly click on that as below screen shot.
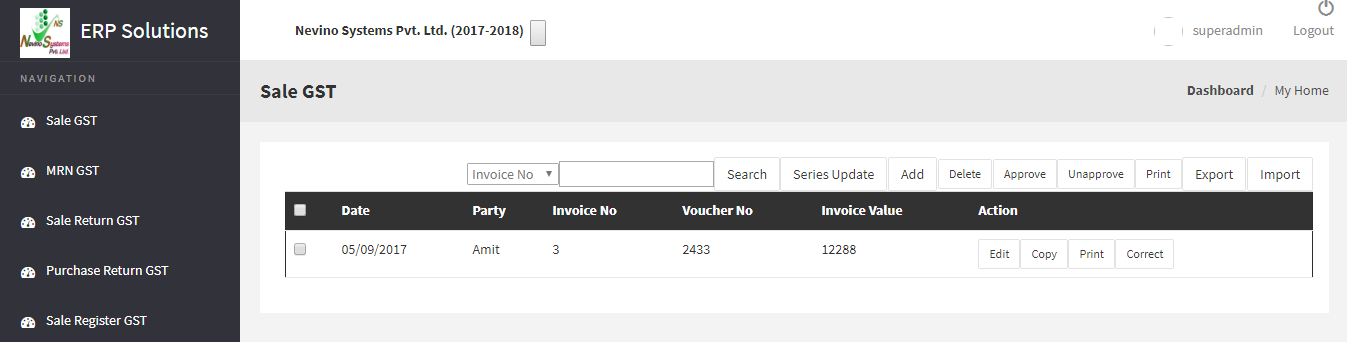
Step 16. Now our sale record is completed which will be shown under Sale GST as below screen shot.
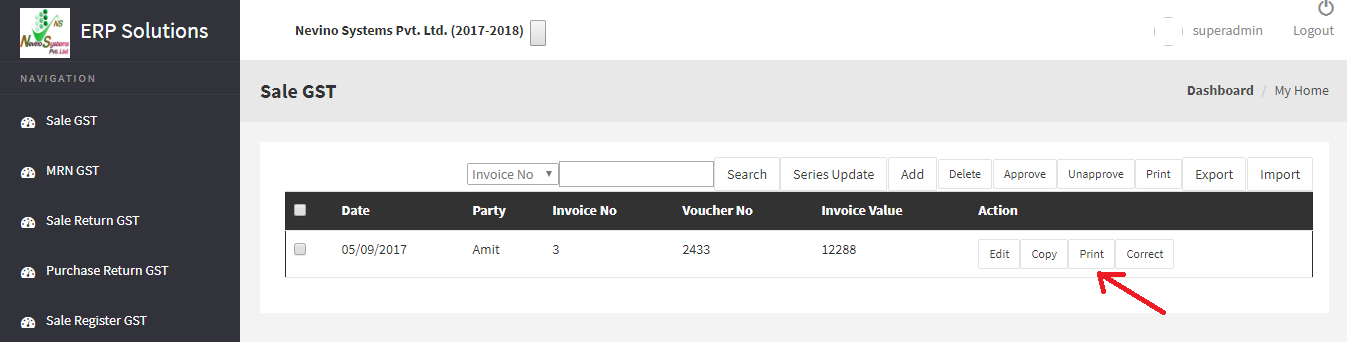
Step 17. Now click on ‘Print’ to see the sale invoice as per below screen shot.
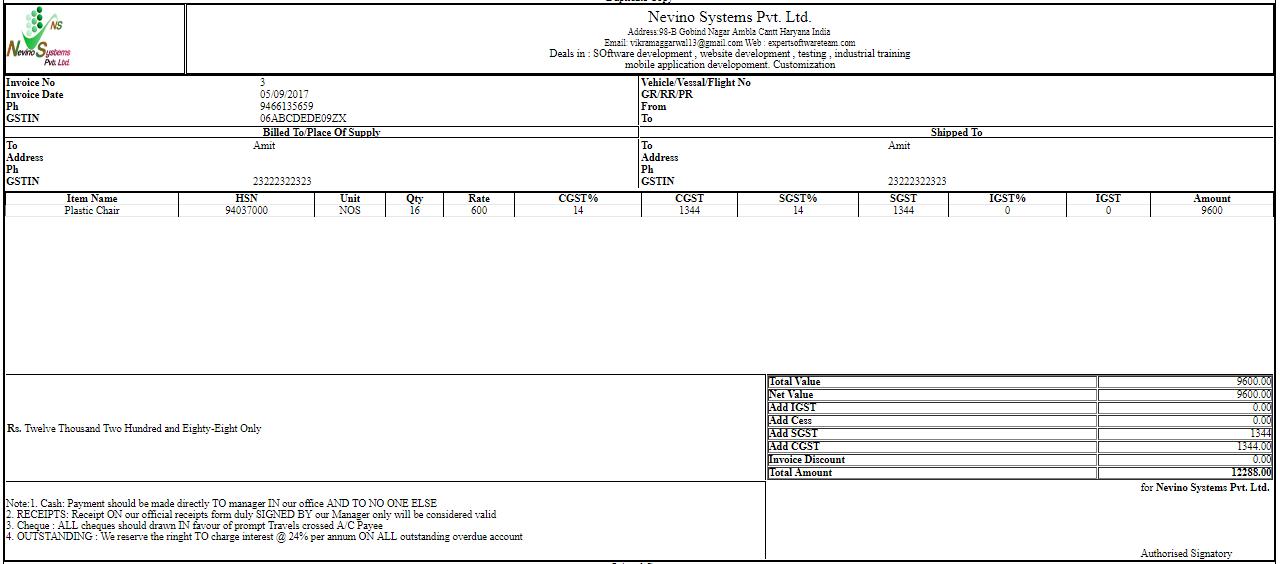
Step 18. Now the ‘sale invoice’ will appear in new window as per below screen shot.
Click Here To Buy Nevino Billing Software
* The Content stated above is for informational purpose only. Expert Software Team is not responsible if any part of content found meaningless in any manner or condition.