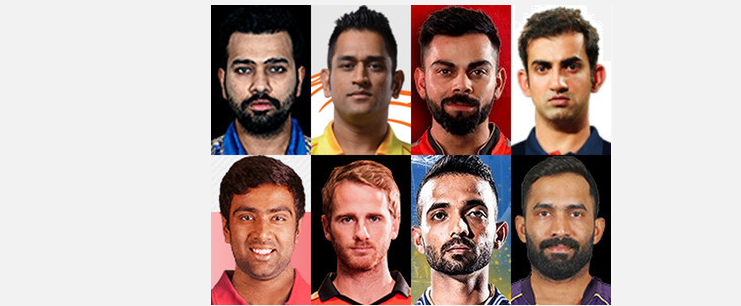
1. Rohit Sharma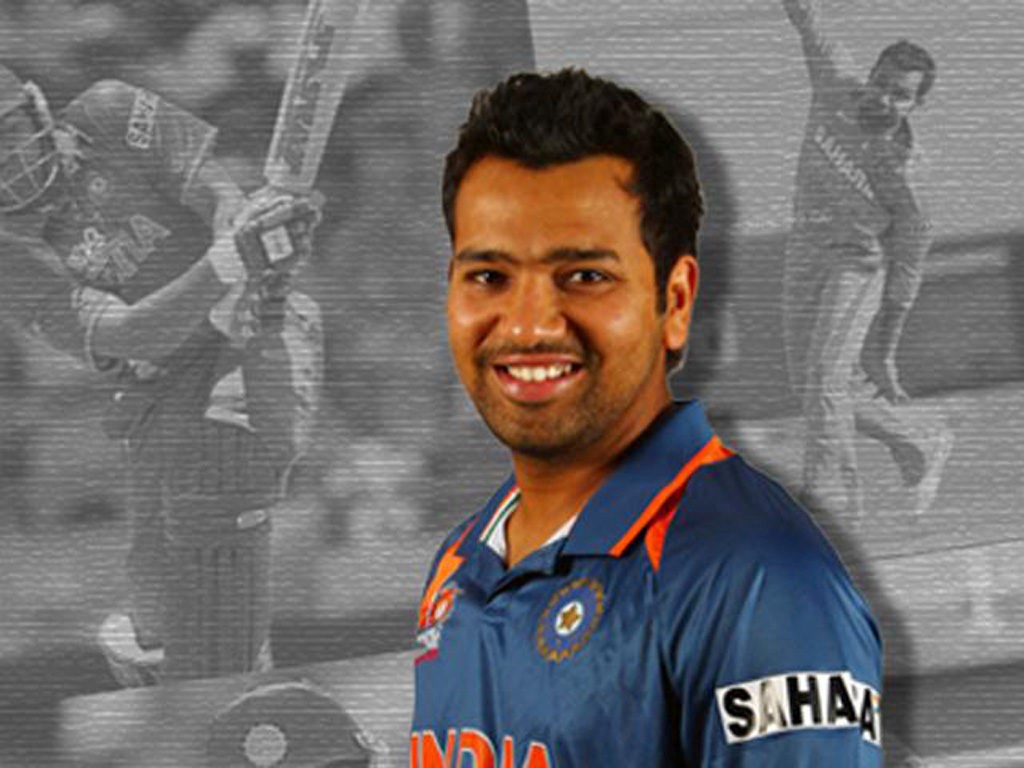
Rohit Sharma is the captain of the team Mumbai Indians in 2018 IPL. He is known for his two T20 centuries and three One Day International double centuries. He is now all set to battle in Indian Premier League and leads his team to the victory.
2. MS Dhoni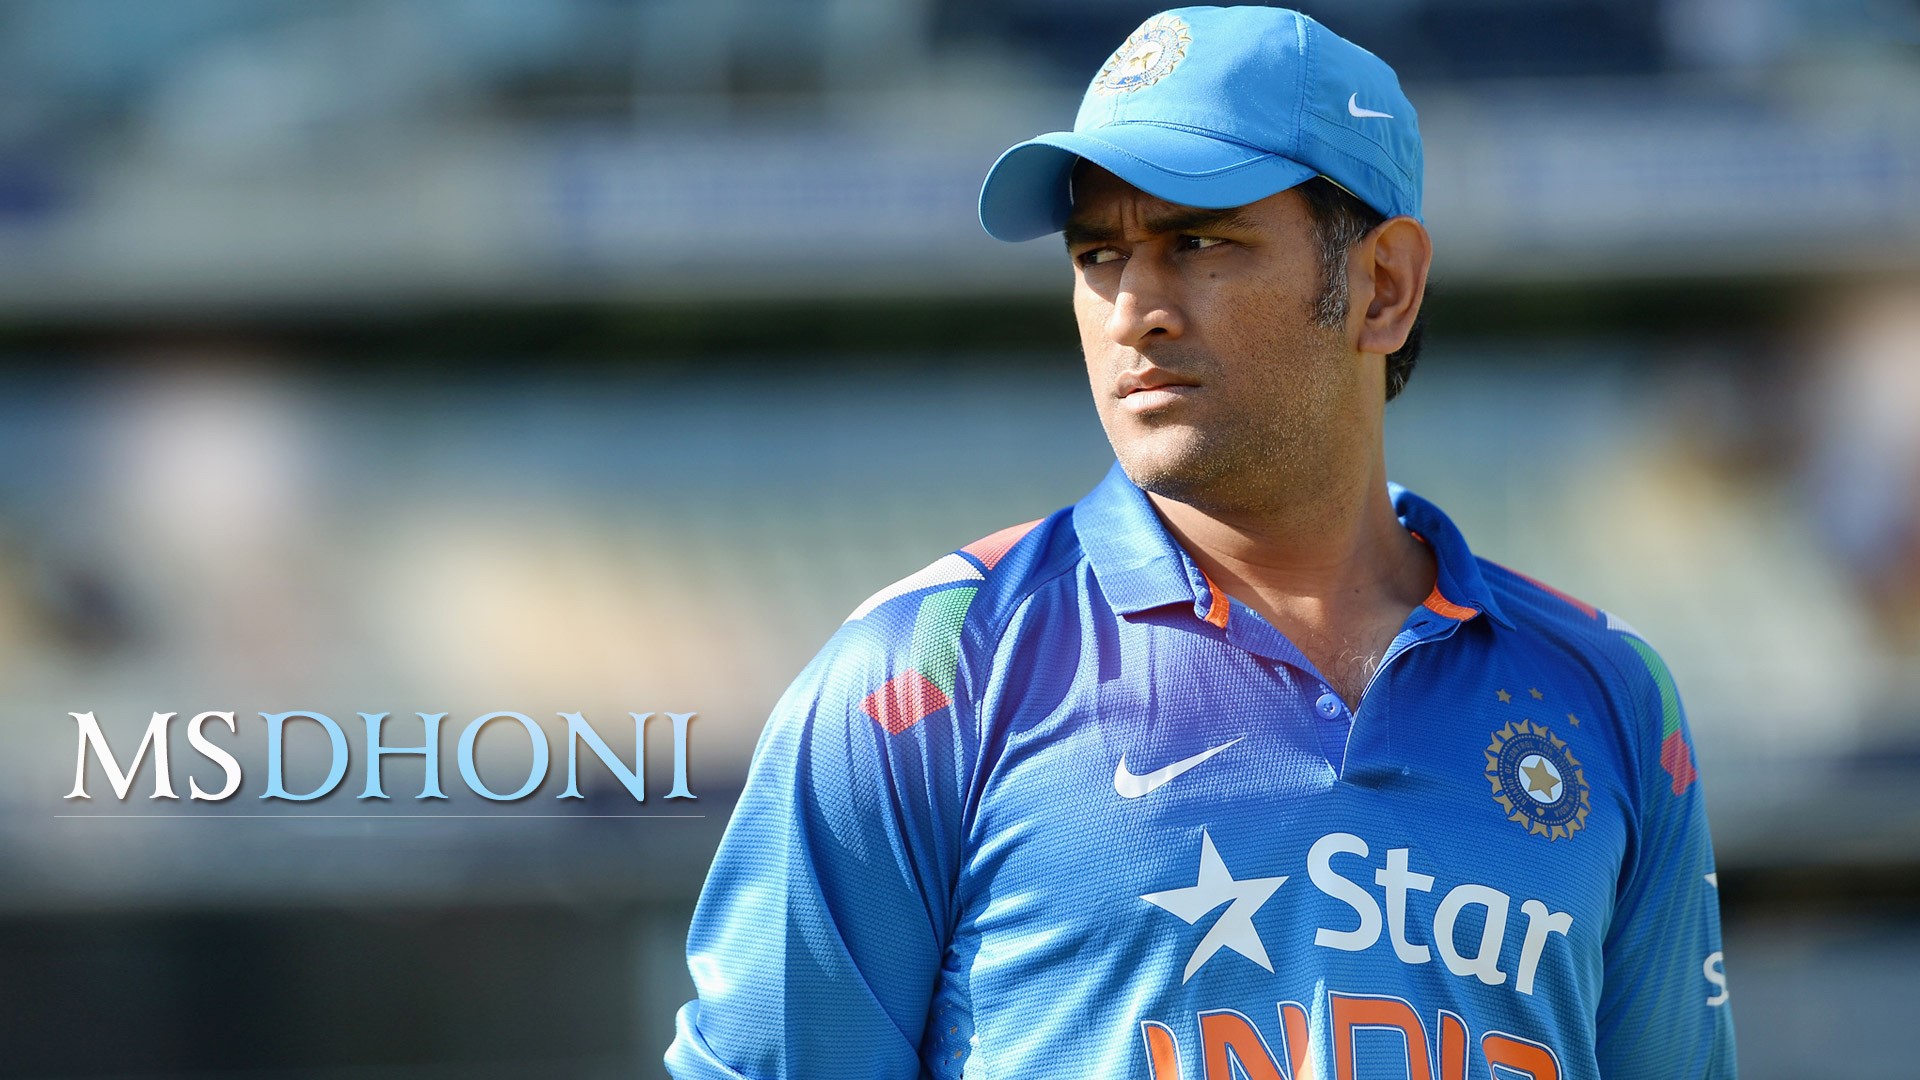
Mahendra Singh Dhoni is the captain of Chennai Super Kings. He has led India to the 50-over World Cup and World Twenty20 and CSK to two IPL and Champions League Twenty20 titles.
3. Gautam Gambhir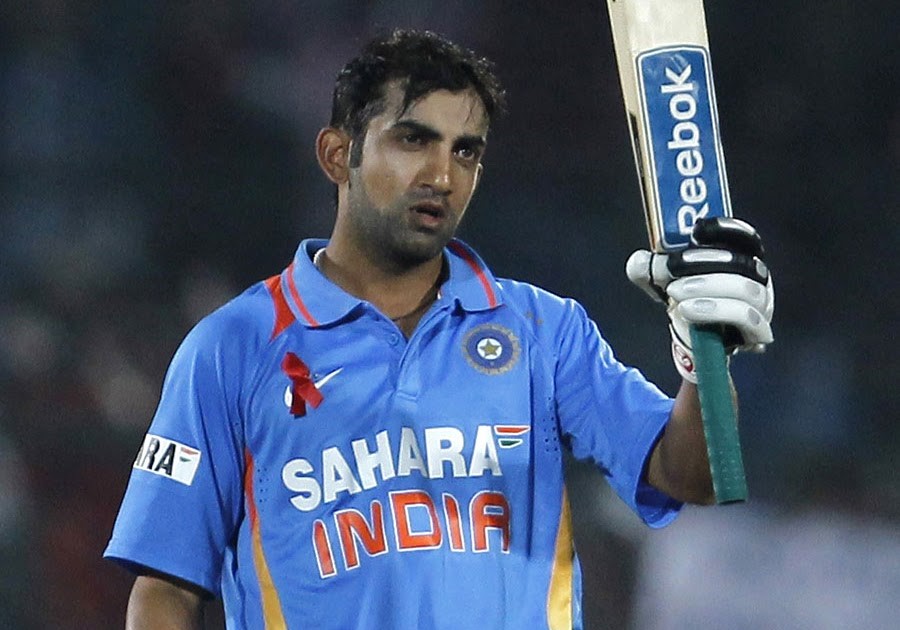
Gautam Gambhir is the captain of Delhi Daredevils. He had led Kolkata Knight Riders to two IPL titles. He is credited with turning around KKR’s fortunes with his innovative captaincy, crucial batting.
4. Ravichandran Ashwin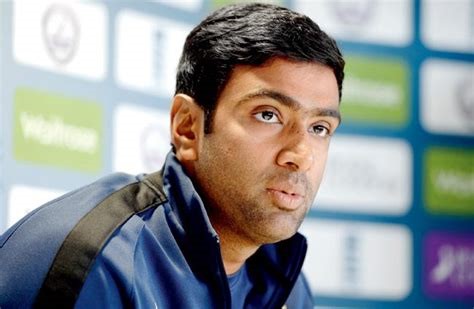
Ravichandran Ashwin is the captain of Kings XI Punjab. R Ashwin is known for his successful fast bowling but also he is an all-rounder. He is one of the fastest Indian bowler.
5. Virat Kohli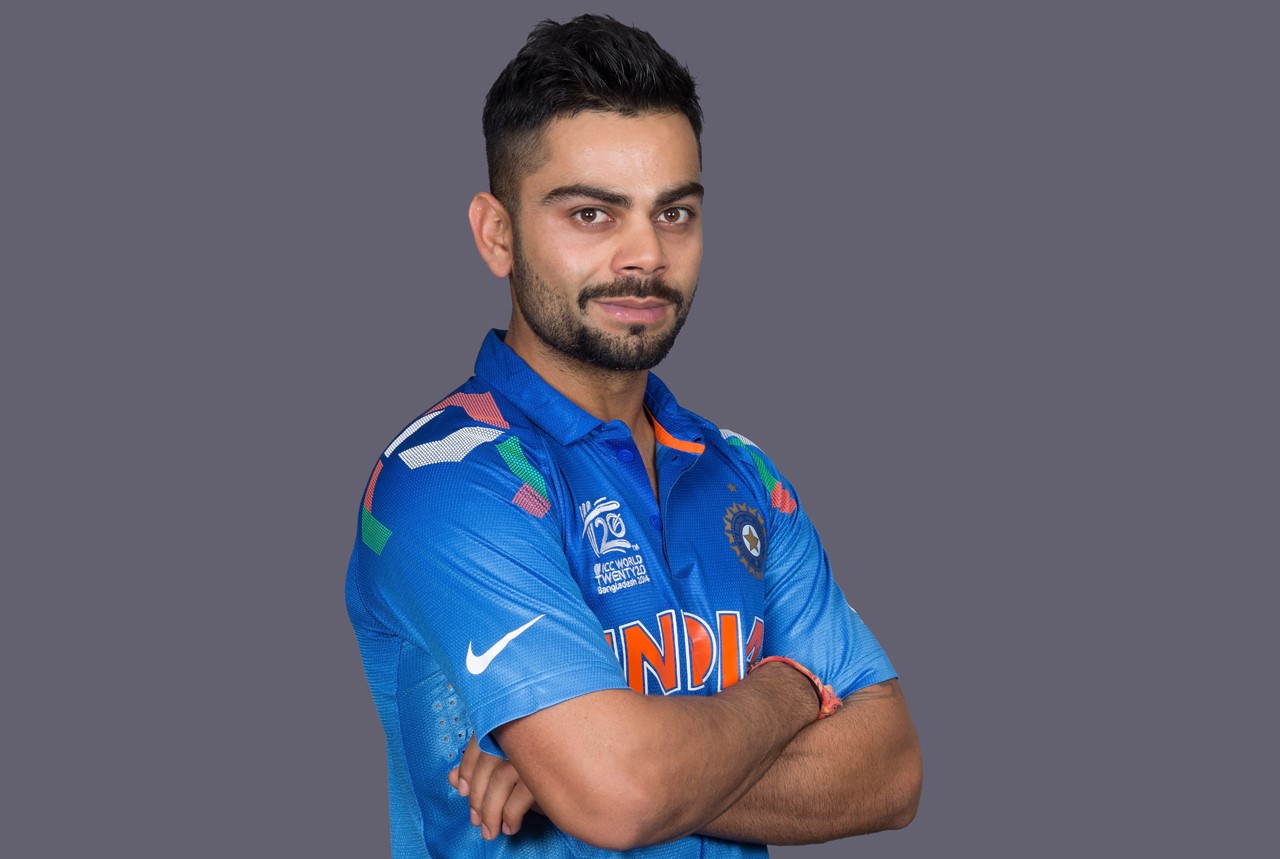
Virat Kohli is the captain of Royal Challengers Bangalore. Kohli’s first agenda would be to move up the rankings of RCB and if he continues with his form of batting as in last year then it will be difficult for bowlers overcome this batsman.
6. Ajinkya Rahane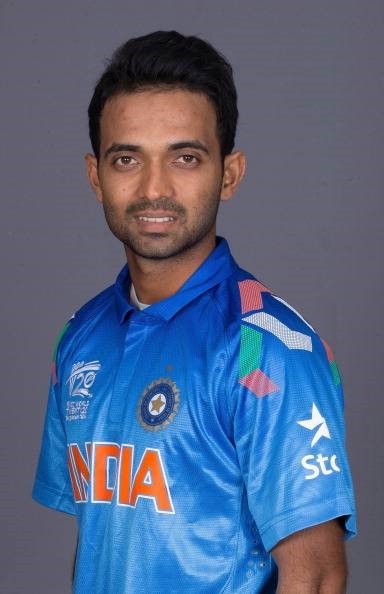
Ajinkya Rahane is the captain of Rajasthan Royals. Being a vice-captain for Indian National Team he has proven his strength for the team and this time in IPL he has taken the captainship of Rajasthan Royals to lead his team towards victory.
7. Dinesh Karthik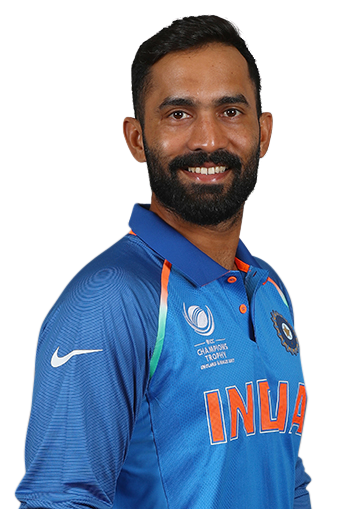
Dinesh Karthik is the captain of Kolkata Knight Riders. He has played his first T20 in 2006 and now he is a good wicket-keeper batsman. His bowling is right arm off break.
8. Kane Williamson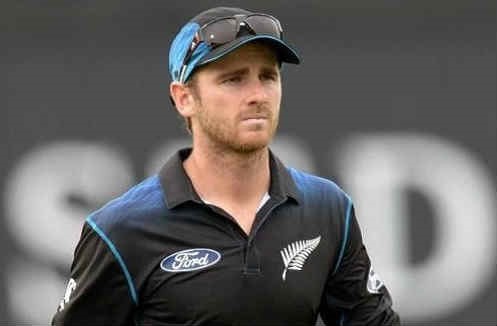
Kane Williamson is the captain of Sunrisers Hyderabad. He belongs to New Zealand Cricket team. From 2010 he has entered in the International Cricket and represented his New Zealand team in 2016 ICC World T20.
Image Source: timesofindia.indiatimes.com
* The Content stated above is for informational purpose only. Expert Software Team is not responsible if any part of content found meaningless in any manner or condition.