Introduction of Nevino HR Software

Nevino Human Resources Software: Human Resources is the backbone of every organization. So, it becomes necessary to use human resources perfectly. To achieve this goal Nevino HR software is equipped with complete solution for all types of organizations. This software is developed by Nevino Systems Private Limited situated in Ambala(Haryana). The basic features of Nevino HR Software are as follows: –

Click Here To Buy Nevino HR Software

introduction-of-nevino-hr-software-1-2.png

  • Easily mark the Employee attendance.
  • Edit Employee details in few steps.
  • User-friendly interface of Nevino HR Software.
  • Administrator password authentication system.
  • Separate Username and Password for every employee.
  • Maintains the old and new record of employees.
  • Enter Salary, allowances and deduction in one click.
  • Online accessibility of software is available.
  • Facility to take daily back up of the database.

* The Content stated above is for informational purpose only. Expert Software Team is not responsible if any part of content found meaningless in any manner or condition.

How to edit Employee in Nevino HR Software

After saving the employee details in nevino hr software it is possible to edit details of employee in an easy way. In this blog we will learn how we can edit the employee details in nevino hr software.

Step 1.On the main window of Nevino HR Software click on ‘HR’ icon as indicated in image below.main hr dashboard

Step 2. When ‘HR’ icon is clicked ‘Employee’ main window will appear where we can see the name of employee appearing.hr employee window

Step 3. Now click on ‘Edit’ button as indicated in image below.hr employee edit button

Step 4.When ‘Edit button is clicked a window as below will appear where you can change any details if required.hr employee details

Step 5. For example, we want to enter address as ‘Ambala’ as shown in image below.hr employee address

Step 6. To save the newly added details of employee click on ‘Update’ button as indicated below.hr employee update

Step 7. When ‘Update’ button is clicked data will be saved and on main window of employee address will also appear with employee name as shown in image below. In this way we can edit the details of employee.hr employee main screen

* The Content stated above is for informational purpose only. Expert Software Team is not responsible if any part of content found meaningless in any manner or condition.

How to add Employee in Nevino HR Software

Employee is the major part of an organization whose information is very important. In Nevino HR Software adding an employee is very user friendly. So please follow below mentioned steps to know how we can add employee in nevino hr software.

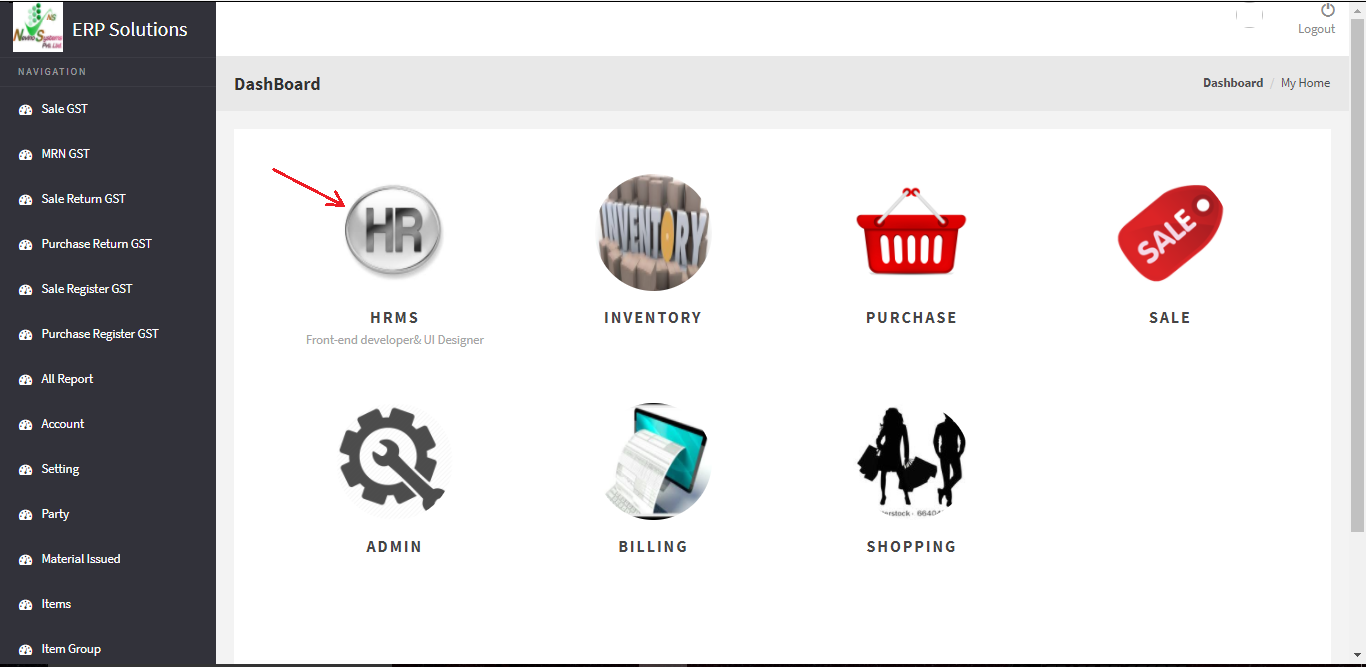
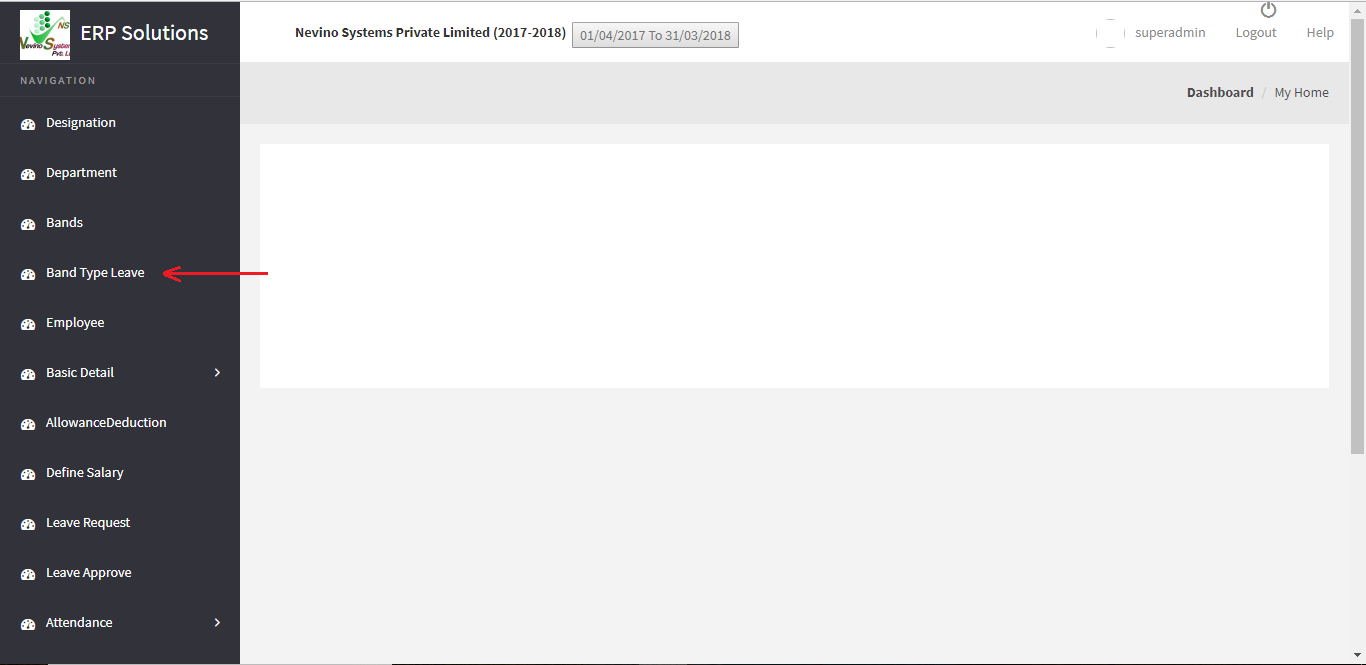
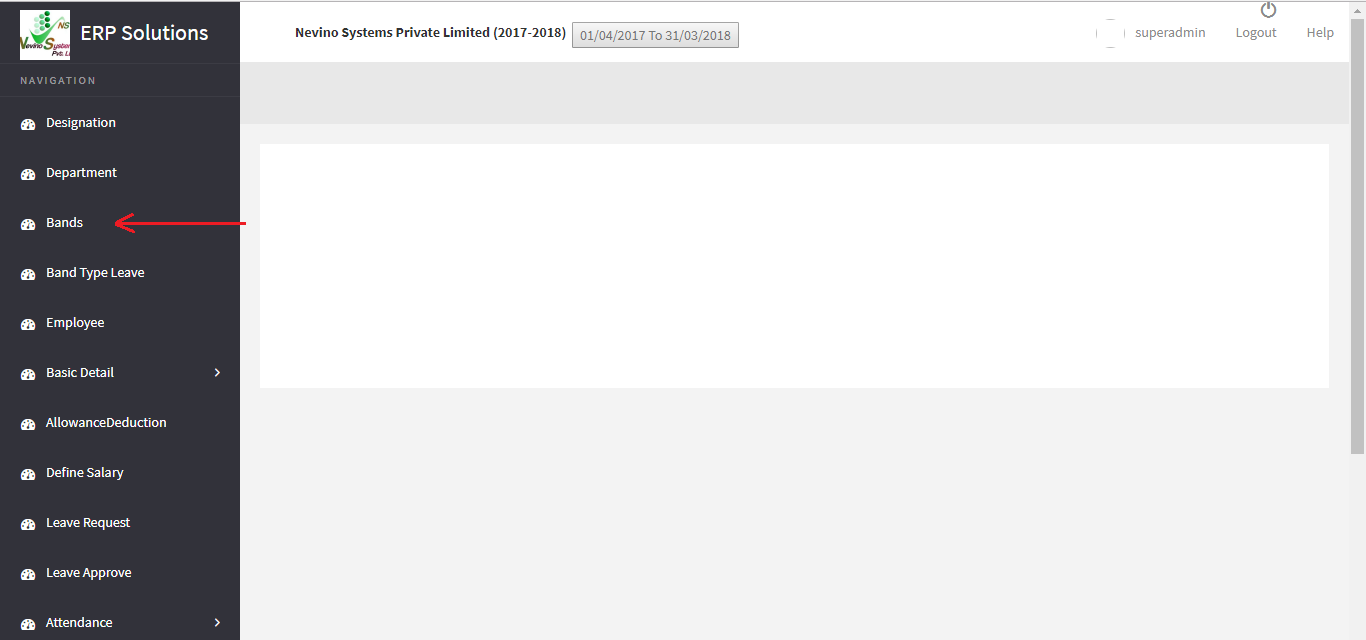
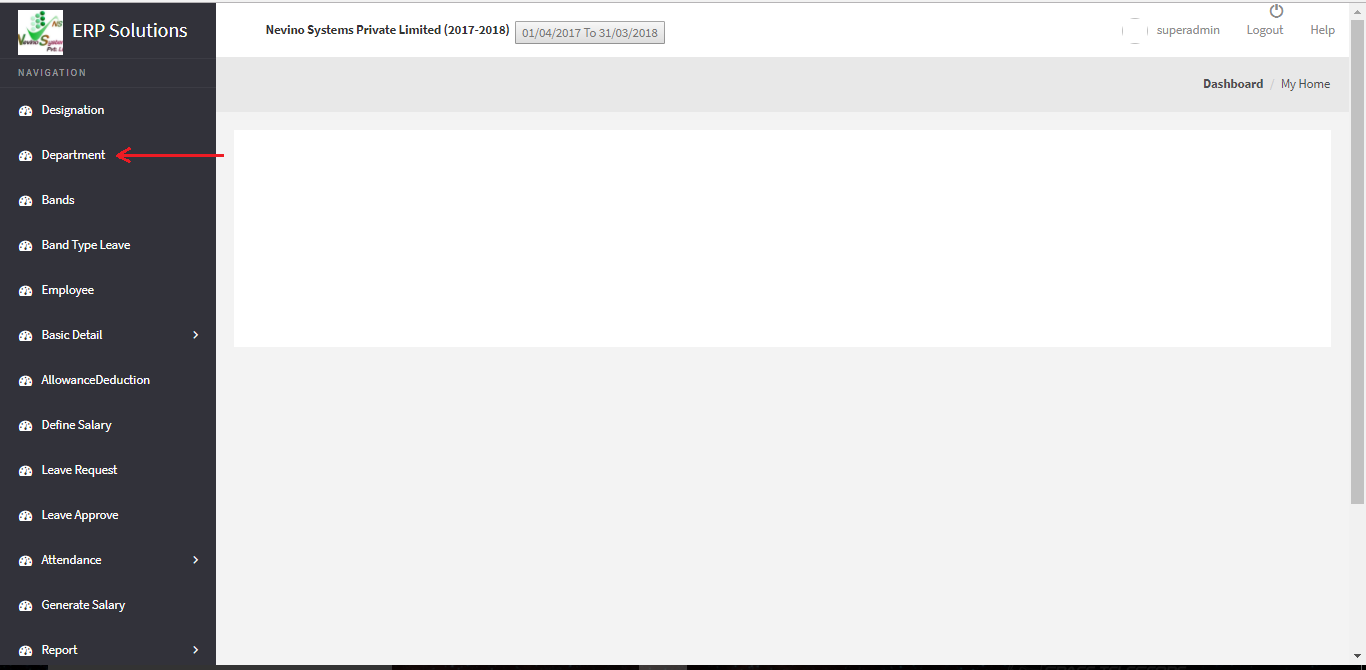
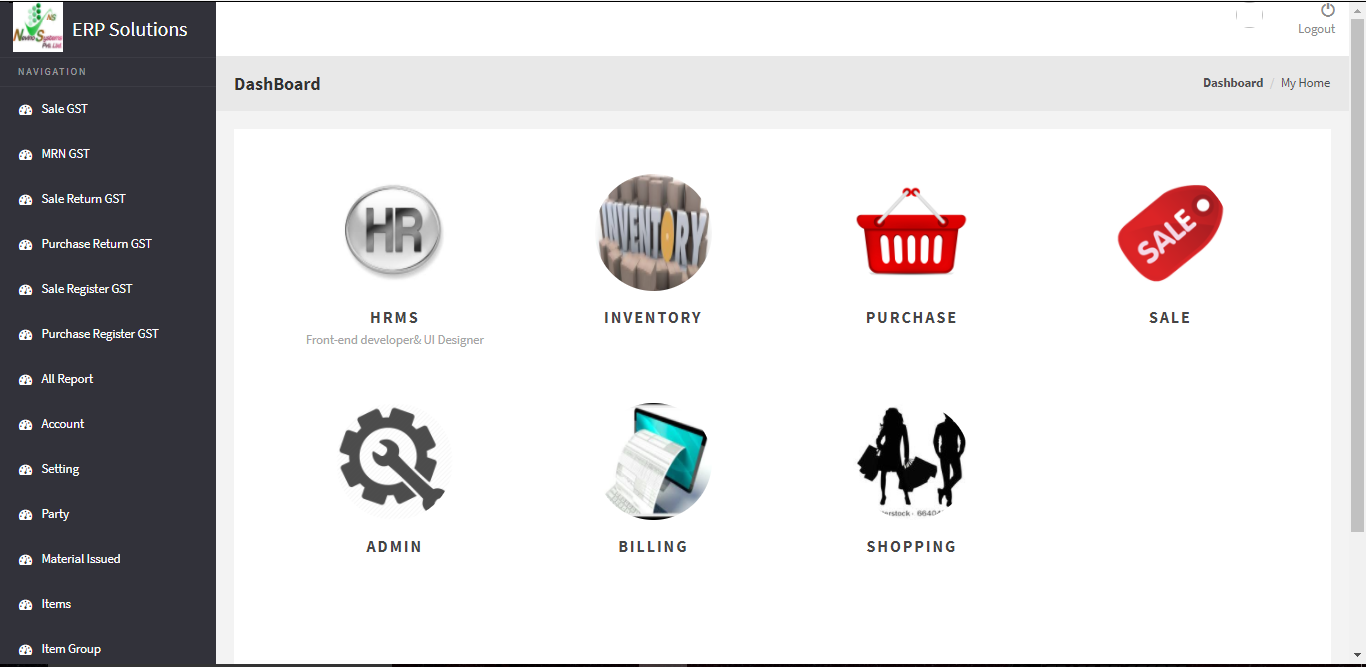
Step 1. We will start from the main screen of Nevino HR Software where you must click on ‘HR’ icon shown as below.
main hr window

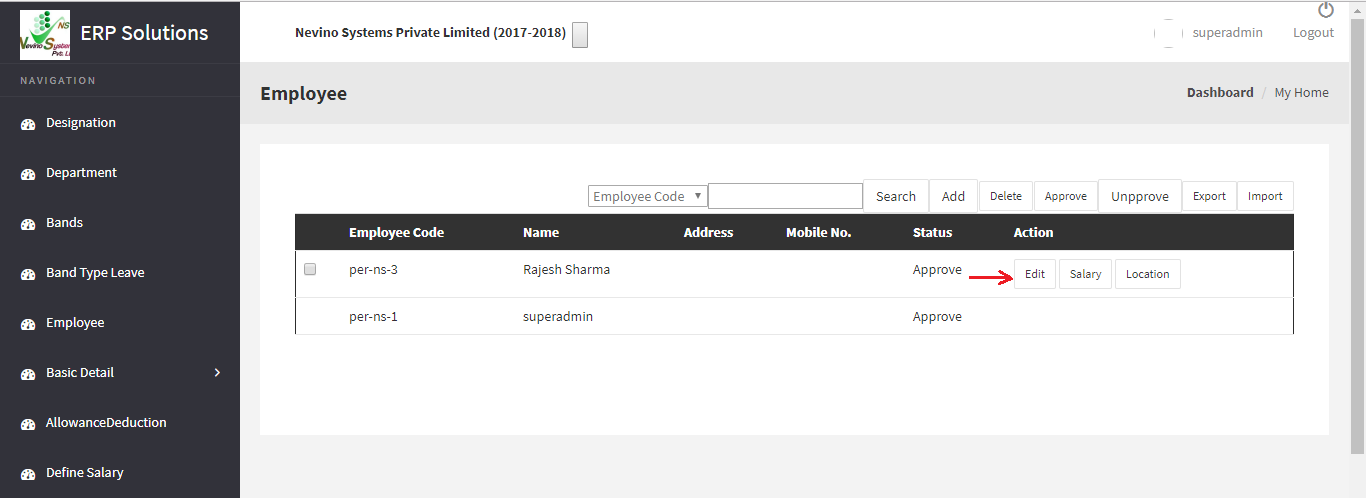
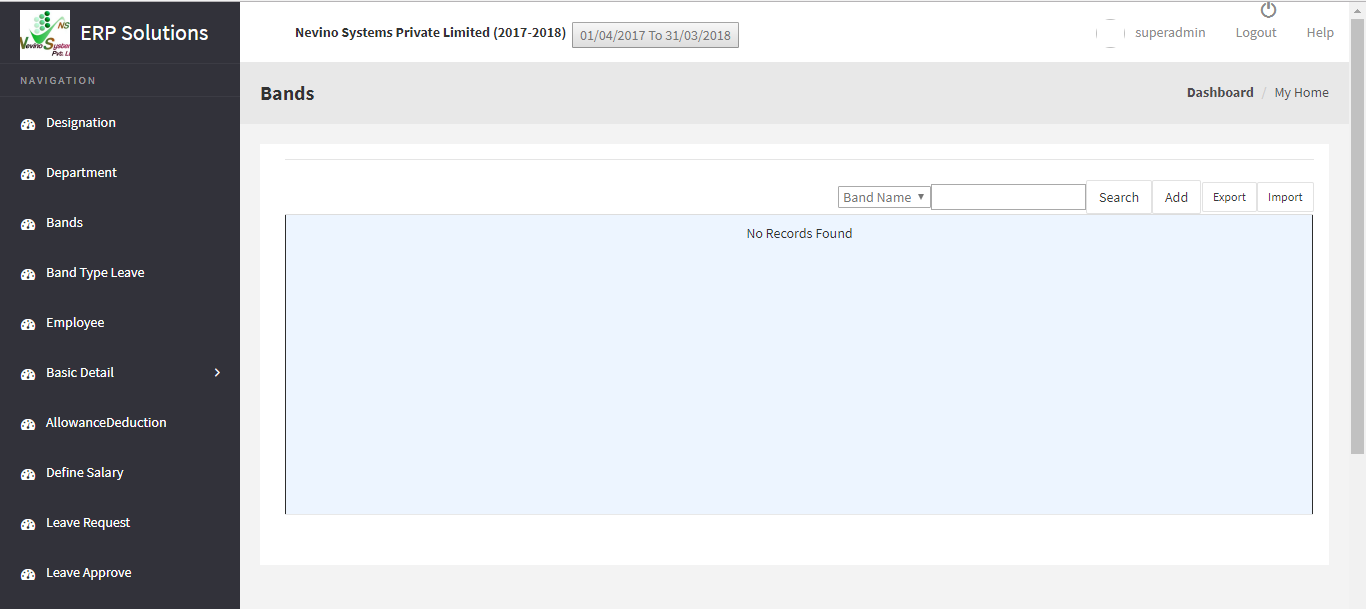
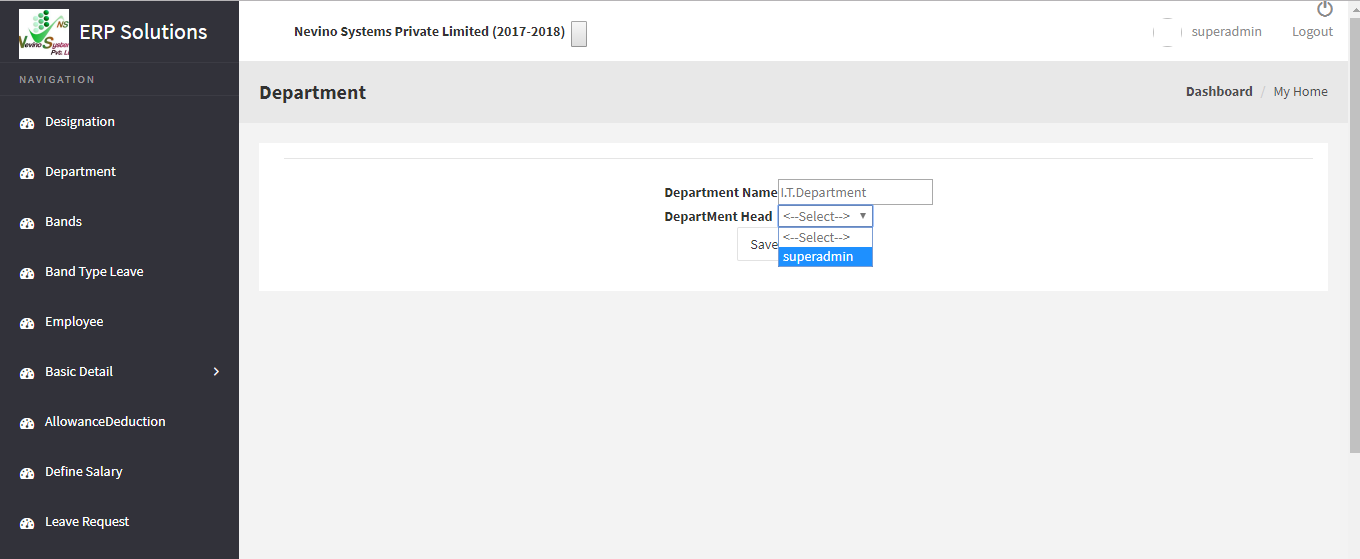
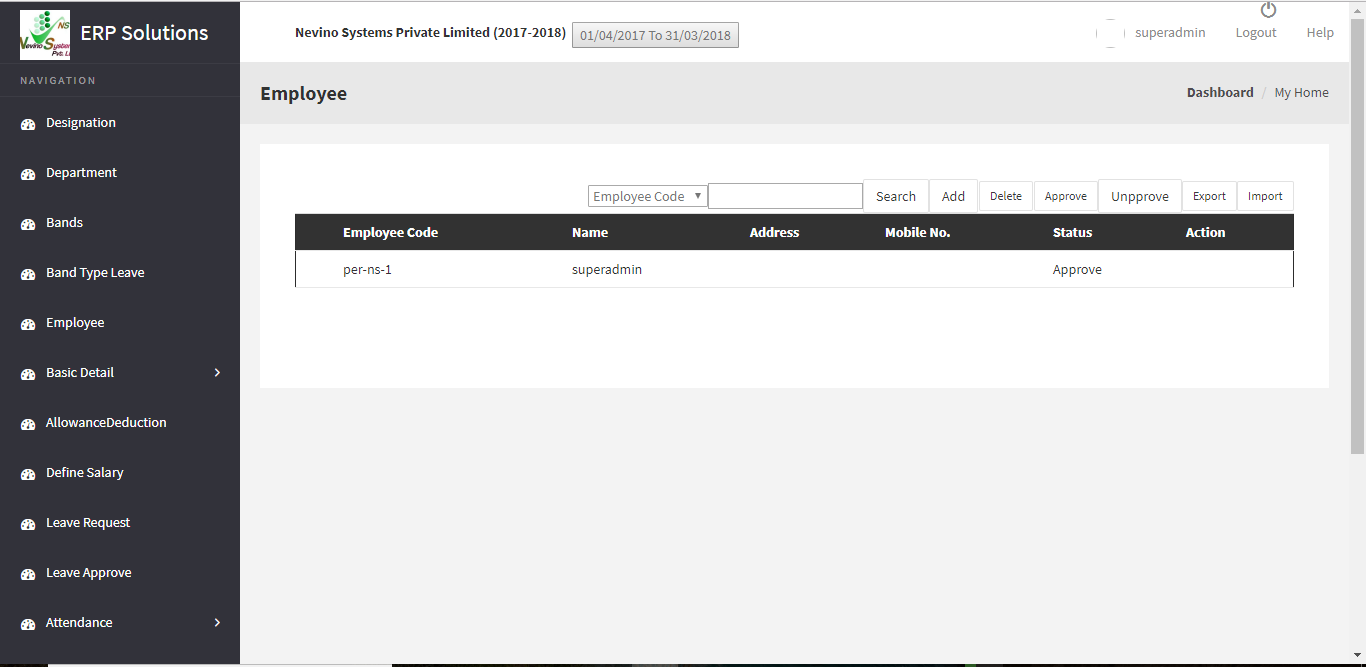
Step 2.On the click of ‘HR’ icon ‘Employee’ main window will open by default as per below image. Here you can see employee name as ‘superadmin’ which is by default in this software.
hr employee main screen

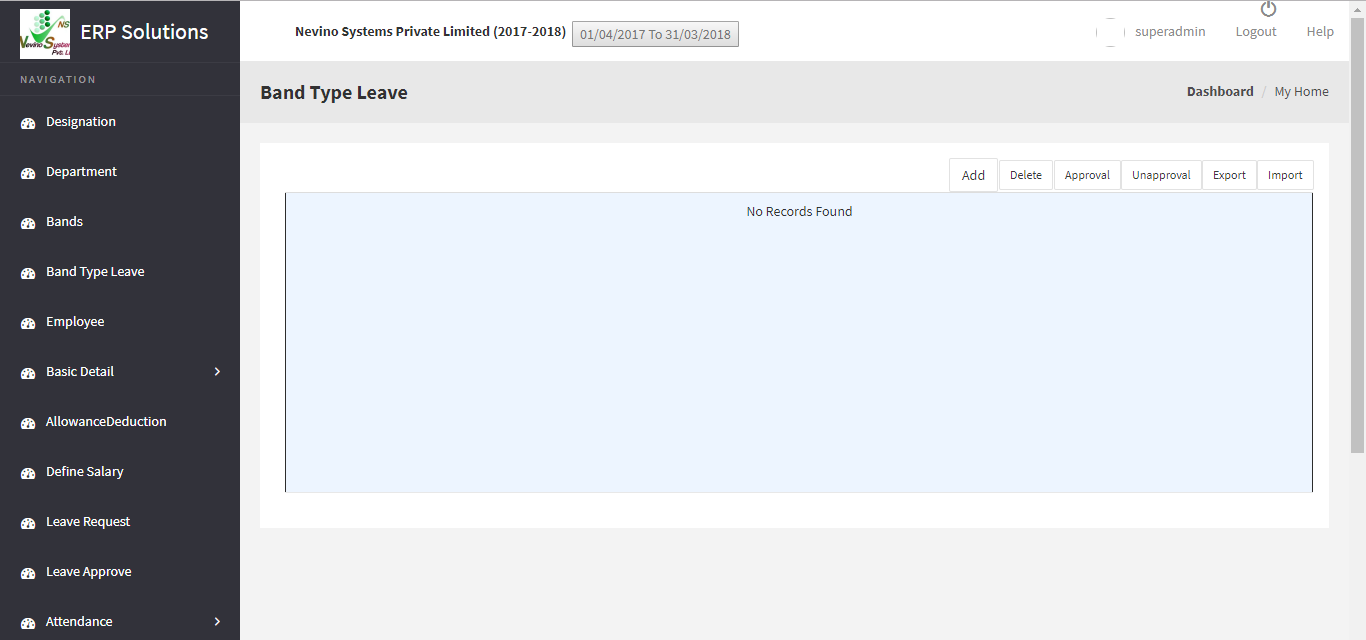
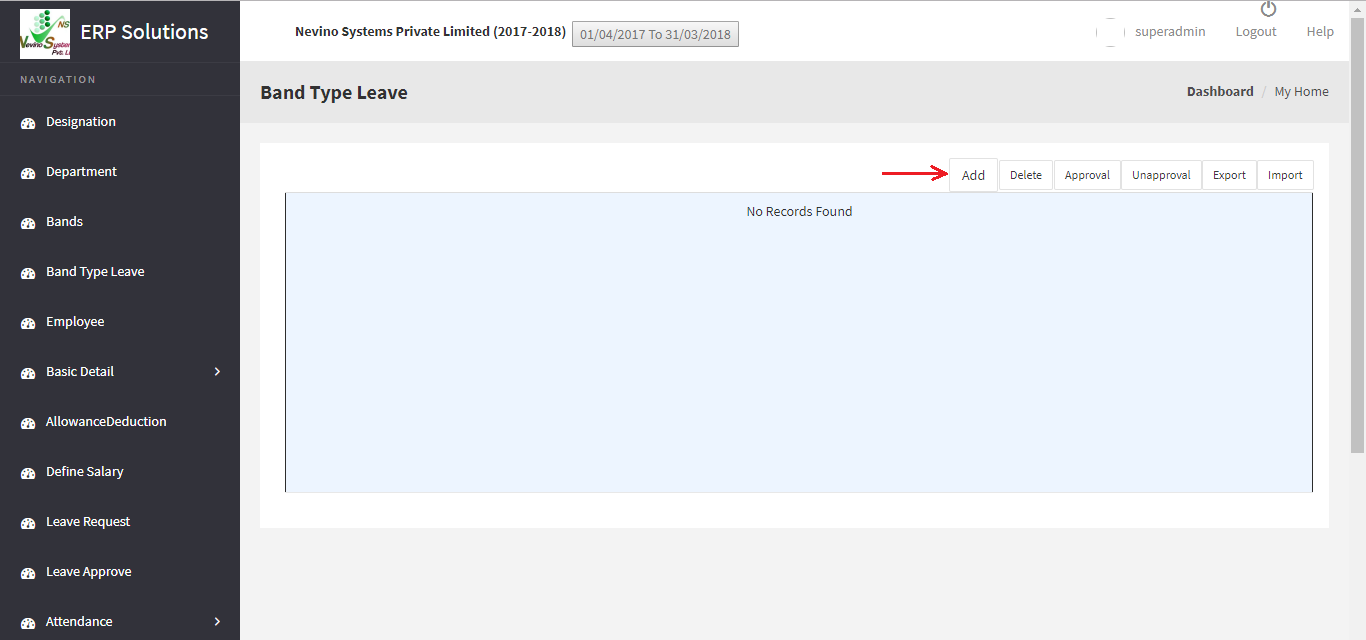
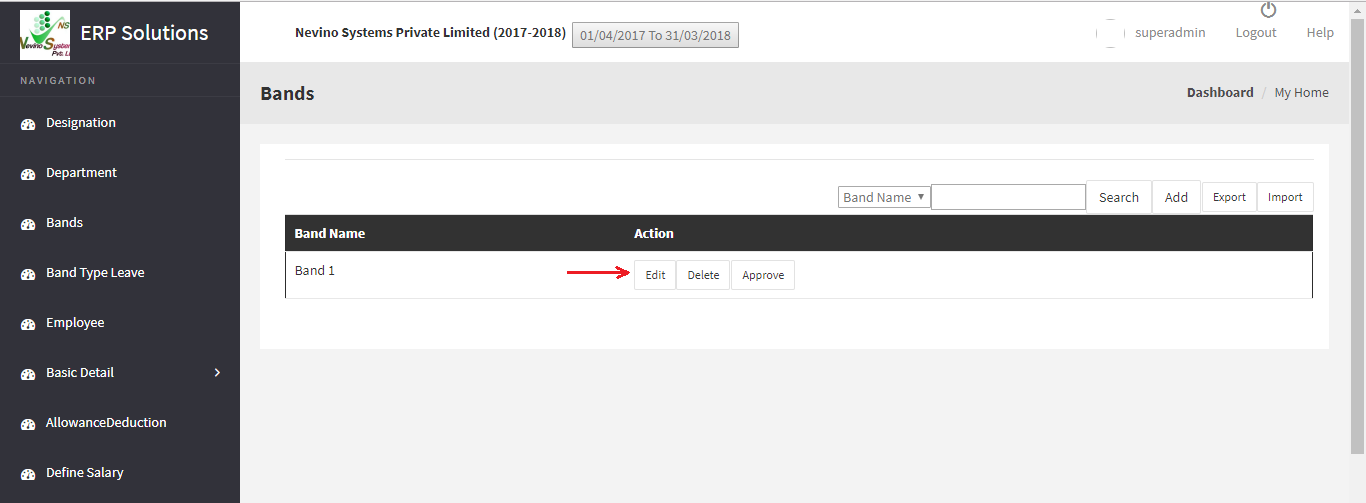
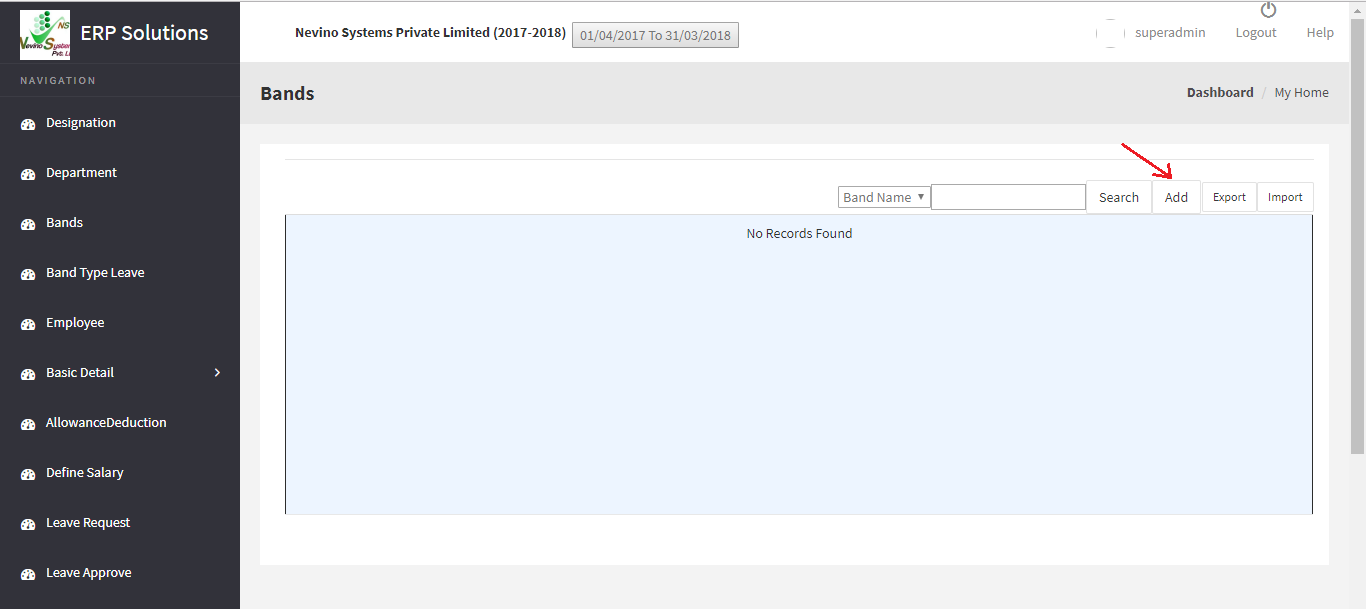
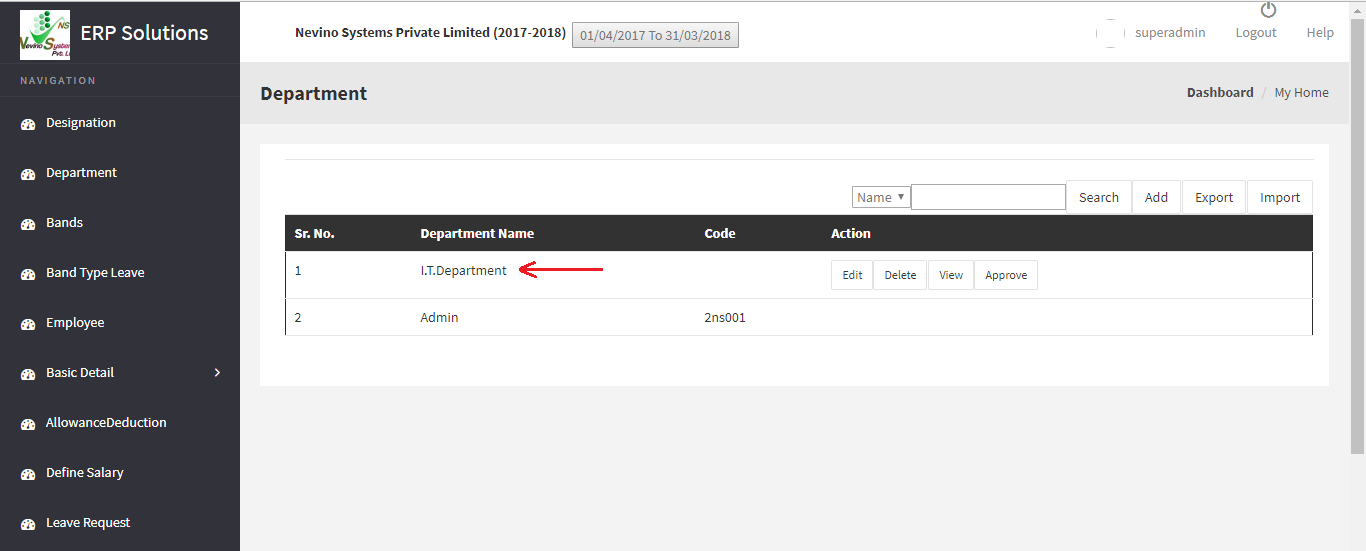
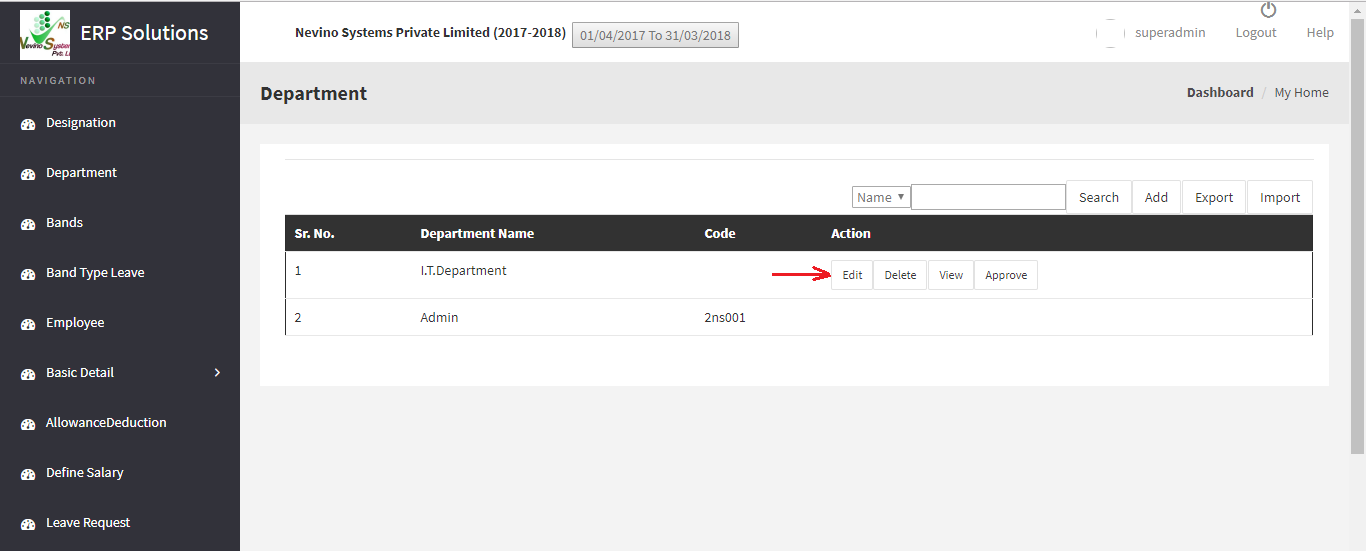
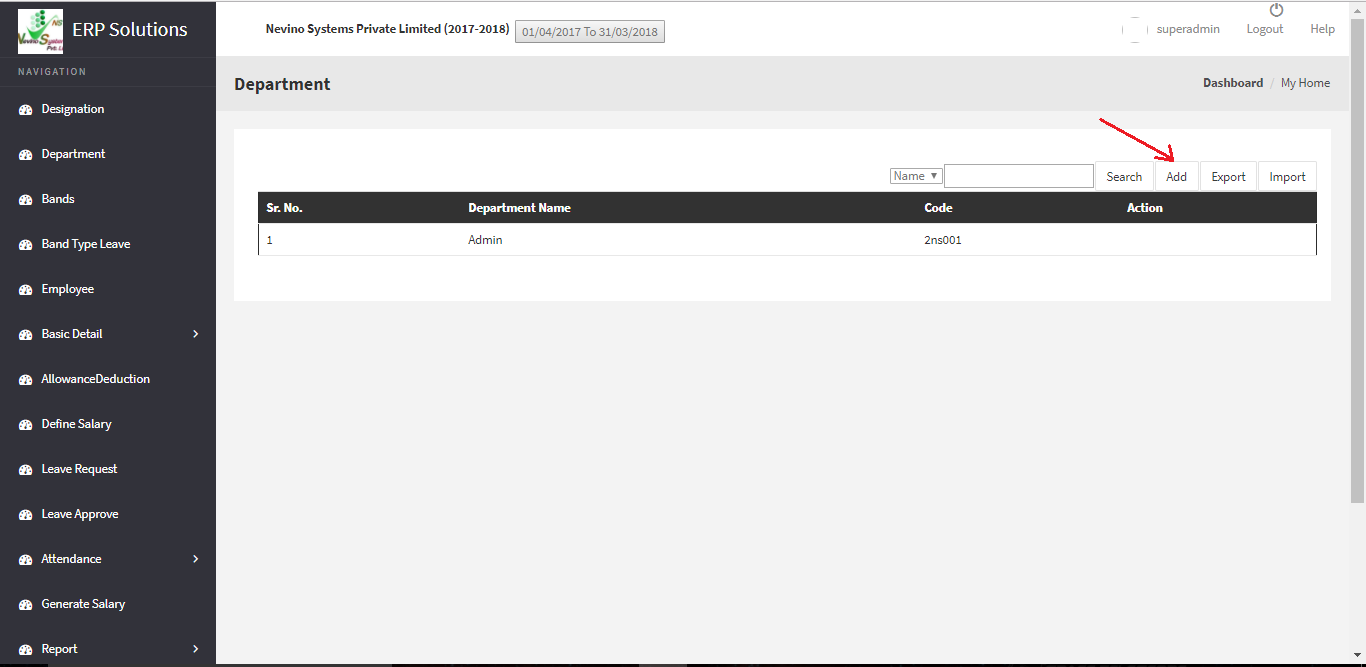
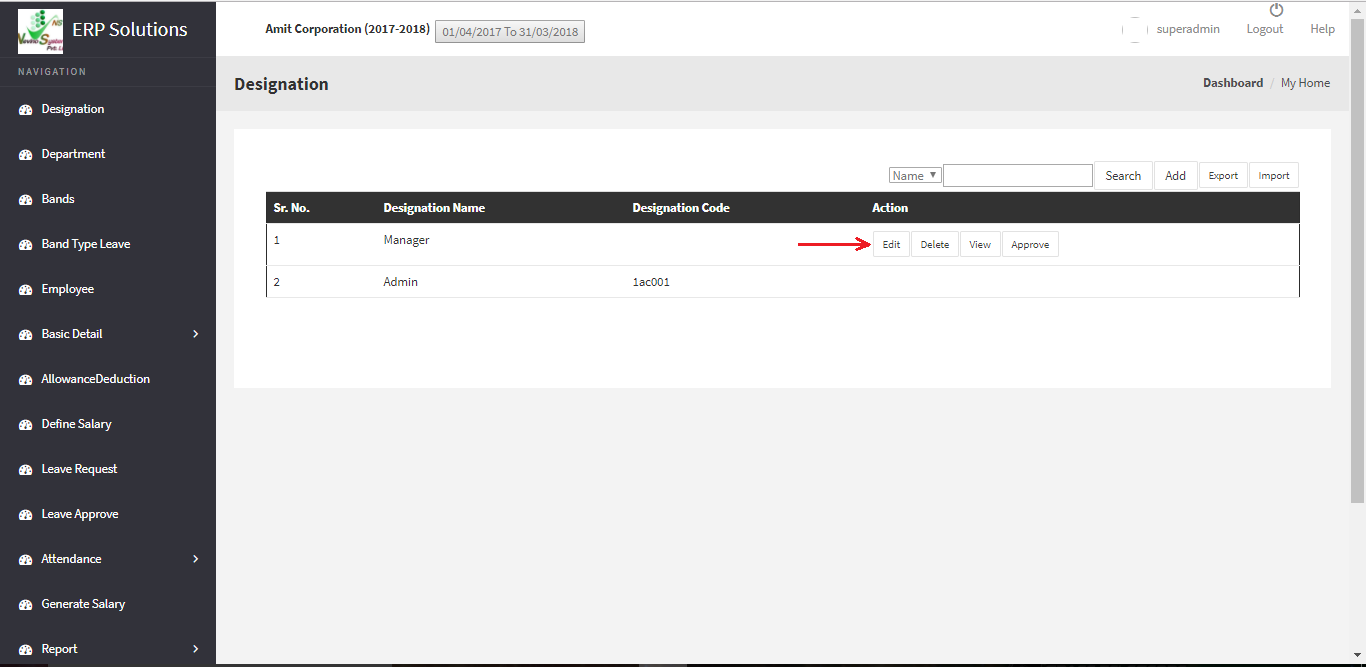
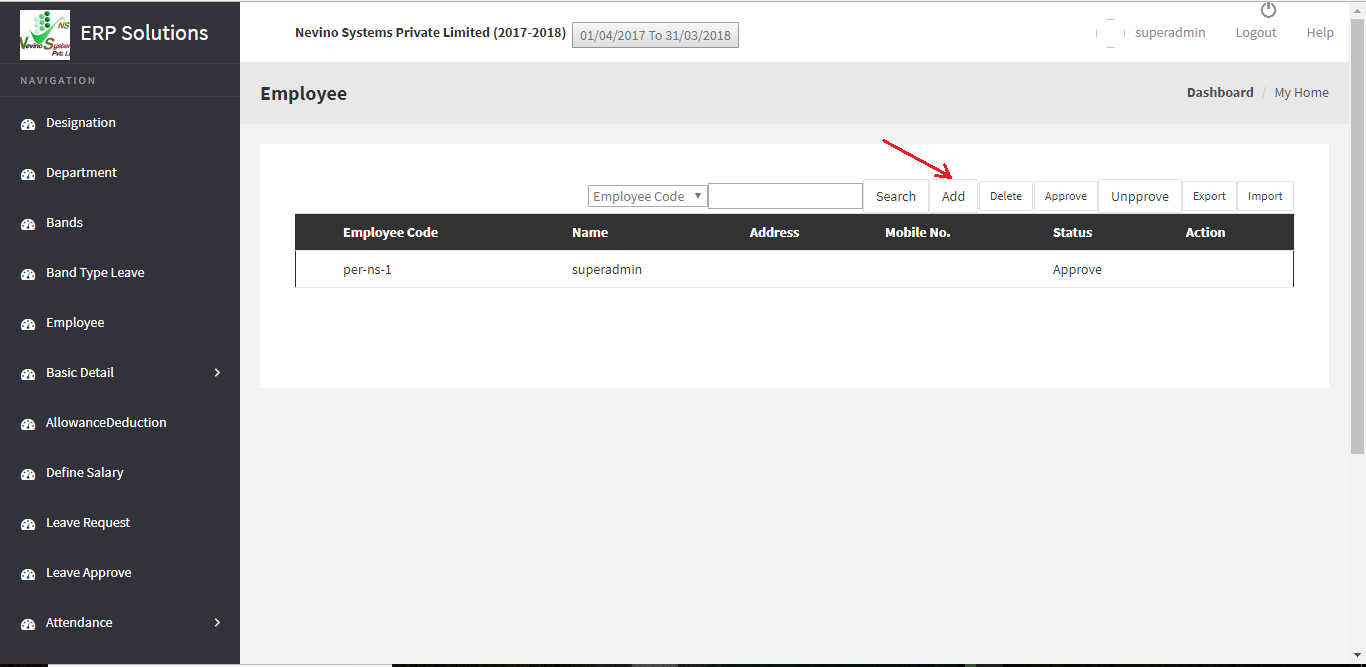
Step 3. Now click on ‘Add’ button as indicated in image below to add an employee.
hr employee add button

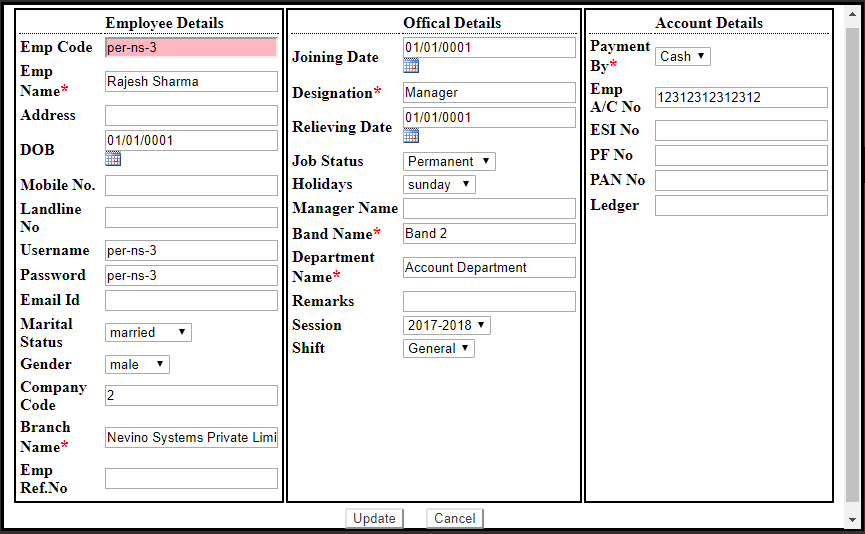
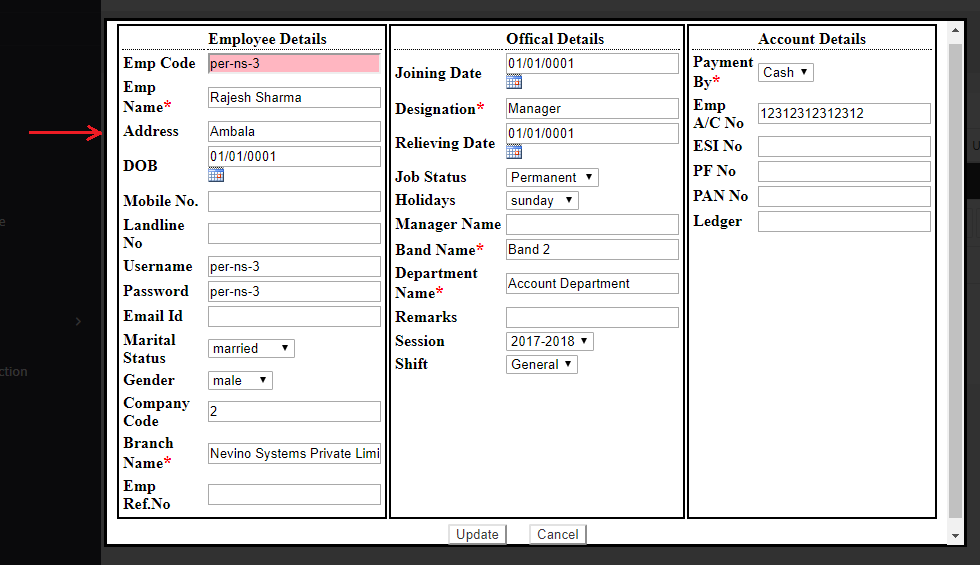
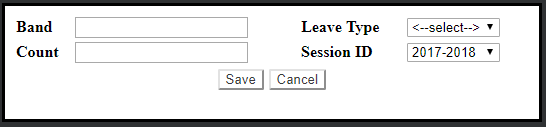
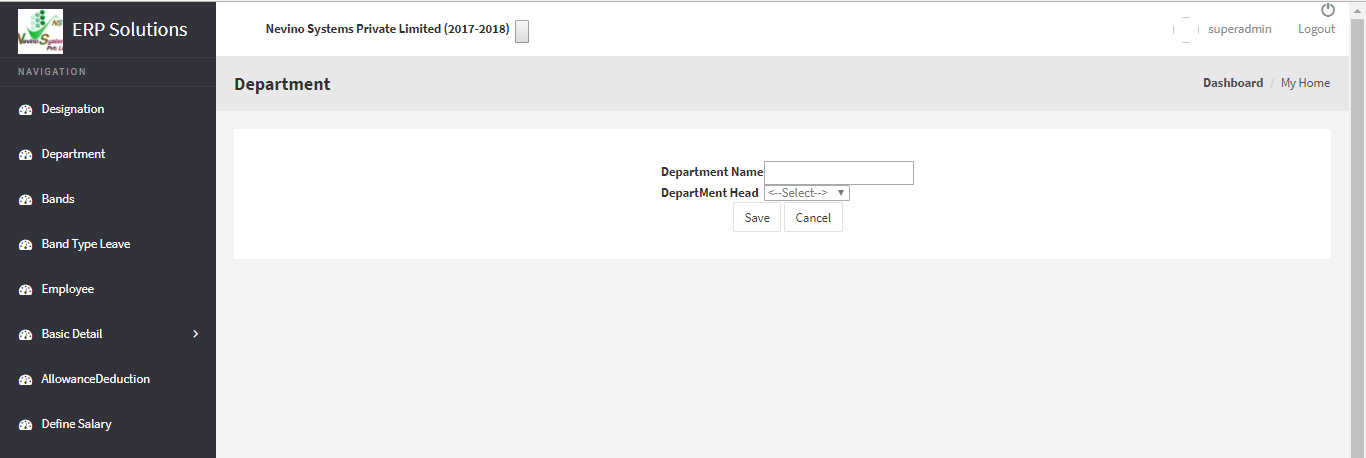
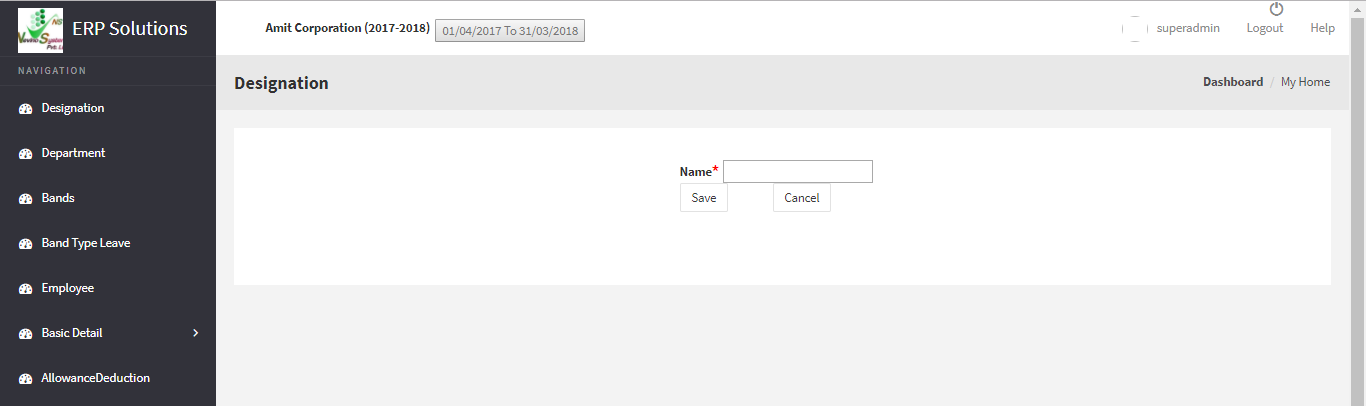
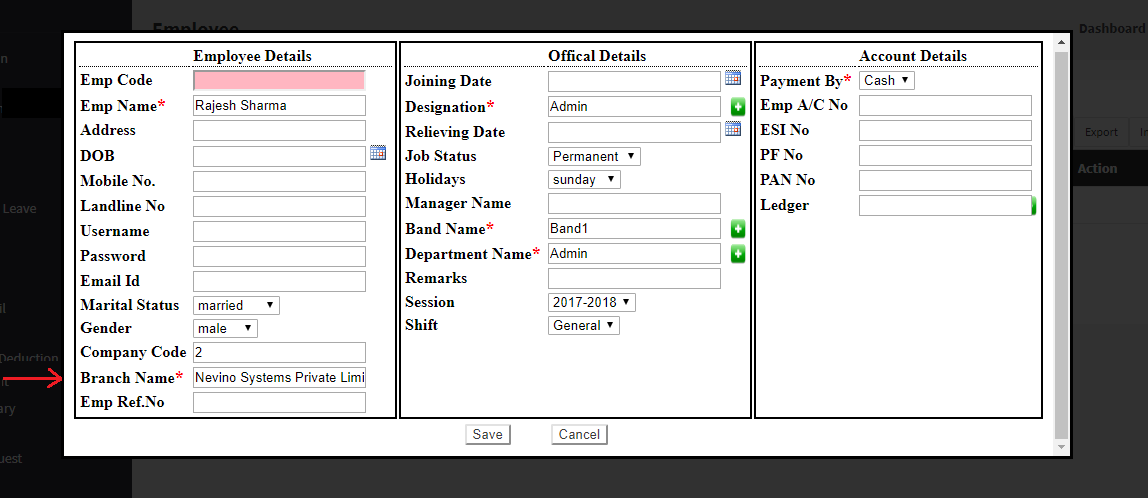
Step 4.On click of ‘Add’ button a new window as below will appear where you can see three columns ‘Employee, Official & Account details’ and we will start from employee details.
hr employee add deatails

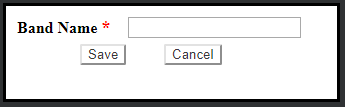
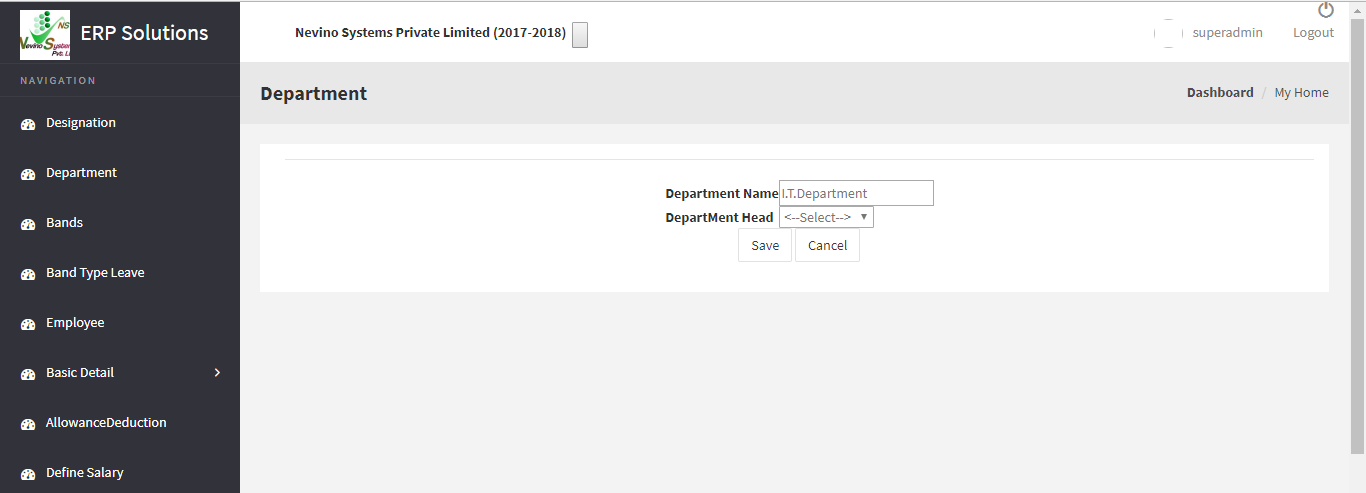
Step 5. The headings with * symbol are compulsory to add, so first we will add Employee name as shown below.
hr add employee name

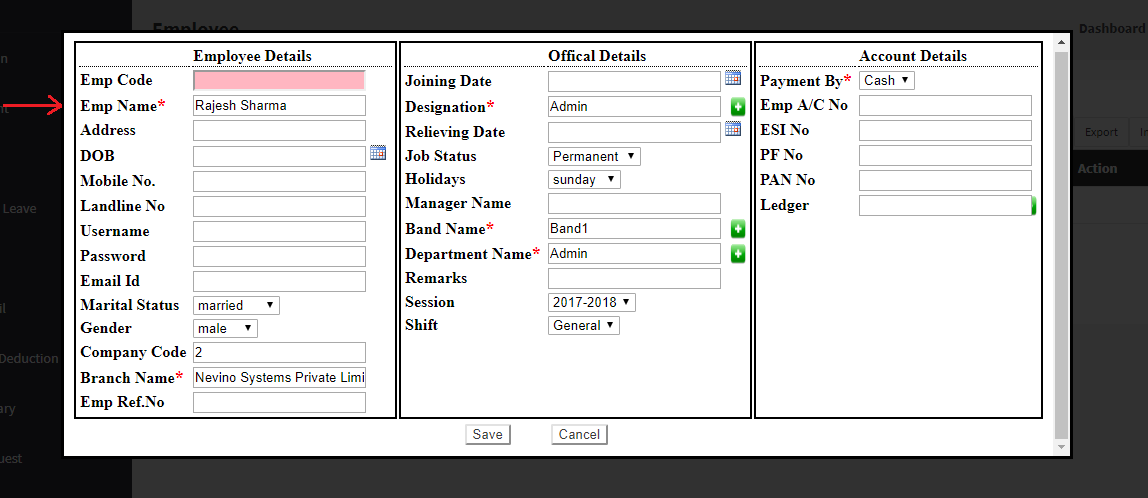
Step 6. Next box is Branch Name where you can enter company’s name, by default ‘Nevino Systems Private Limited’ is displaying inside the box in the image below.
hr add branch name width=

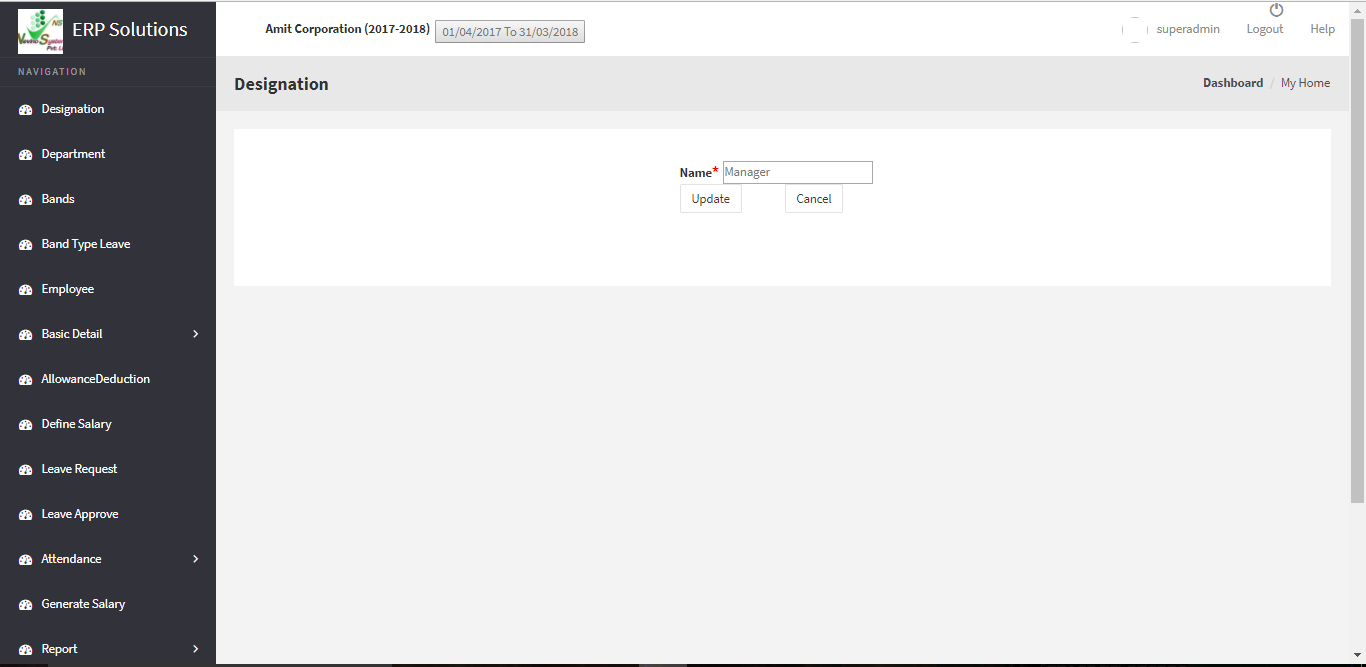
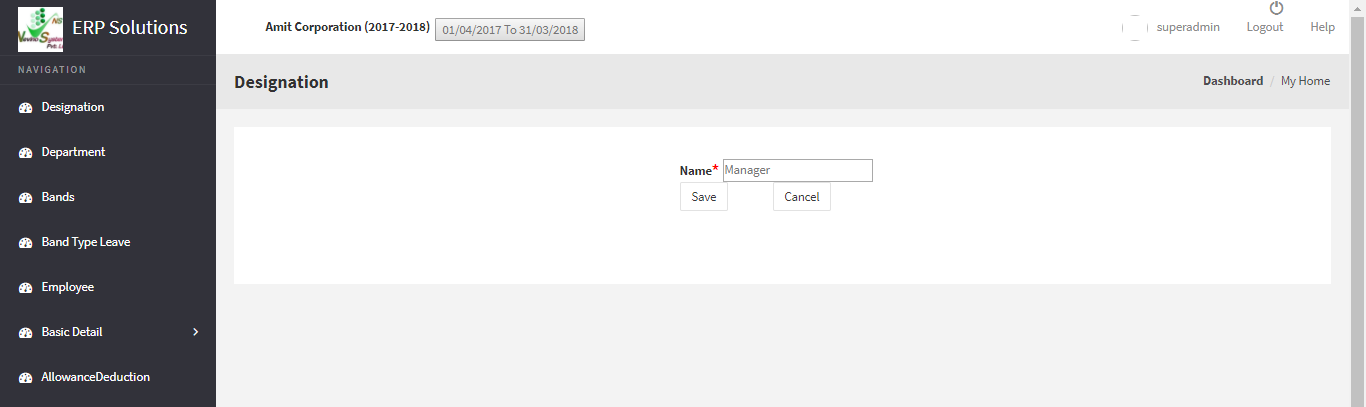
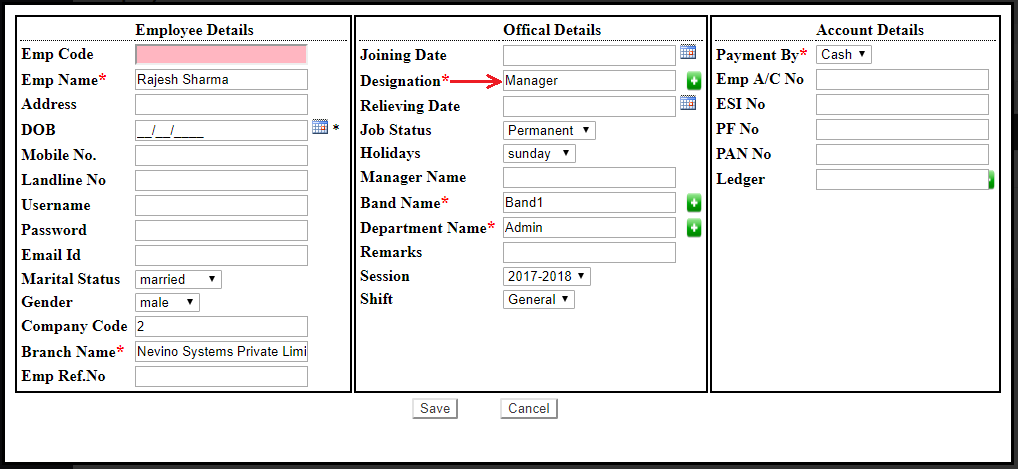
Step 7. Next box is ‘Designation’ where we will enter the designation name as ‘Manager’ as shown in image belowe.
hr add employee designation

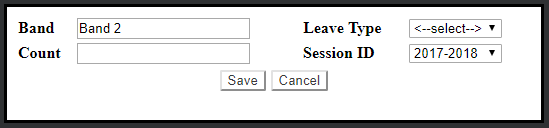
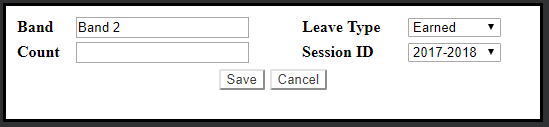
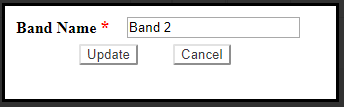
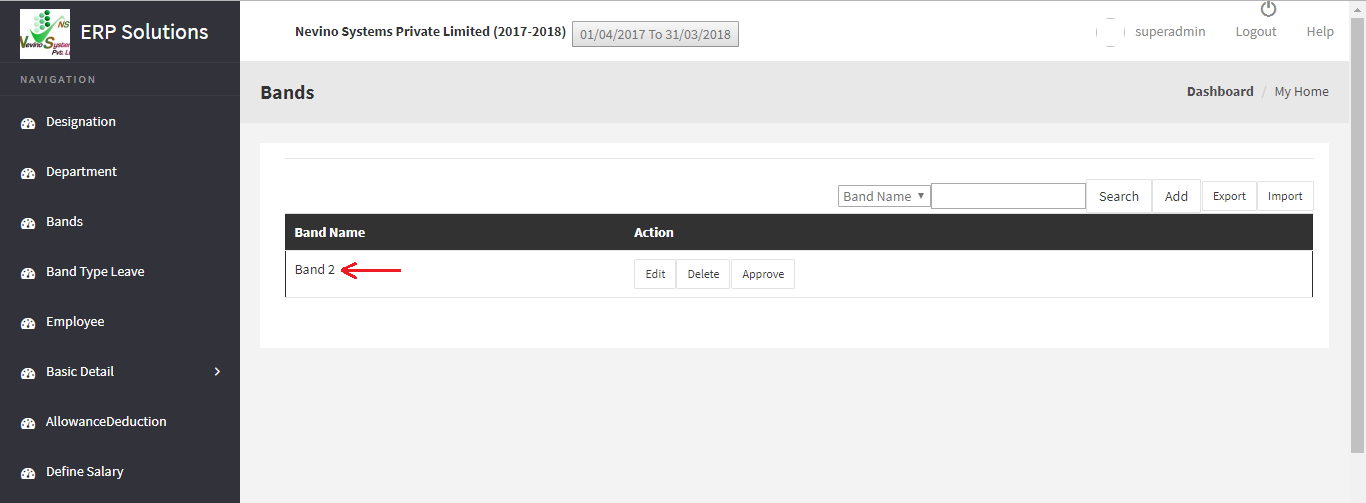
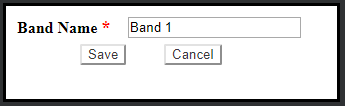
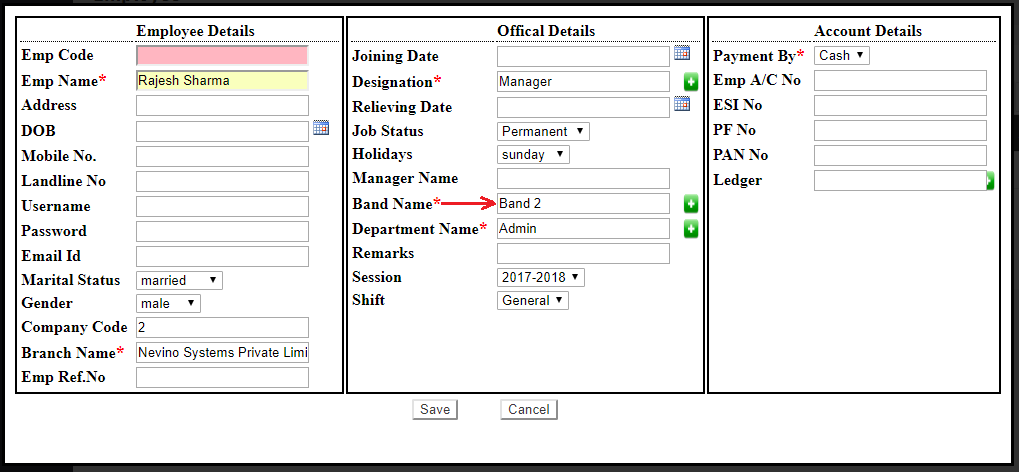
Step 8.‘Band Name’ is the next box where we will enter the band name as ‘Band 2’ as per below image.
hr add employee band

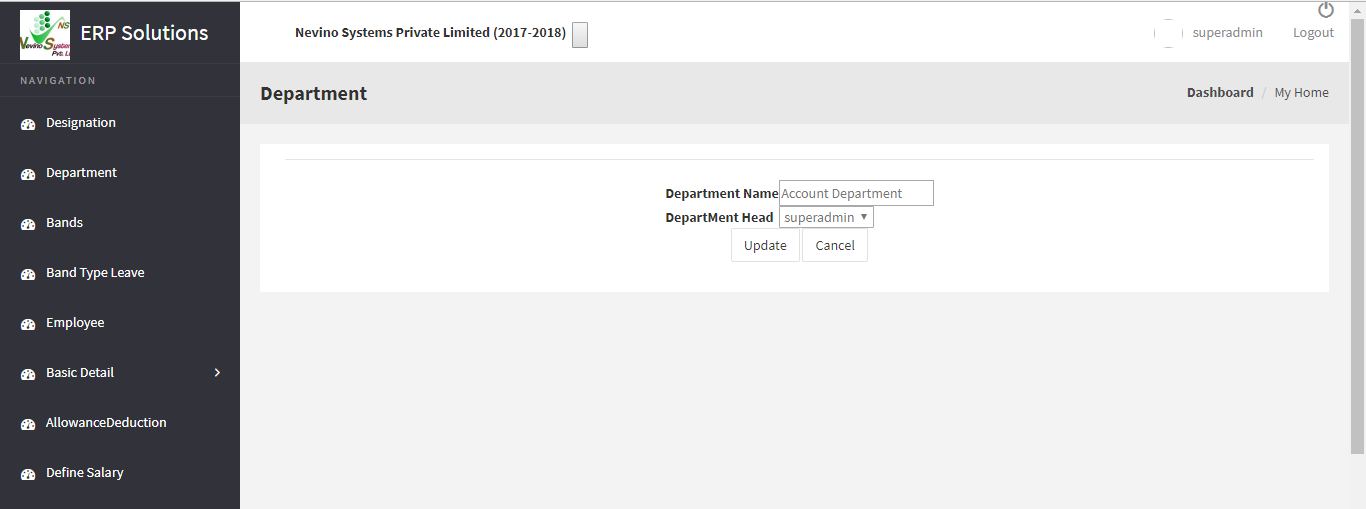
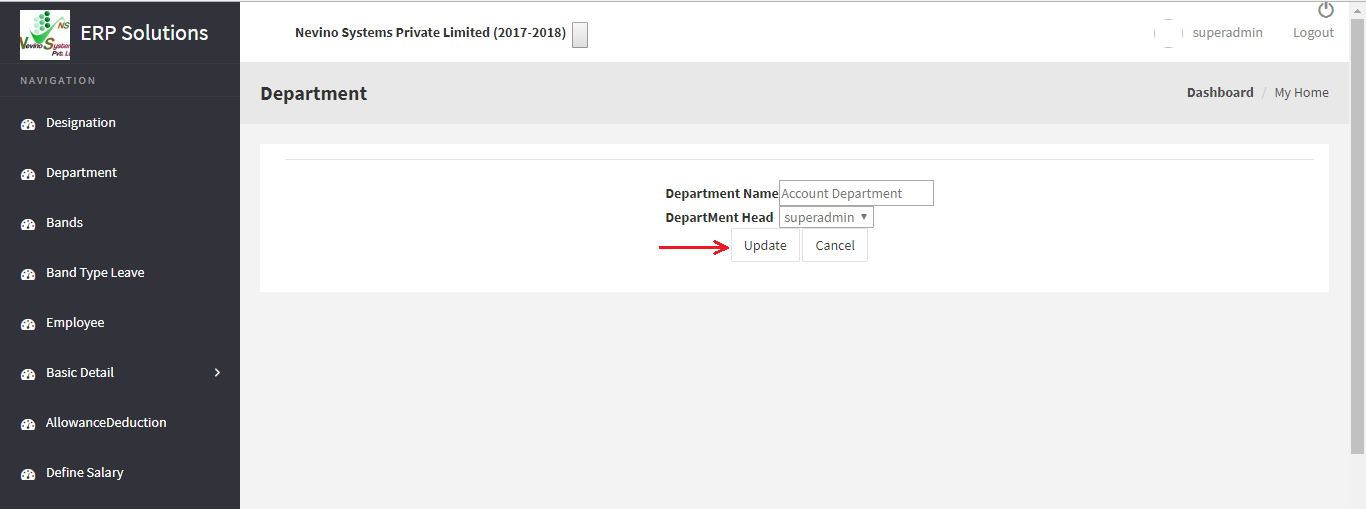
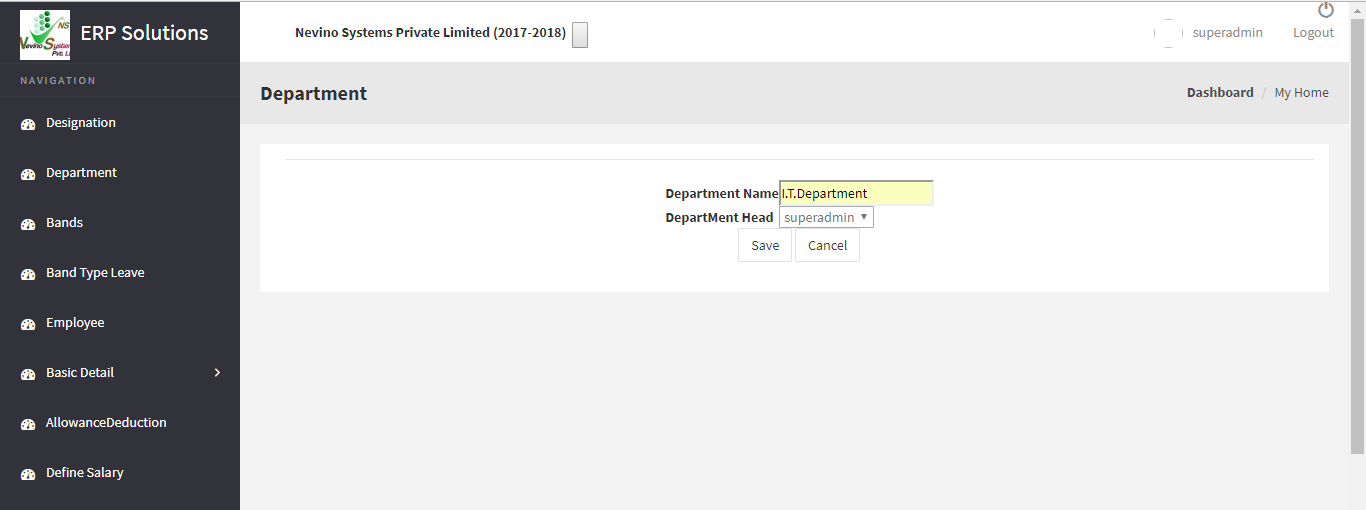
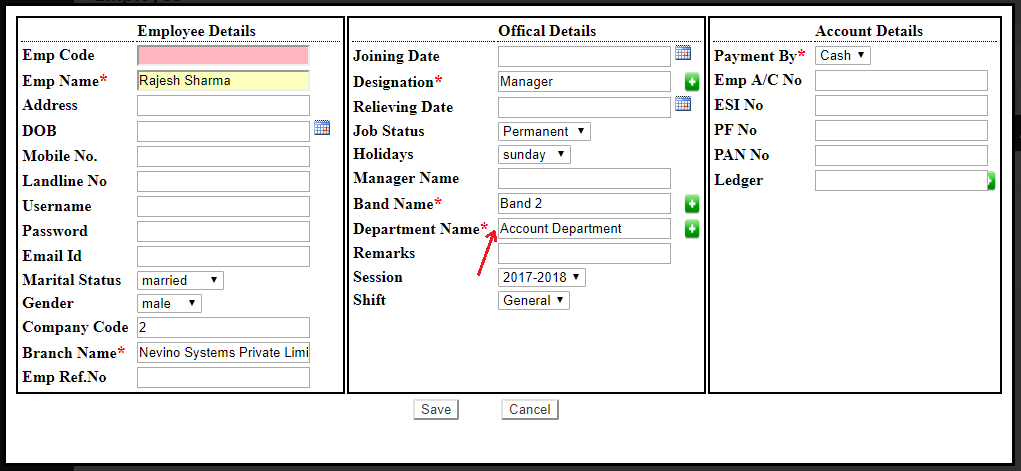
Step 9.Next box is ‘Department Name’ and here we willenter department name as ‘Account Department’. 
add employee department

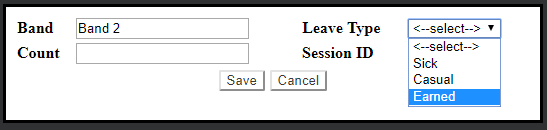
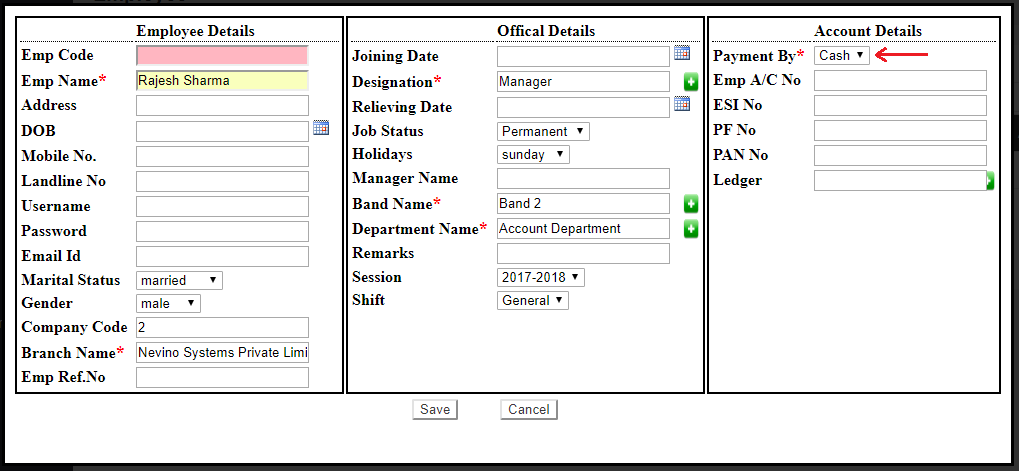
Step 10.Now we move to the ‘Account Details’ section in which you can define the medium of salary to employee. First you can see ‘Payment By’ as ‘Cash’ which is used to pay employee by cash as shown in image below.
hr employee salary in cash

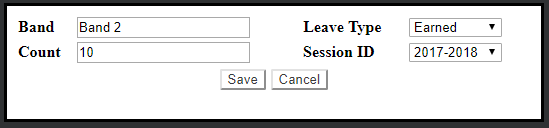
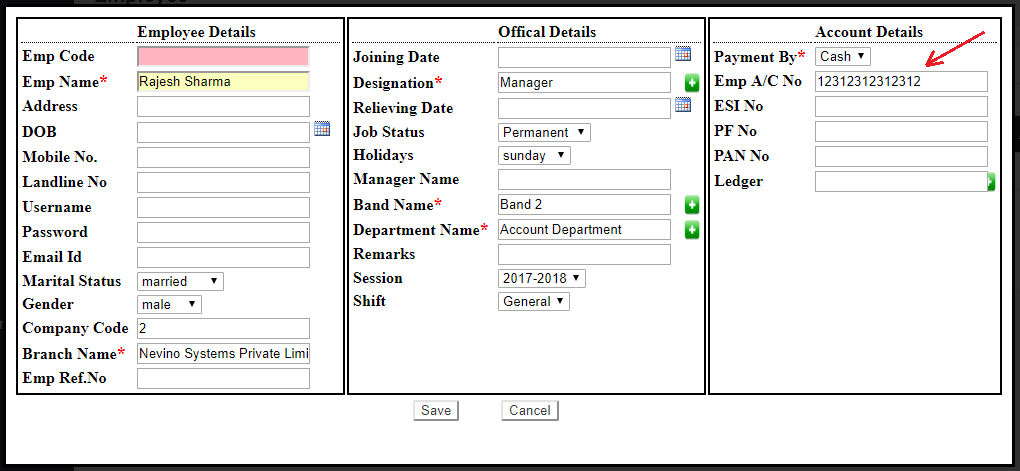
Step 11. If you want to pay employee in Bank account then you can enter the bank account number in box given with ‘Emp A/c No.’ as shown in image below.
hr employee salary in bank

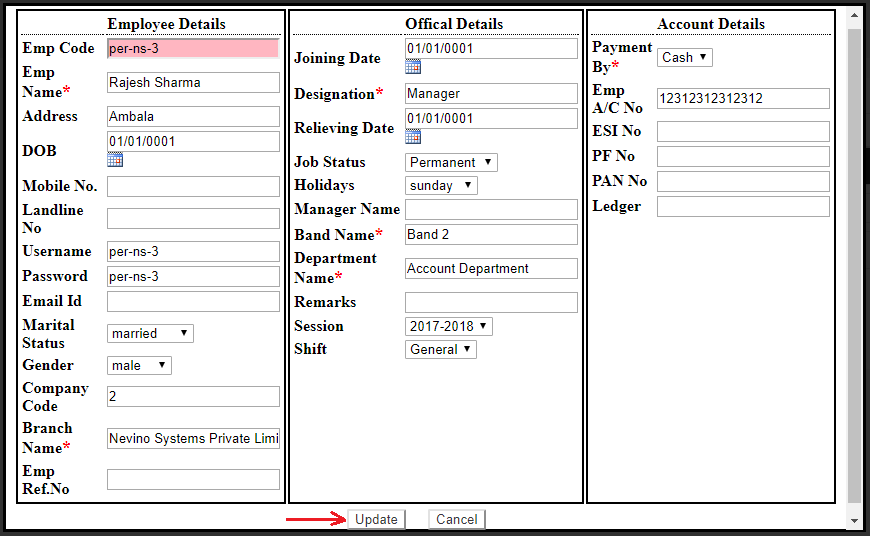
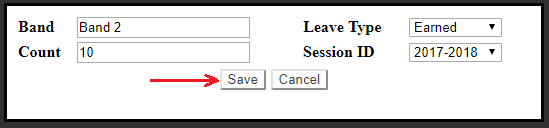
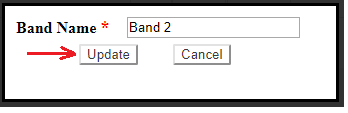
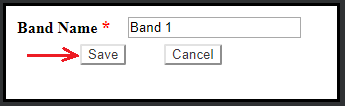
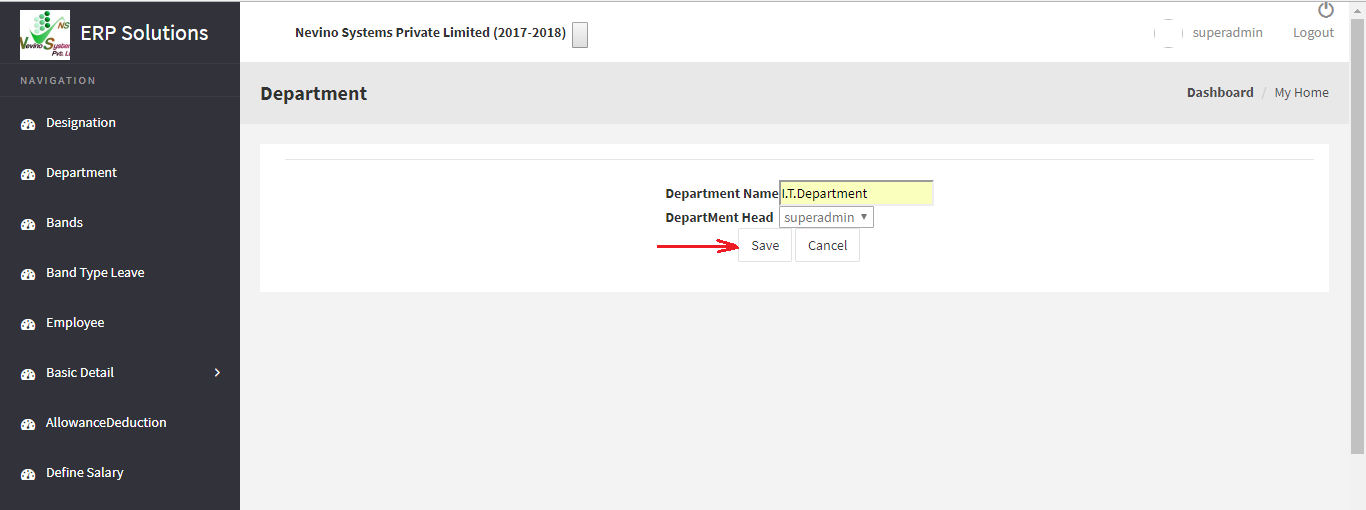
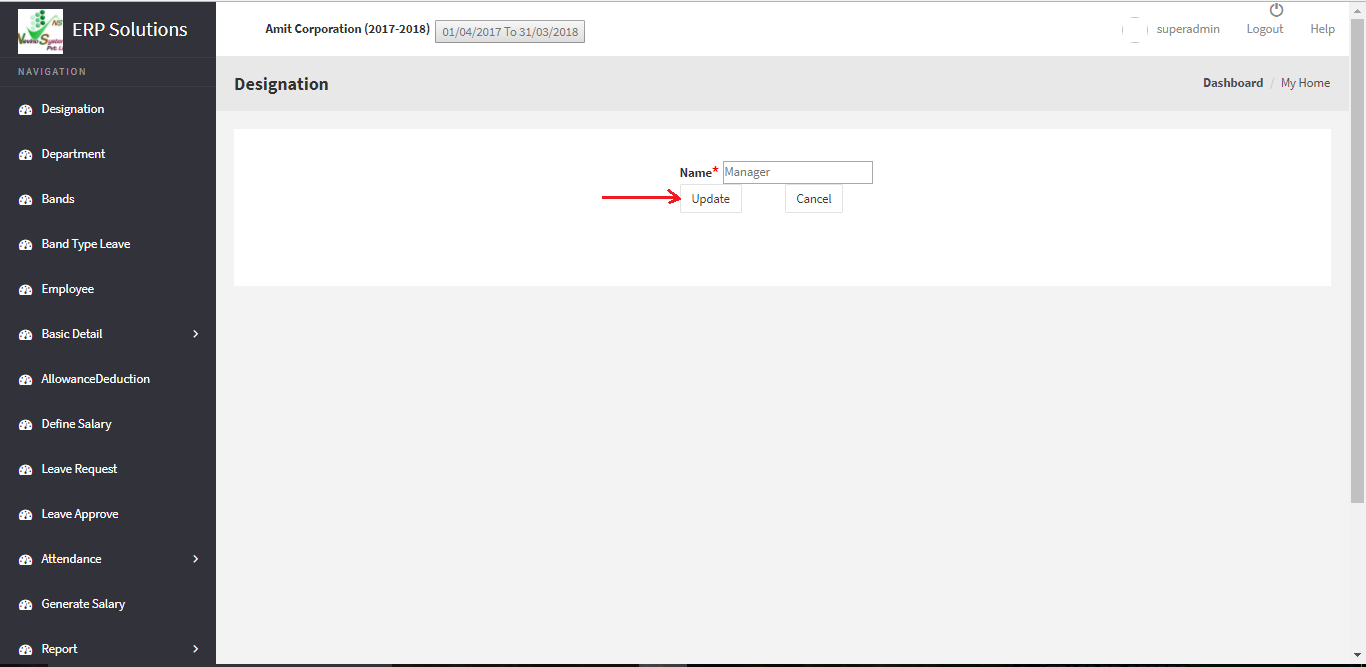
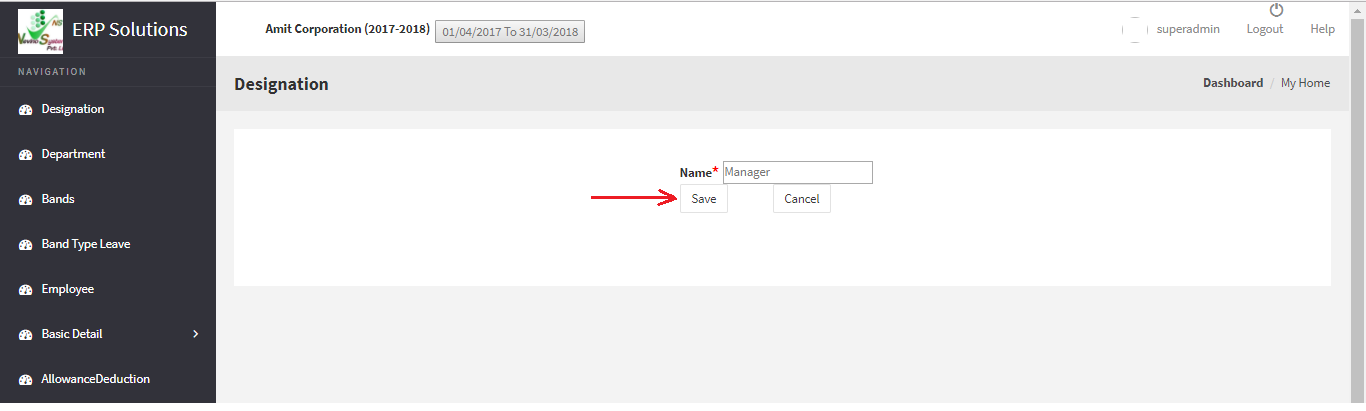
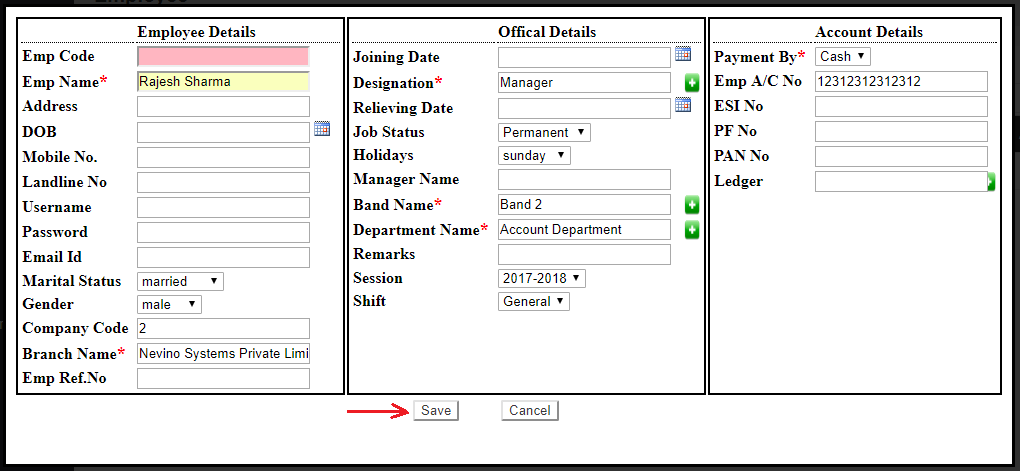
Step 12. After filling all the details click on save button as indicated in image below.
hr employee save button

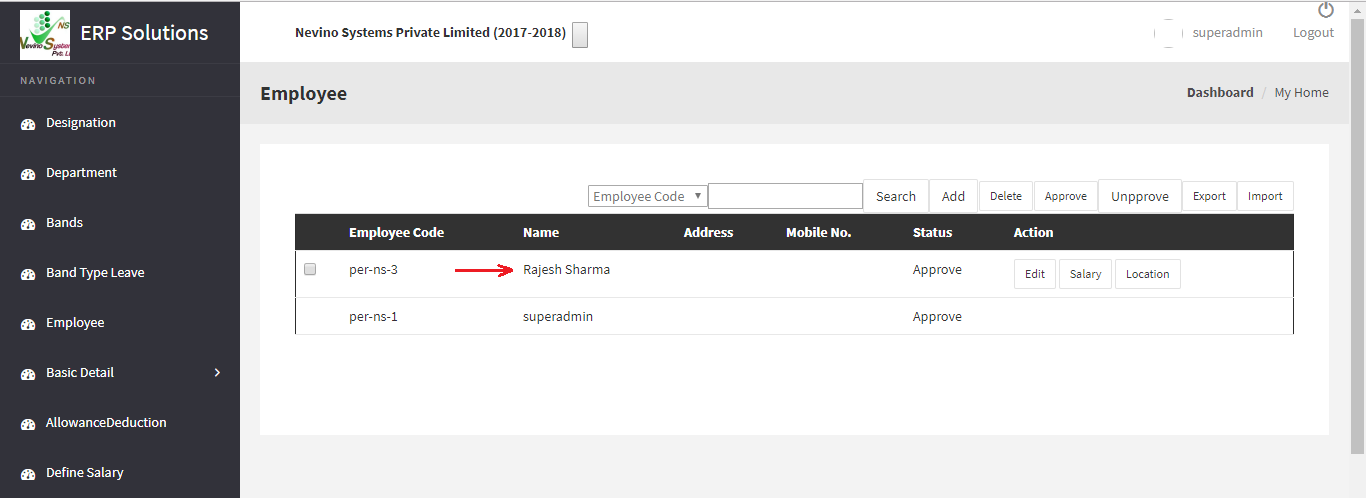
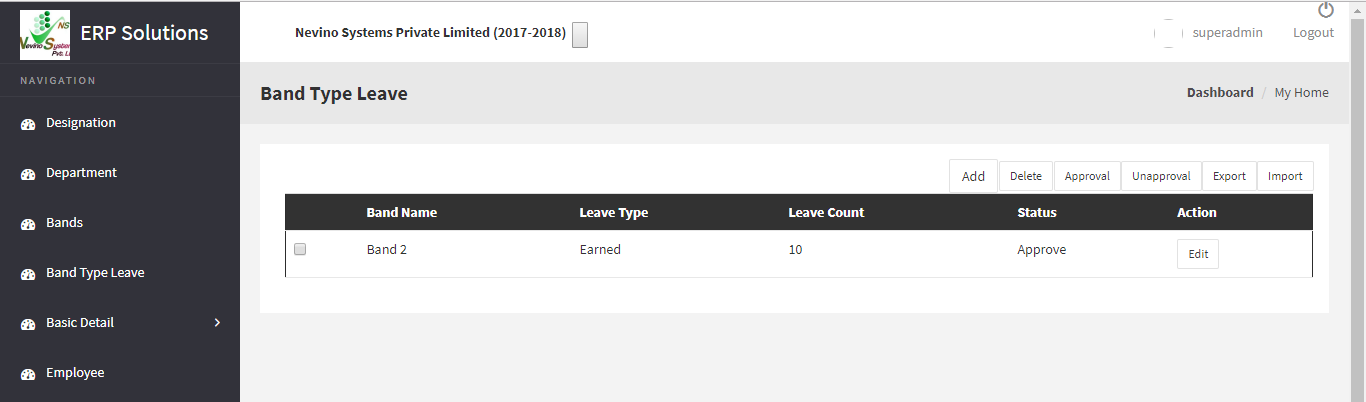
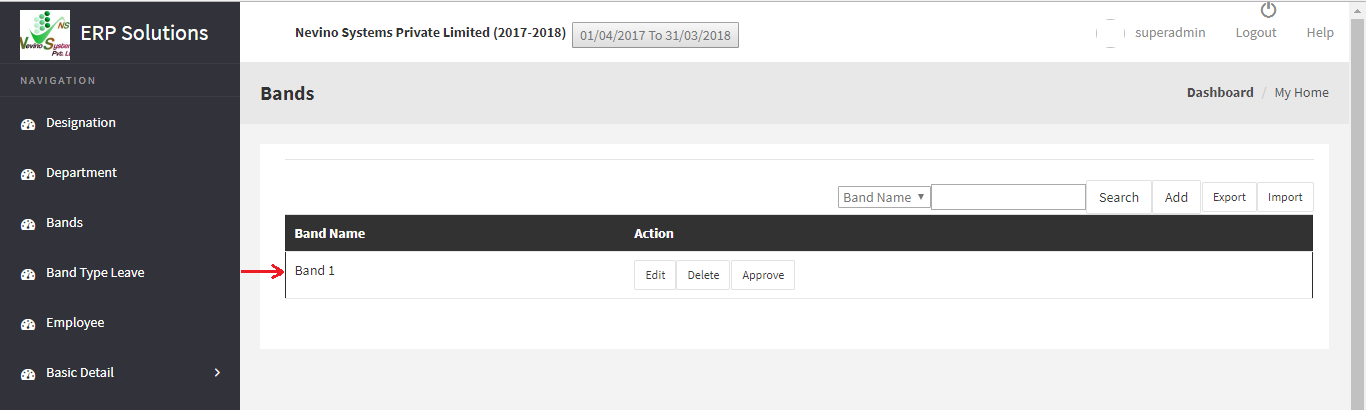
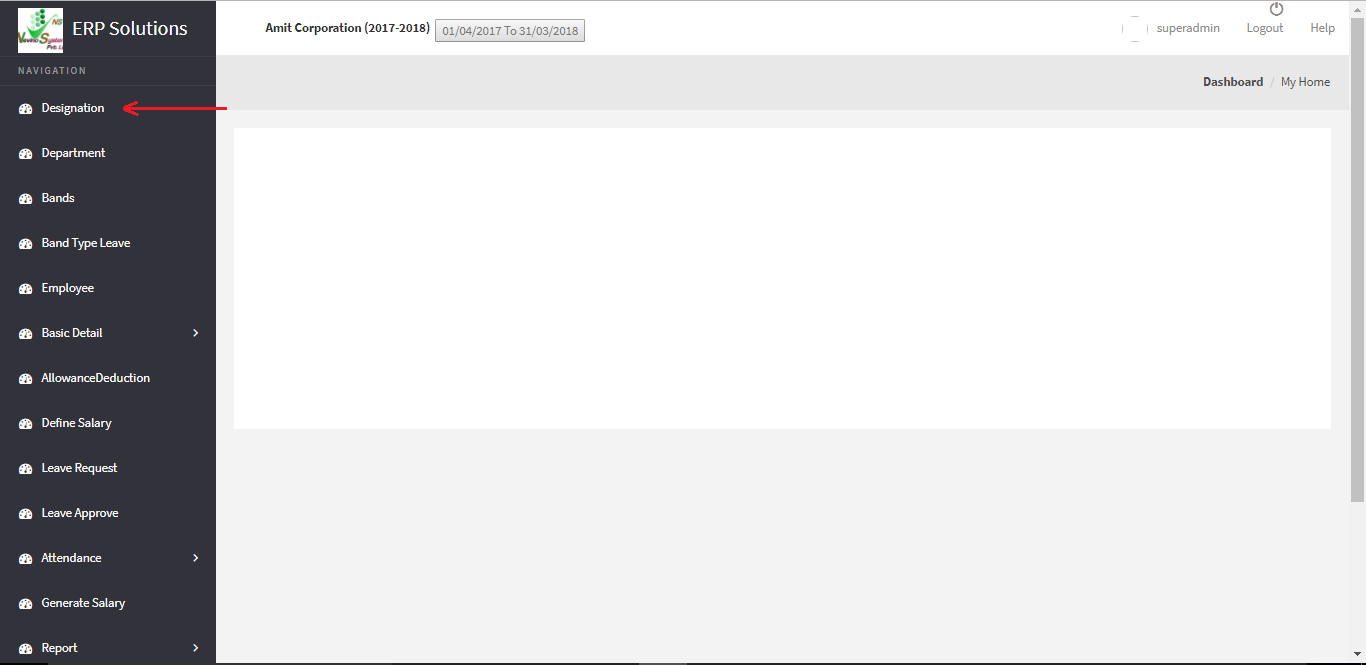
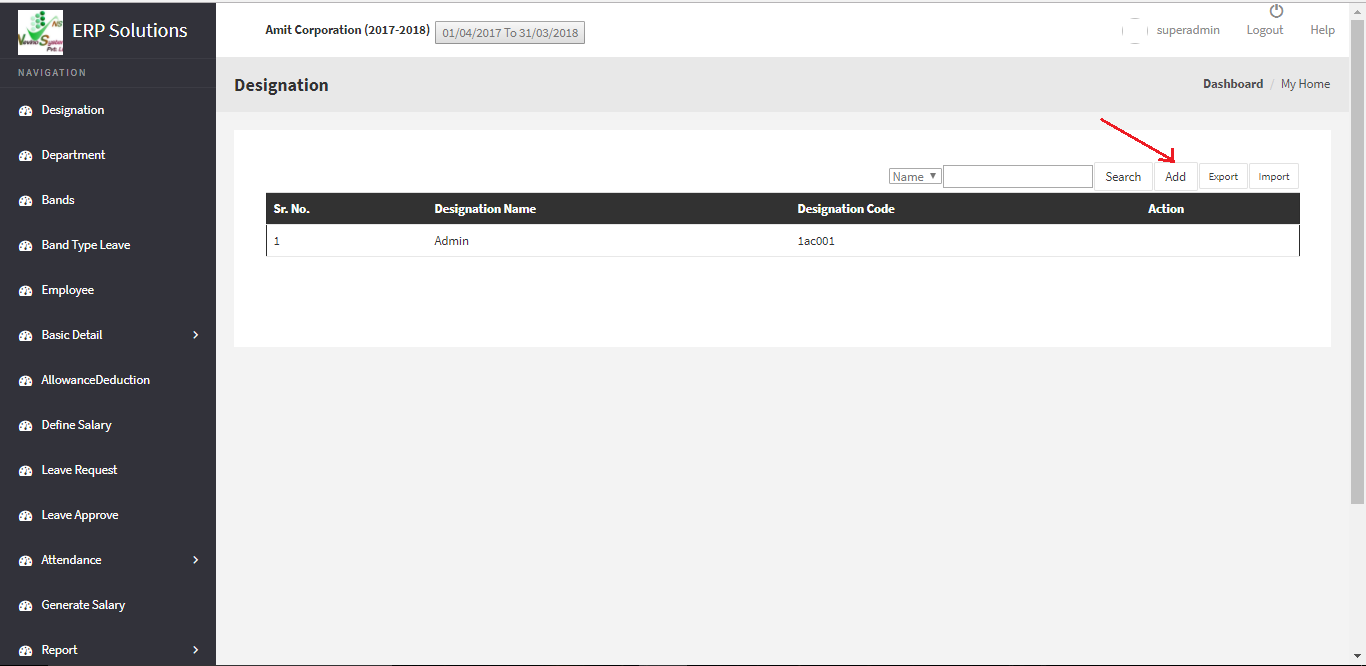
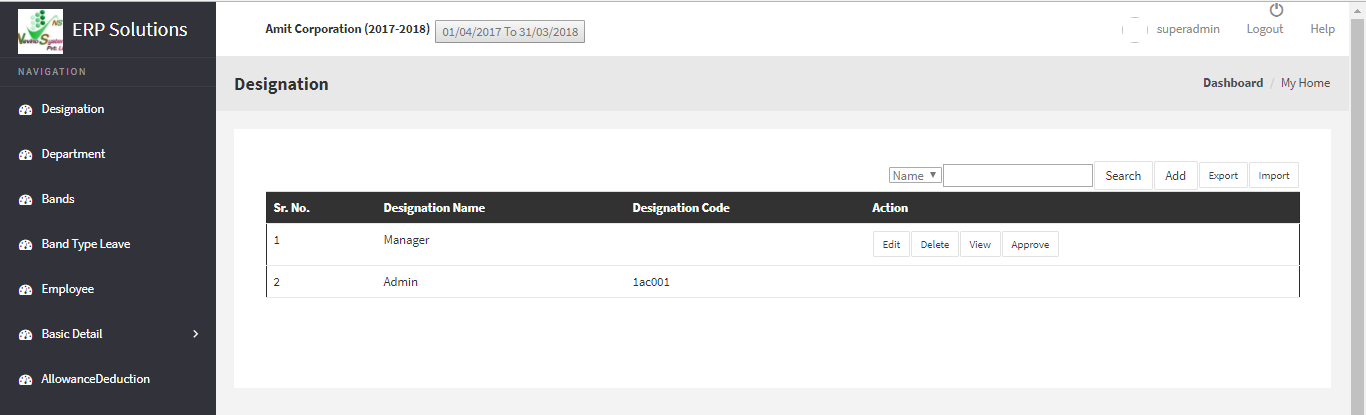
Step 13. On the click of ‘Save’ button entered data will be saved and new window will appear on which you can see name of the employee as per image below. In this way you can add employee in Nevino HR Software.
hr employee name displayed

* The Content stated above is for informational purpose only. Expert Software Team is not responsible if any part of content found meaningless in any manner or condition.

How to add Band type leave in Nevino HR Software

Nevino HR Software is equipped with functionality to assign different type of leave to every band type particularly. So, in this blog we will learn how we can add band type leave in Nevino Hr Software.

Step 1. Let’s start from the main window of Nevino HR Software where you must click on ‘HR’ Icon as shown below.main hr dashboard

Step 2.  Now click on ‘Band Type Leave’ in the menu as indicated in image below.
hr band type leave

Step 3. On the click of ‘Band type leave’ window as below will appear which is the main window of ‘Band type leave’.
hr band type leave screen

Step 4. In this window click on ‘Add’ button as shown in image below.
hr band type leave add button

Step 5. When ‘Add’ button is clicked a new window will appear as shown below.
hr band type edit screen

Step 6. Now enter the band name for example we will add ‘Band 2’ as per image below.
enter band name

Step 7. Next, we select the Leave Type by clicking on drop down list where three types of leaves are appearing.
hr select leave type

Step 8.For example, we will select ‘Earned’ leave as shown below.
hr leave type selected

Step 9. Next enter the count of leaves to be given to ‘Band 2’ so for example we will enter ‘10’ as number of leaves.
hr enter  leave count

Step 10. Now click on ‘Save’ button as shown below in image.
hr band type save button

Step 11. On click of ‘Save’ button leave type will be saved and new window as below will appear where you can see ‘Band 2’ with leave type ‘Earned’ of leave count ‘10’. In the same way other two types of leaves can be assigned to ‘Band 2’.
hr band type leave created

* The Content stated above is for informational purpose only. Expert Software Team is not responsible if any part of content found meaningless in any manner or condition.

How to edit Bands in Nevino HR Software

Whenever there is change in bands inside organization then it is very easy to change bands name in Nevino Hr Software. So, lets learn how we can edit the bands in Nevino Hr Software.

Step 1.We start from the main window of Nevino HR Software where you must click on ‘HR’ icon as shown below.
main hr dashboard

Step 2.When window as below appears then click on ‘Bands’ as indicated below.

Step 3. After clicking on bands window as below will appear where you can see ‘Band 1’ as band name. Now click on ‘Edit’ button as indicated below.
hr bands edit button

Step 4.On click of ‘Edit’ button new screen as below will appear.
hr band main dashboard

Step 5.For example, we want to change band name from ‘Band 1’ to ‘Band 2’ so we will enter band 2 as shown below.
hr new band name screen

Step 6. Now we will click on ‘Update’ button as indicated in image below.
hr band update button

Step 7.On click of ‘Update’ button data will be saved and ‘Band 2’ will be shown as below image. In this way we can edit bands in Nevino HR software.

hr new band created

* The Content stated above is for informational purpose only. Expert Software Team is not responsible if any part of content found meaningless in any manner or condition.

How to add Bands in Nevino HR Software

Every designation of an organization is identified by its Band and according to that authority inside the organization is given to an employee. So now we learn how we can add bands in Nevino Hr Software.

Step 1. Click on the HR Icon as displayed in image below.
main hr dashboard

Step 2. Now click on ‘Bands’ as indicated in image below.
select hr band

Step 3. On the click of ‘Bands’ a new window will appear as below.
band main hr window

Step 4. This is the main window of ‘Bands’ and here you have to click on add button as indicated in image below.
bands hr add button

Step 5. On click of ‘Add’ button a new window as below will appear.
hr band main window

Step 6. Now enter the band name as per your requirement in the blank box provided. For example, we will add band name as ‘Band 1’ as shown in image below.
hr band name entered
Step 7. When you have entered the band name click on ‘Save’ button as shown below.
hr band save button

Step 8. On click of ‘Save’ button the data will be saved, and a new window will appear on which you can see your entered band name as shown below.
hr band name created

* The Content stated above is for informational purpose only. Expert Software Team is not responsible if any part of content found meaningless in any manner or condition.

How to edit department in Nevino HR Software

Whenever there is need arises to edit the Department name below mentioned steps can be followed to do the needful. So how to edit department name in Nevino Hr Software is as follows.

Step 1. From the main window of Nevino HR Software click on ‘HR’ icon as shown below.
main hr dashboard

Step 2. When window as below appears click on ‘Department’ as indicated in screen shot below.
select hr department

Step 3. Now a window as below will appear where you can see a department name appearing as ‘I.T.Department’.
department main hr window

Step 4. As we want to edit the department name so click on ‘Edit’ button as indicated in image below.
hr department edit button

Step 5. On click of ‘Edit’ button a new window as below will appear. In this window you can change the department name and department head.
hr department edit window

Step 6. For example, we will change department name as ‘Account Department’ as shown in image below.
enter hr department name

Step 7. Now we will click on ‘update’ button as indicated in below image.
hr department update button

Step 8. On click of update button newly entered data will be saved and window as below will appear where you can see changed department name as ‘Account Department’.

* The Content stated above is for informational purpose only. Expert Software Team is not responsible if any part of content found meaningless in any manner or condition.

How to add Department in Nevino HR Software

In this blog we will learn about adding the department name. So please follow below steps to know how we can add department in Nevino Hr Software.

Step 1. On the main window of Nevino HR Software click on ‘HR’ icon as indicated below.
main window hr

Step 2. Now click on ‘Department’ as indicated in image below.
department hr icon

Step 3. When we click on ‘Department’ the window as below screen shot will appear.
hr department window

Step 4. In this window you can see department name as ‘Admin’ which is auto-generated by default. Now to create new department click on ‘Add’ as indicated in image below.
hr department add button

Step 5. On the click of ‘Add’ button the window as below will appear.
hr

Step 6. Now enter the ‘Department Name’ for example we will enter ‘I.T.Department’ as per below image.
hr enter department name

Step 7. Next, we add ‘Department Head’ so click on drop-down box as shown in image below. You can see here ‘Superadmin’ name under department head is displaying by default.
hr department head select

Step 8. Select the name of ‘Department Head’ as ‘Superadmin’. This is the name of employee so about how to add employee name please see our ‘Employee’ blog. <Employee link>
hr department head

Step 9. After selecting the department head click on ‘Save’ button as shown in image below.
hr department save button

Step 10. On click of ‘Save’ button data will be saved, and new window will appear as below screen shot which is displaying our newly entered ‘Department Name’.
hr department name created

* The Content stated above is for informational purpose only. Expert Software Team is not responsible if any part of content found meaningless in any manner or condition.

How to edit Designation in Nevino HR Software

Whenever there is need of making change in designation name in organization by following the below steps you can change designation name. Below steps will guide you how to edit designation in Nevino Hr Software.

Step 1. When you have arrived at main window of Nevino HR Software click on ‘HR’ icon as shown below.
main hr window

Step 2. When window as below appears click on ‘Designation’ as shown in screenshot.
hr designation option

Step 3. When Designation window appears click on ‘Edit’ button as indicated in image below.
hr designation window

Step 4. On click of ‘Edit’ button a window as below will appear where you can see yours saved designation name, now you can click on that box and enter required designation name.
hr designation main window

Step 5. When you have entered the required designation click on ‘Update’ button as shown in image below. On click of ‘Update’ button designation name will be saved.
deasignation hr update

* The Content stated above is for informational purpose only. Expert Software Team is not responsible if any part of content found meaningless in any manner or condition.

How to create Designation in Nevino HR Software

Designation of an employee is very important part of an organization as it relates to the employee. In this blog we will learn that how we can create designation in Nevino Hr Software.

Step 1. When you have login to the Nevino HR Software the window as below will appear.
main hr window

Step 2. Click on ‘HR’ icon as indicated in below screen shot.
hr icon

Step 3. When the ‘HR’ icon is clicked a new window will appear as below where you must click on ‘Designation’ as indicated below.
hr designation option

Step 4. This is the ‘Designation’ window of Nevino HR software. Now click on ‘Add’ button as indicated in below image.
hr add designation

Step 5. On click of ‘Add’ button a new window will appear as shown in below image.
hr enter name

Step 6. Enter name of any designation in the blank box provided with ‘Name’ for example we will add ‘Manager’ as designation name as per below image.
hr name entered

Step 7. When you have entered the designation click on ‘Save’ button as indicated below.
hr designation save button

Step 8. When ‘Save’ button is clicked designation will be saved and that designation name will appear on ‘Designation’ window as shown below. In this way you can add ‘Designation’ into the Nevino HR Software.
hr designation created

* The Content stated above is for informational purpose only. Expert Software Team is not responsible if any part of content found meaningless in any manner or condition.