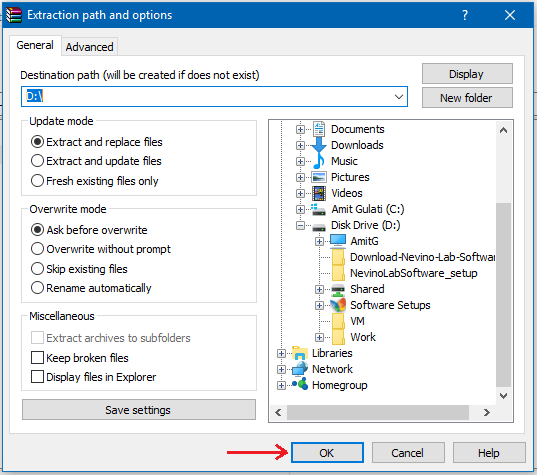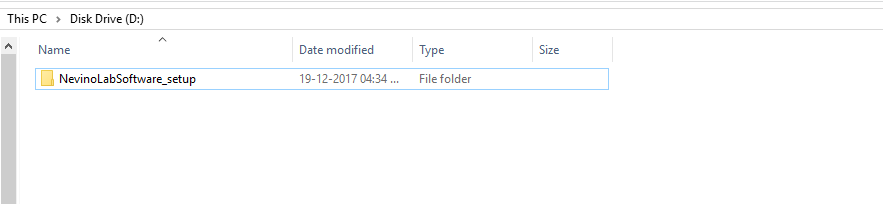
Nevino School Software is made by Nevino Systems Private Limited. This software works both online and offline which increases its usability for an educational organization having schools chains in different cities. User-friendly interface makes it easy to use by school management and by its employees as well. Below mentioned are the key features.
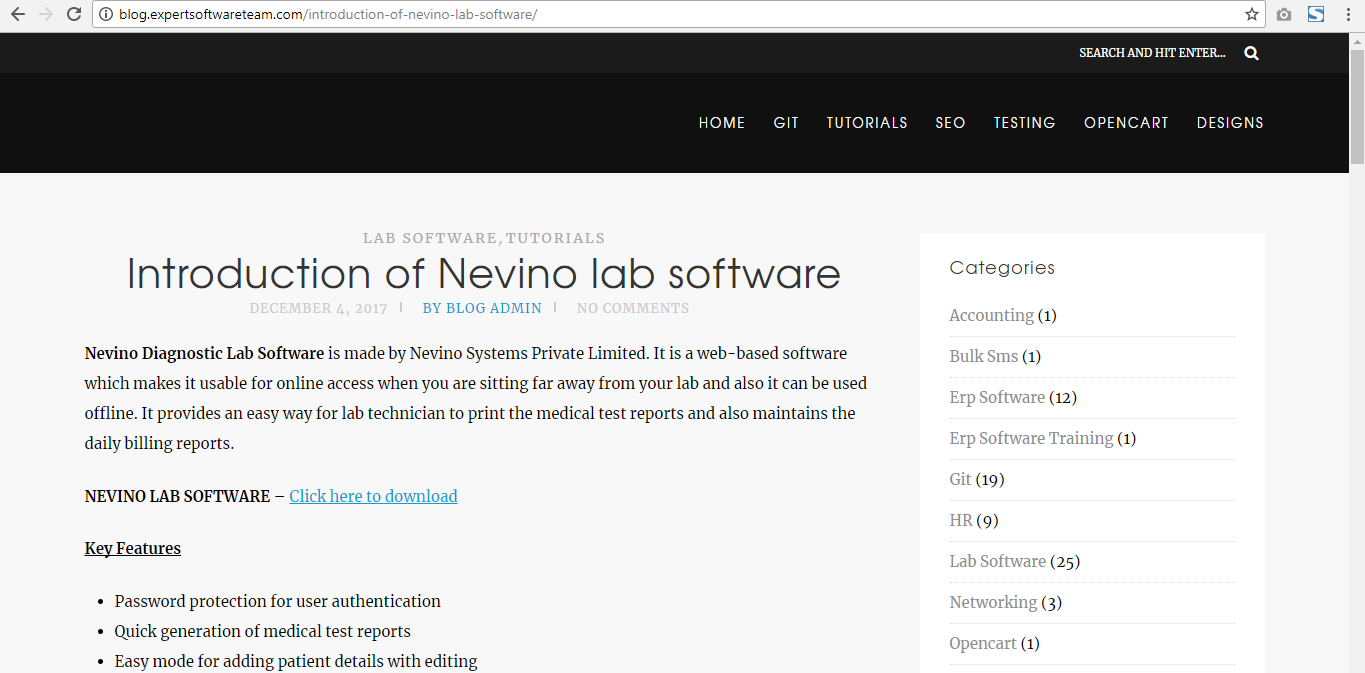
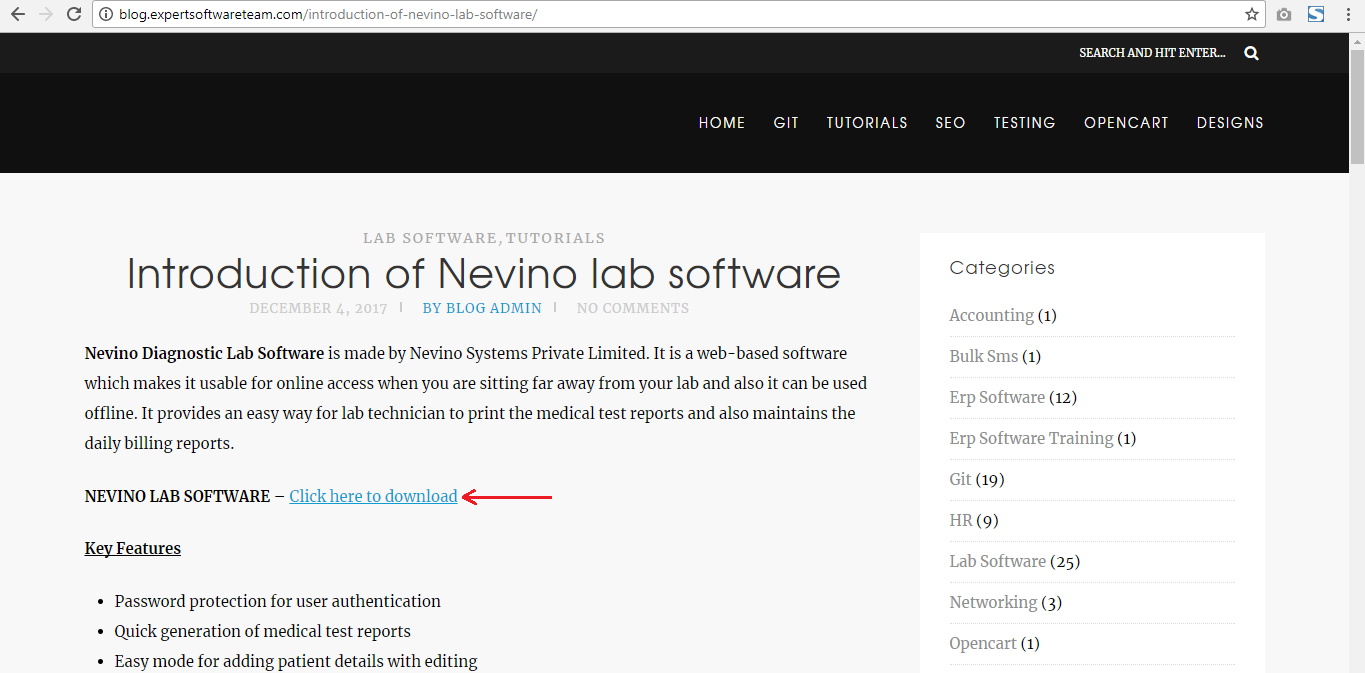
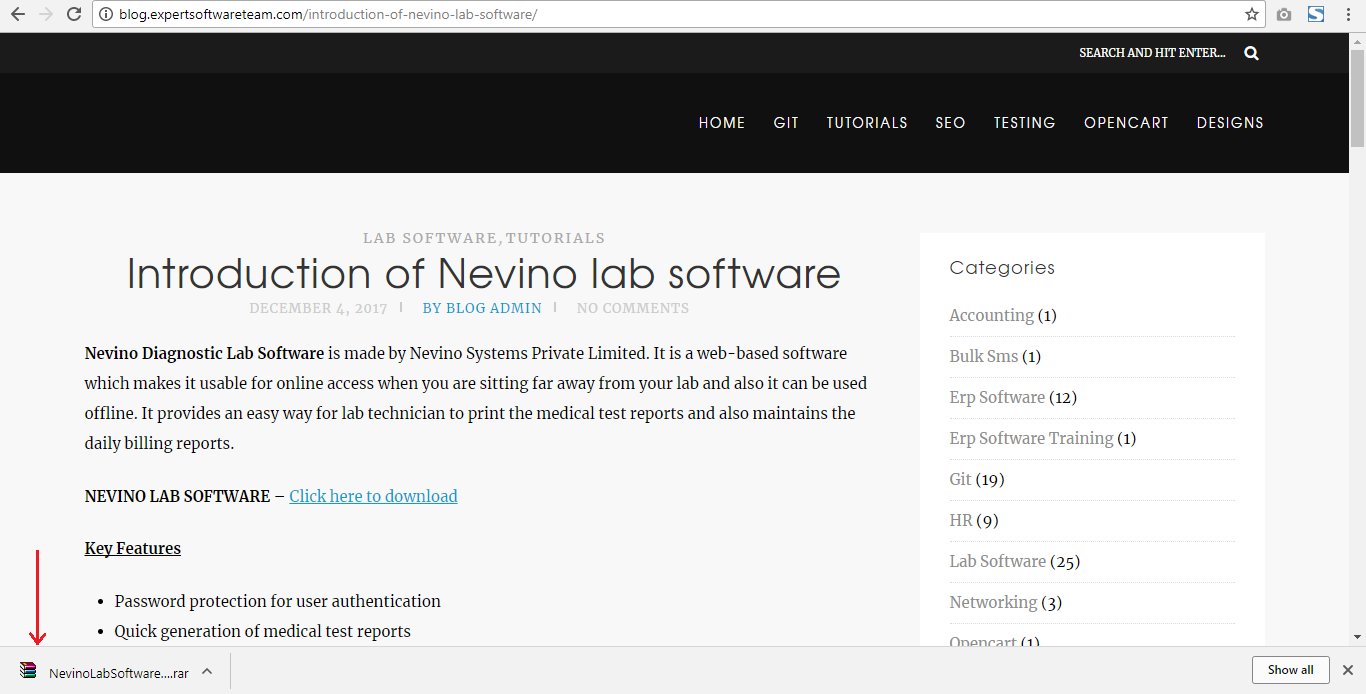
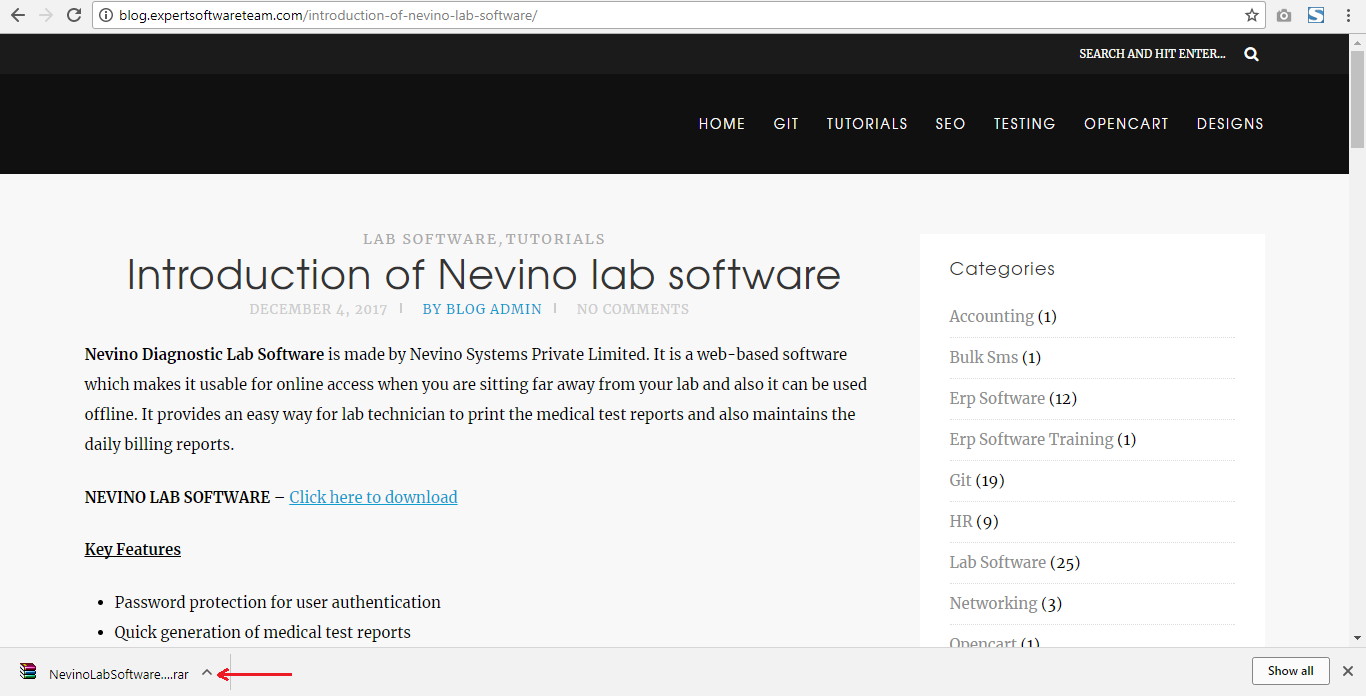
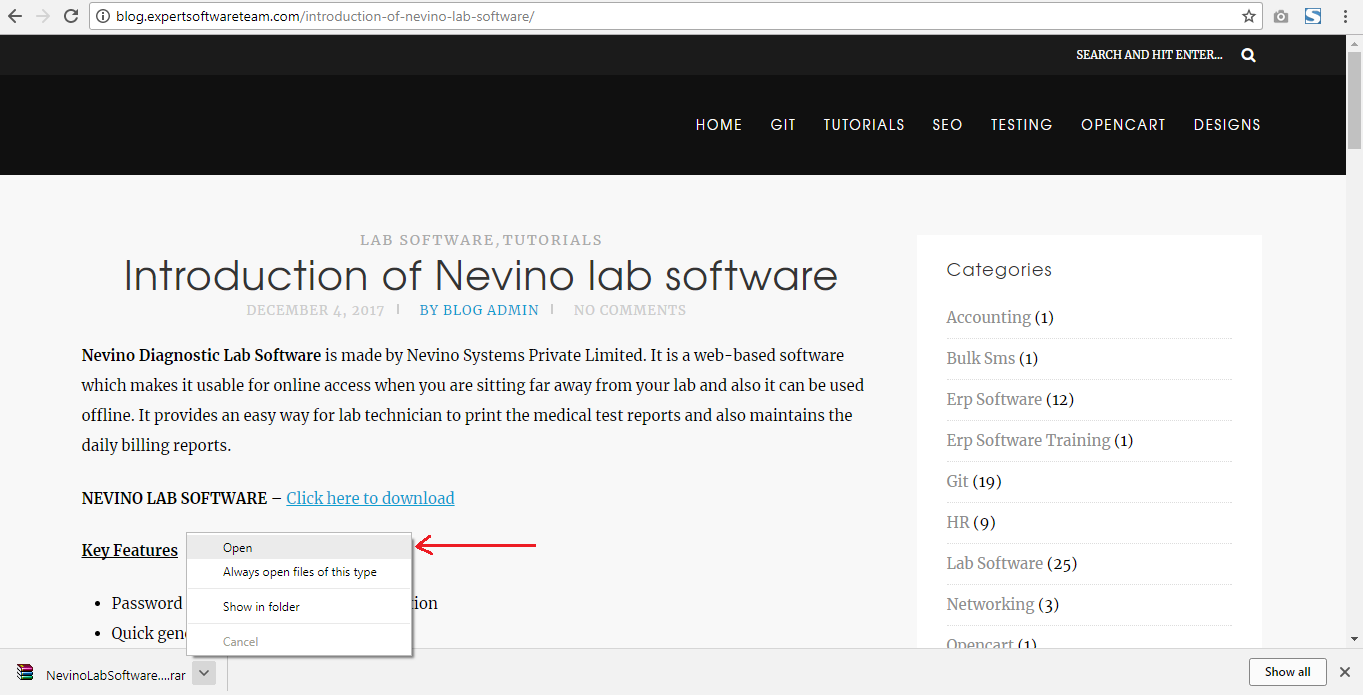
Click Here To Buy Nevino School Software
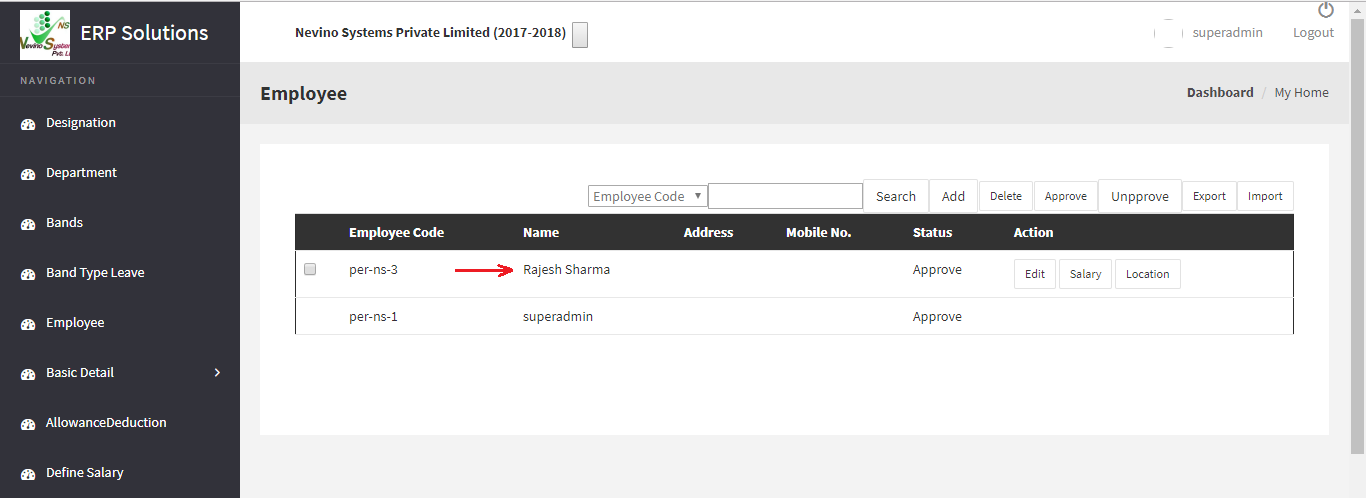
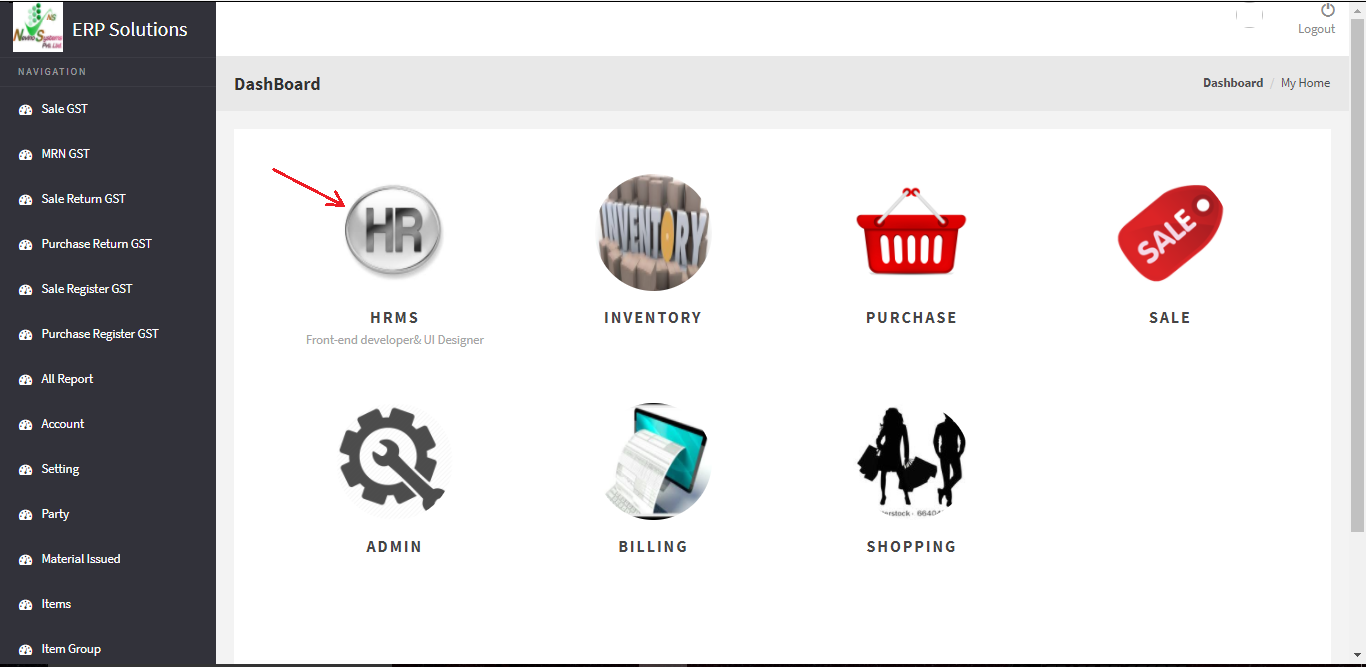
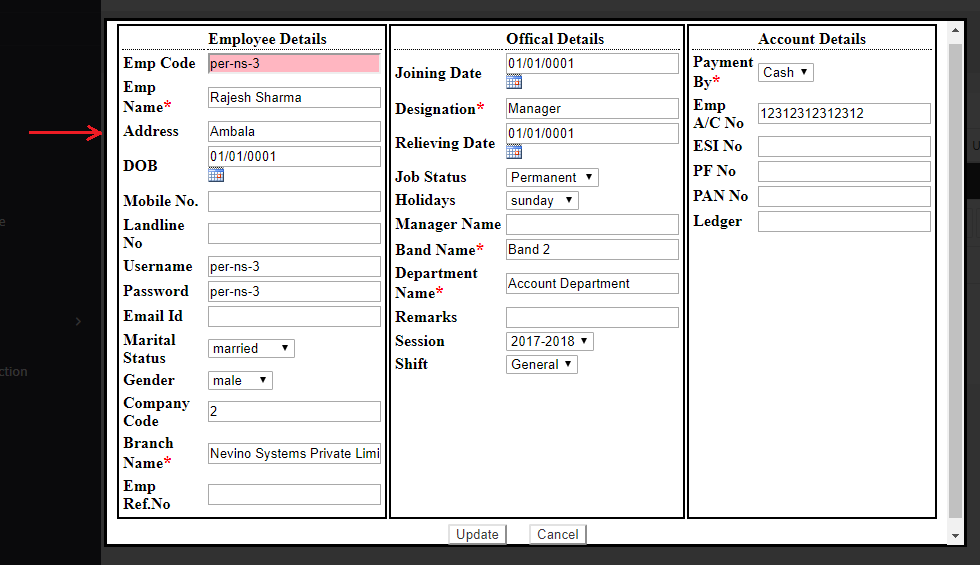
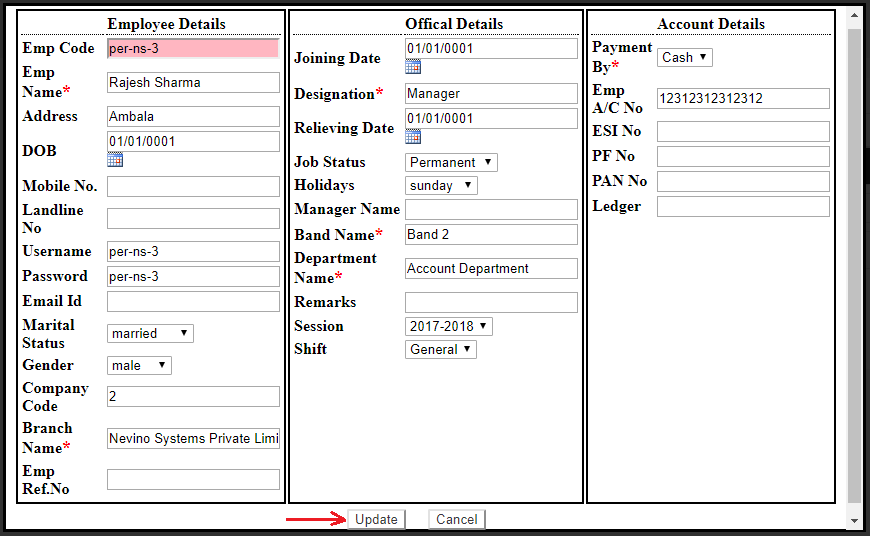
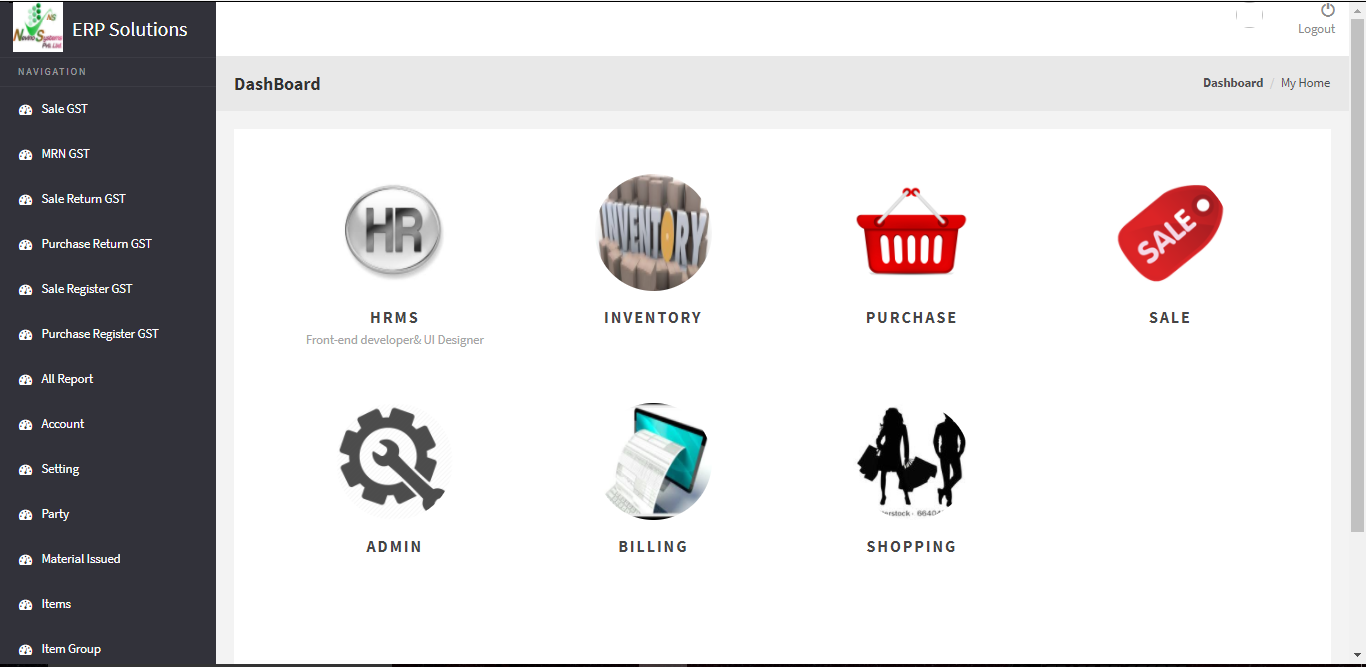
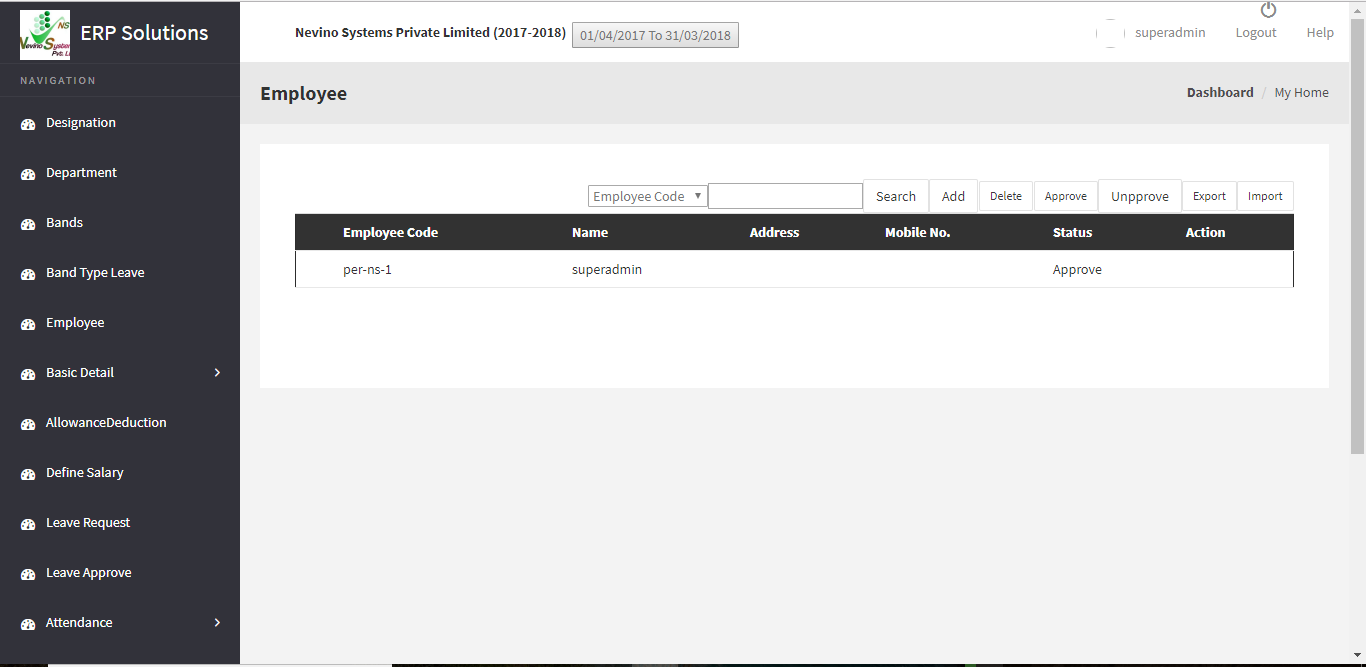
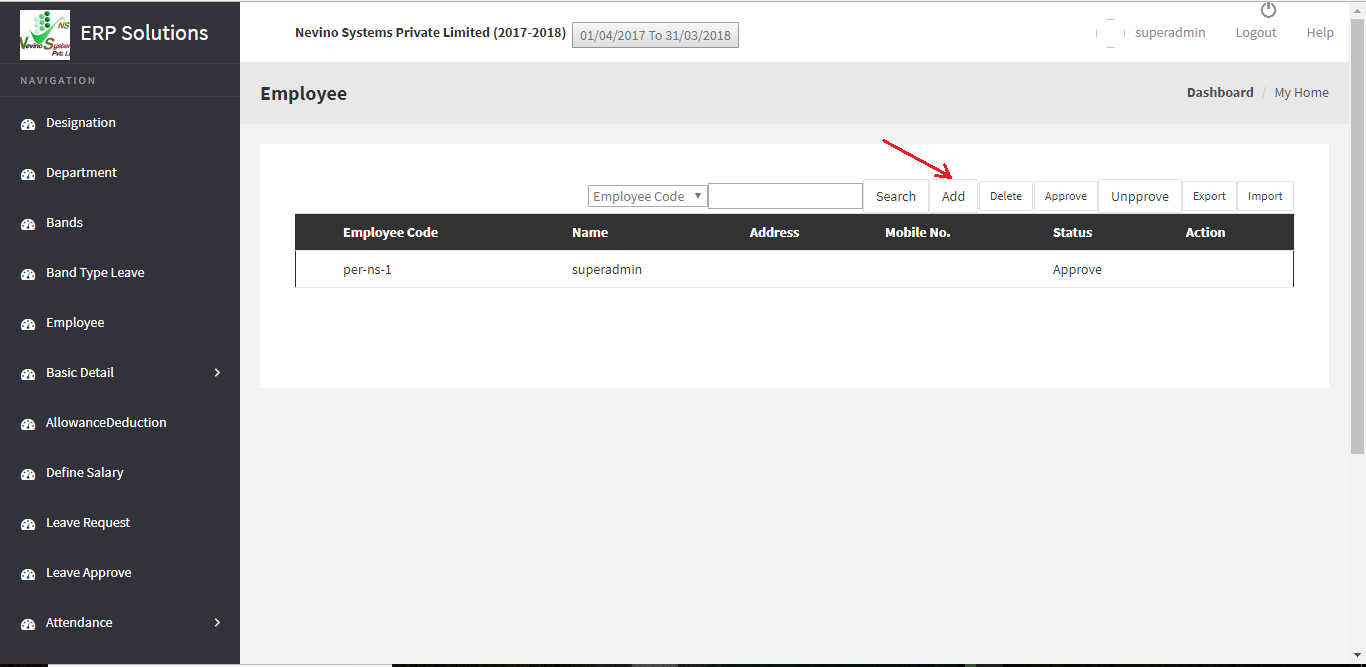
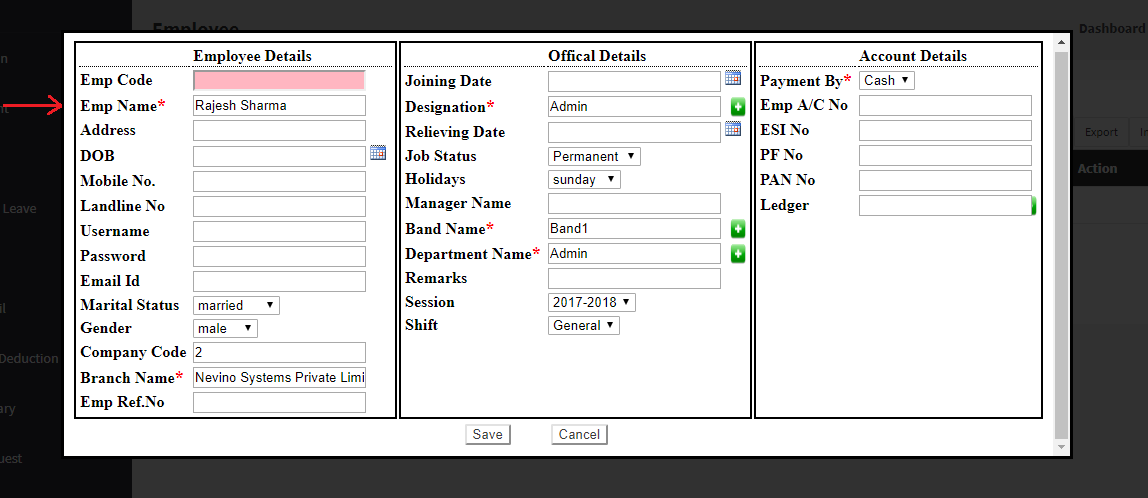
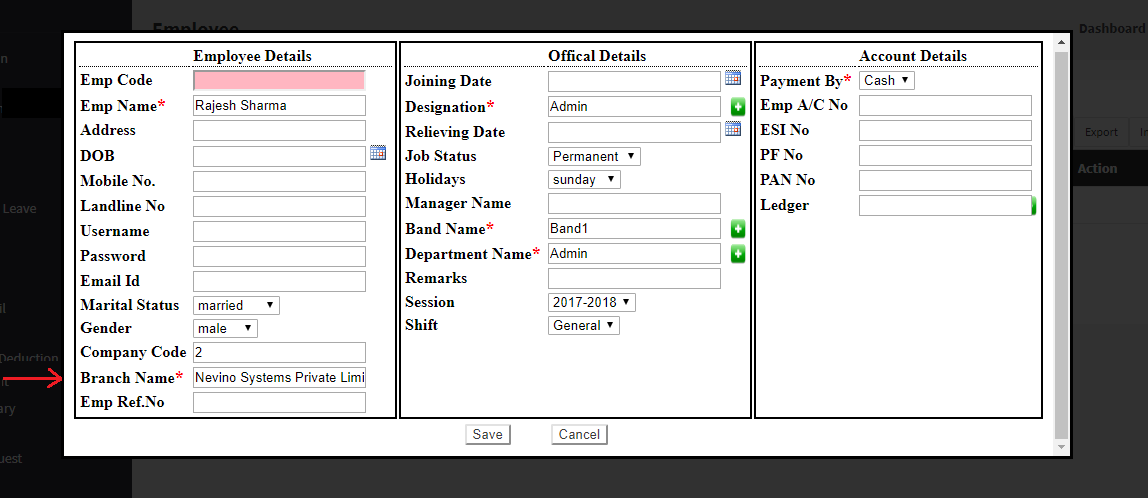
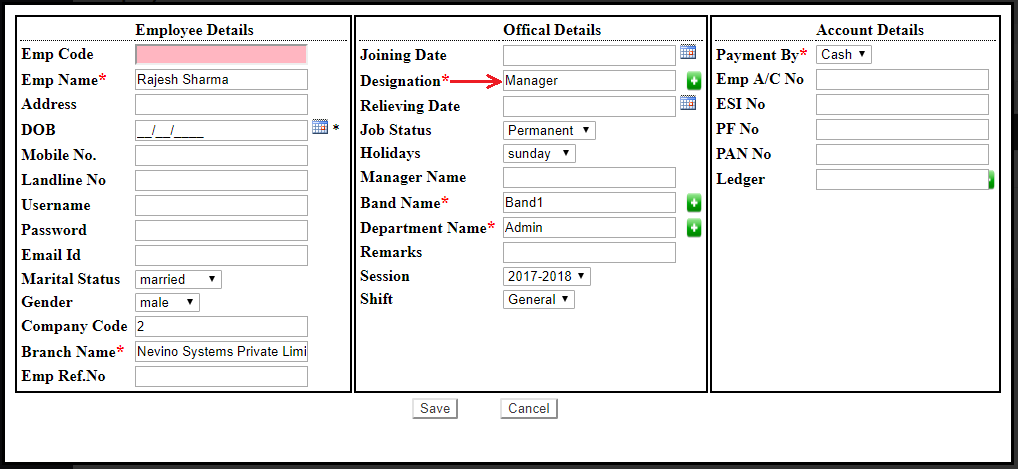
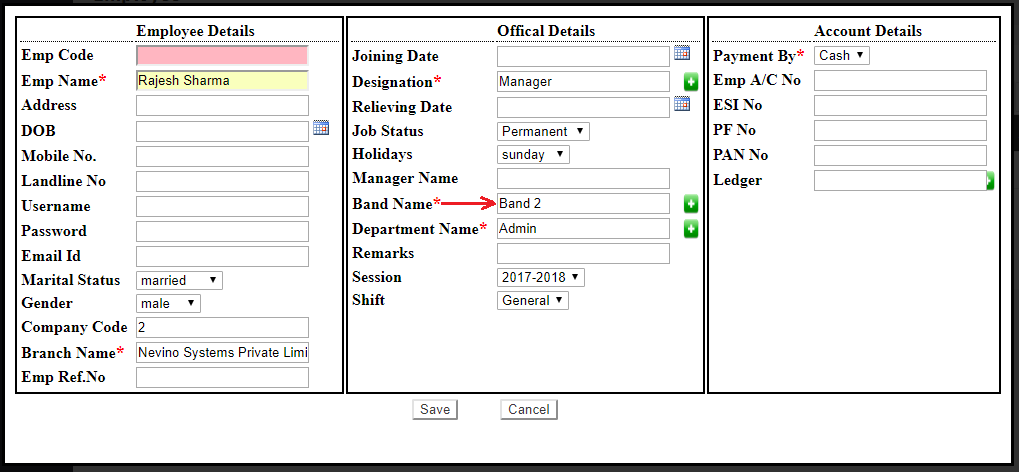
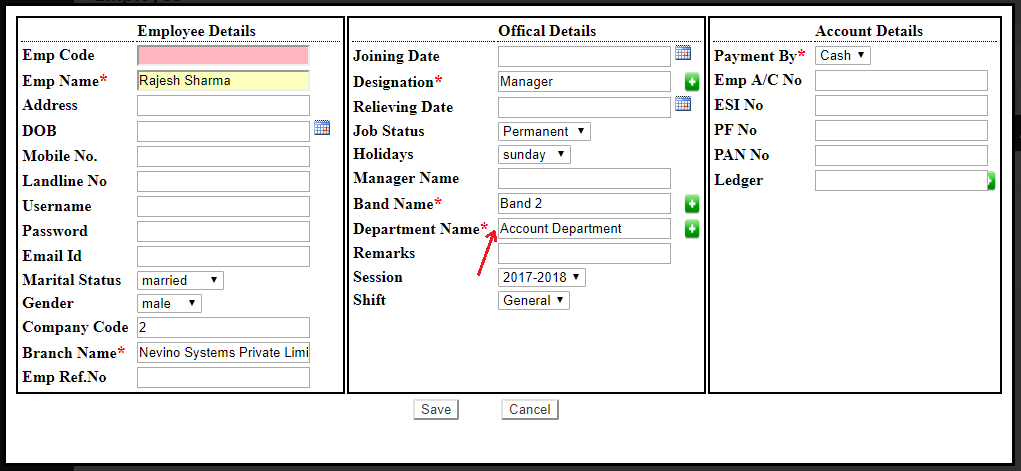
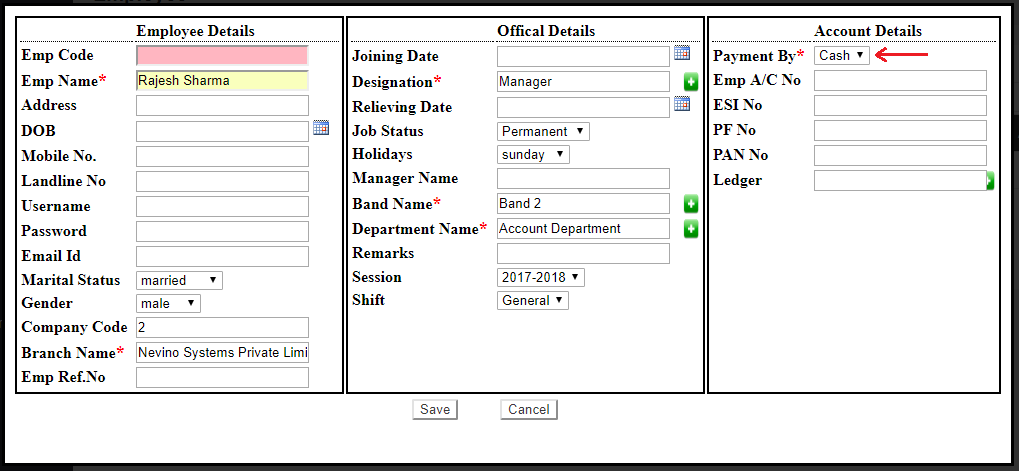
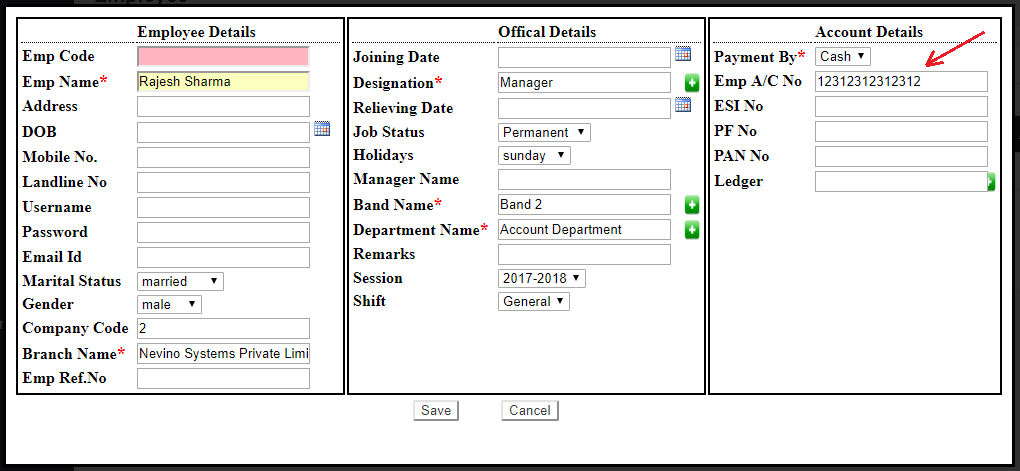
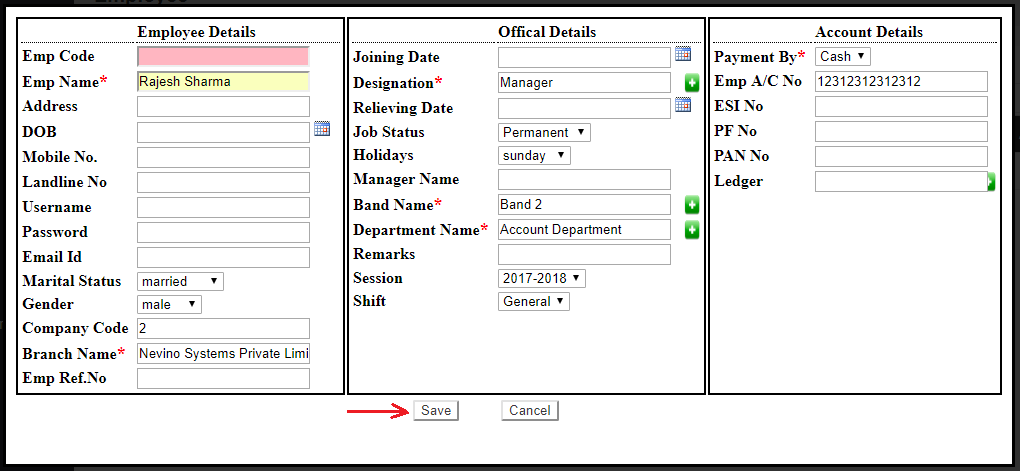
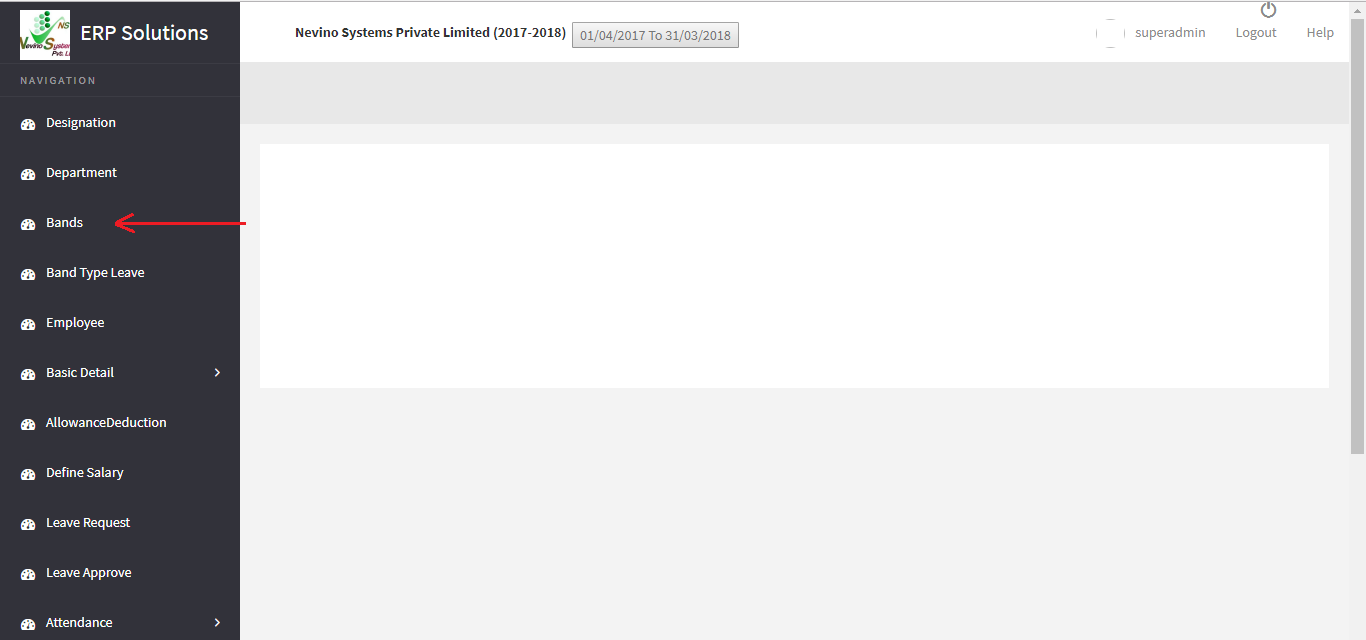
School HR Management
- Multiple School management
- Multiple Branch management
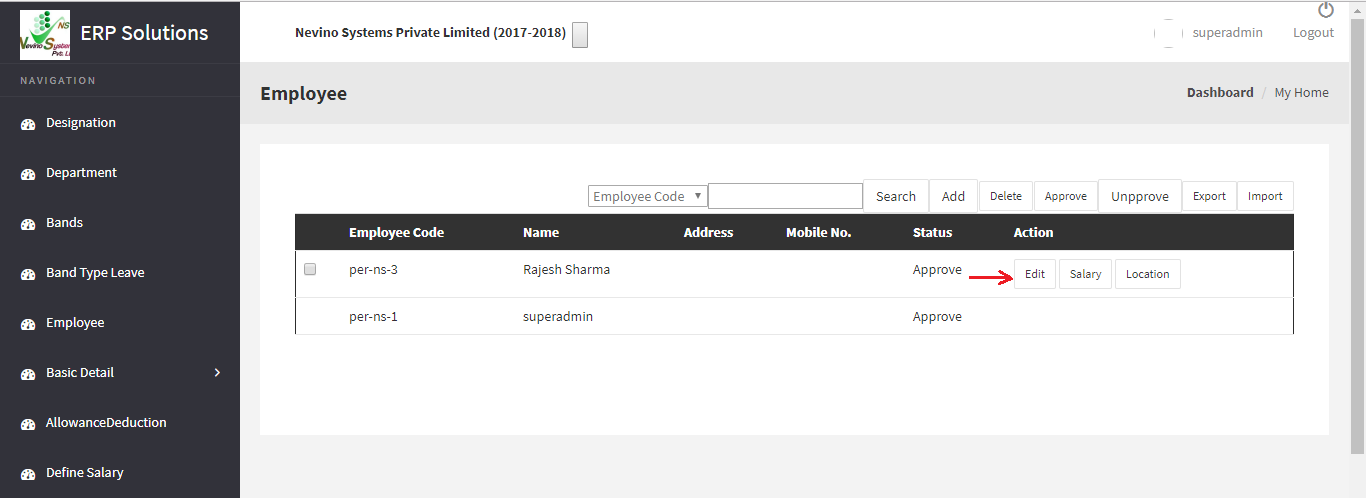
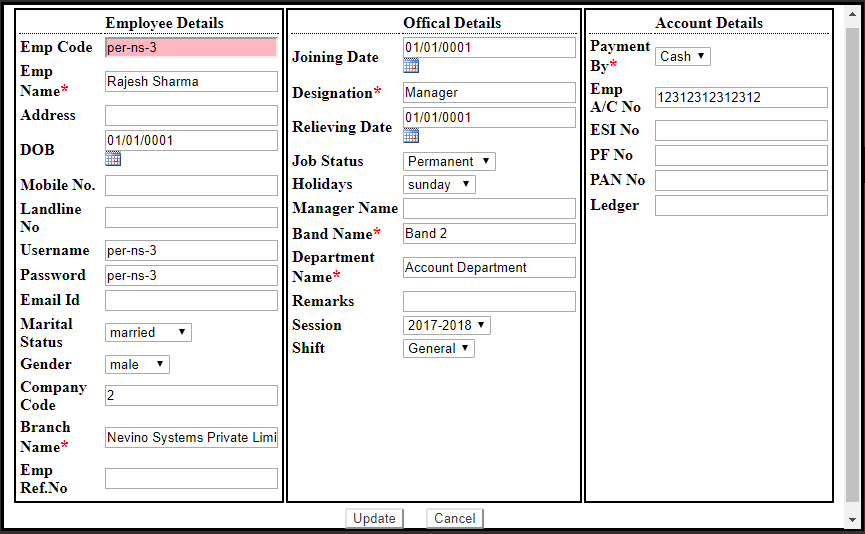
- Branch wise Employees management
- Designation wise Employee management
- Employee attendance management
- Employee salaries
- Pay Slips
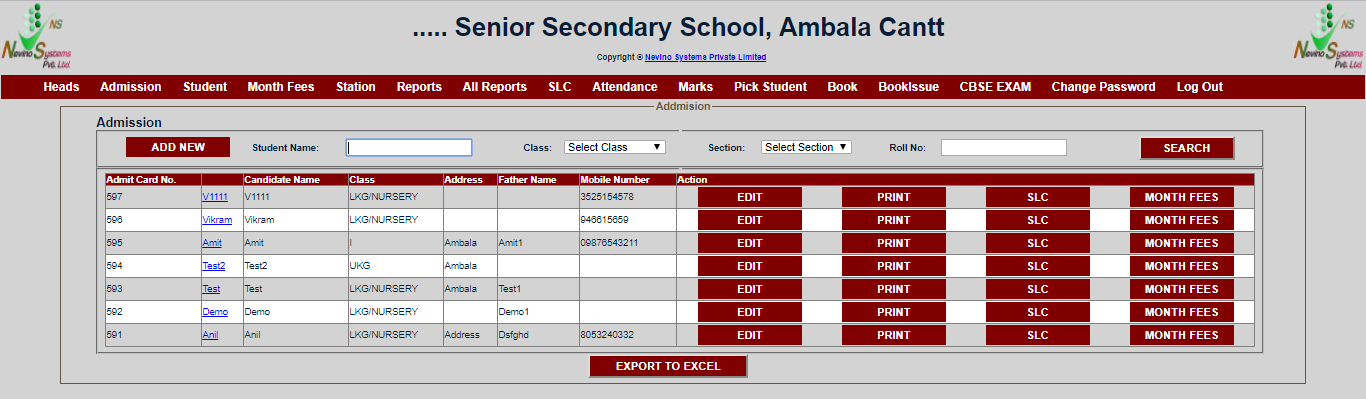
Student Admission management
- Prospectus management
- Student registration
- Student admission process
- Dynamic fees heads
- Admission slips
- Advance fees management
- Monthly fees management
- Balance fees reports
- Automatic SMS configuration for balance fees
Student Management System
- Students attendance system
- Students marks system
- Website interaction
- Parents login
- Teacher login
- Homework allocation
- Library books management
- Student report card management