How to Remove the System Volume Information Folder from a Pen Drive

First  You note the drive letter in the pendrive For example  G: or L: or F:

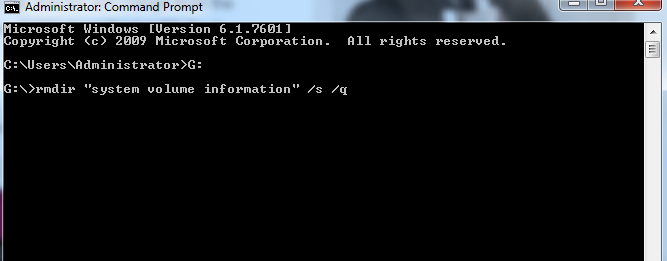
Open Command Prompt (search cmd or press Windows Key+R).Open command prompt (Run as administrator)Now we type drive letter  G: and hit the enter

Now we will type in command prompt   rmdir “system volume information” /s /q  and hit enter.

After this process we will open pendrive or flashdrive and confirm that the folder is no longer present.

* The Content stated above is for informational purpose only. Expert Software Team is not responsible if any part of content found meaningless in any manner or condition.

How to remove pendrive shortcut virus from USB and Computer

Open command prompt (Run –> cmd) and go to your USB drive. For example, if Your USB drive is “ G ” drive, You will need to type G:  in command prompt and hit the enter key. This will take you to the USB drive inside the command prompt.

Run the following command:
del *.lnk

This will delete all files with the extension of a shortcut
Now run the following command:
attrib -h -r -s /s /d G:*.*

This command will remove the following attributes from all files inside the USB drive;  hidden, read-only, system.
Following these steps should remove the virus from the USB drive completely.

* The Content stated above is for informational purpose only. Expert Software Team is not responsible if any part of content found meaningless in any manner or condition.

HTTP Error 503. The service is unavailable. SOLVED

HTTP Error 503. The service is unavailable. Many times while working with software we get this error on our browser. To overcome this problem please find the solution for it below.
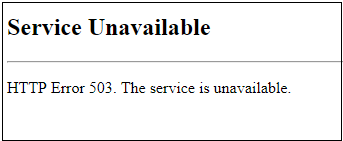
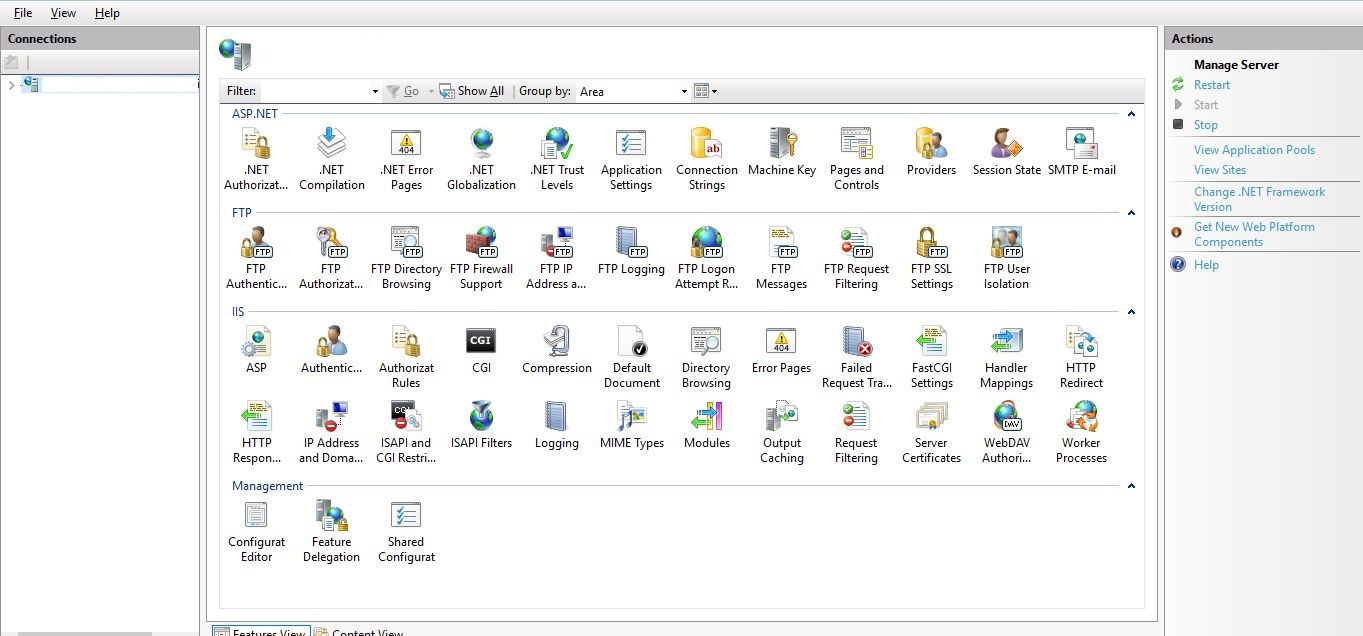
Step 1. Open the IIS(Internet Information Services) Manager by typing ‘IIS’ in search button and press Enter. You will see Internet Information Services Manager window screen as shown below.
Step 2. Click on ‘Application Pools’ as shown in image below then you will see another window of ‘Application Pools’.

Step 3. Now, Select the correct application pool for your website and select it. Here we are selecting ‘DefaultAppPool’. As we click it you can see ‘Advanced Settings’ option highlighted on right side.

Step 4. Click on ‘Advanced Settings’ and then on new window click on ‘Identity’. Then again a new window opens up select ‘Custom Account’.
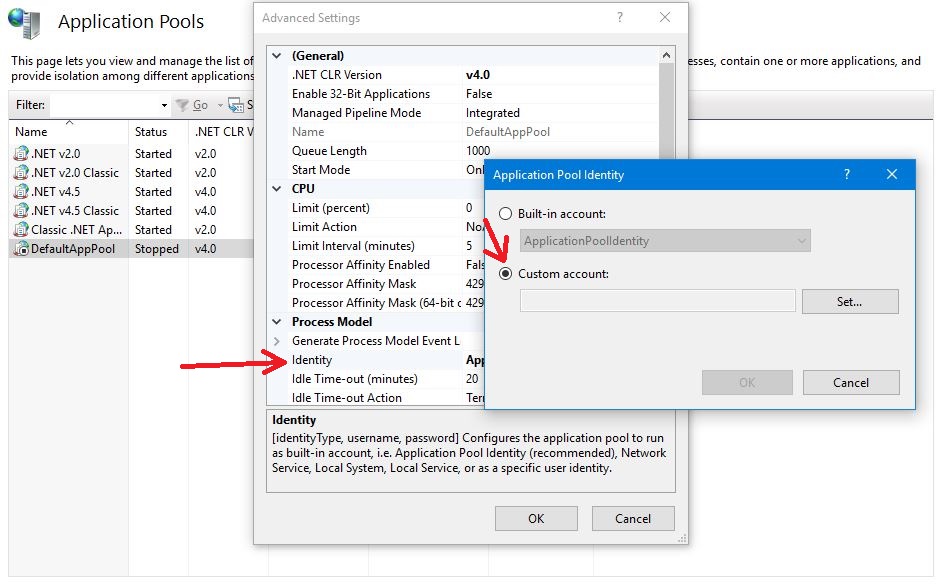
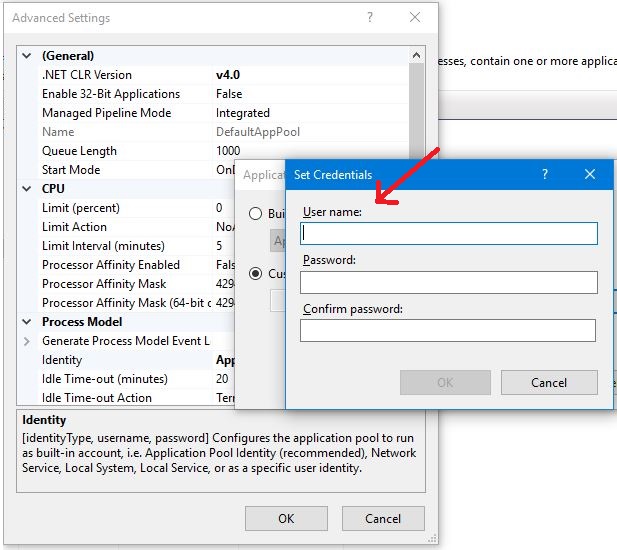
Step 5. Click on ‘Set’ button and enter your ‘User name’ and ‘Password’ and press ‘OK’ as shown below.
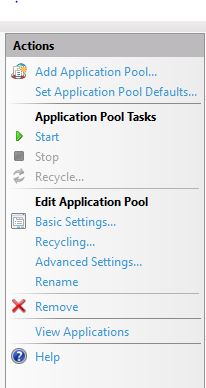
Step 6. Close all these windows by pressing ‘OK’ and click on ‘Start’ appearing on right side as shown below. After clicking on ‘Start’ you can check on browser error will be removed.
* The Content stated above is for informational purpose only. Expert Software Team is not responsible if any part of content found meaningless in any manner or condition.