Designation of an employee is very important part of an organization as it relates to the employee. In this blog we will learn that how we can create designation in Nevino Hr Software.
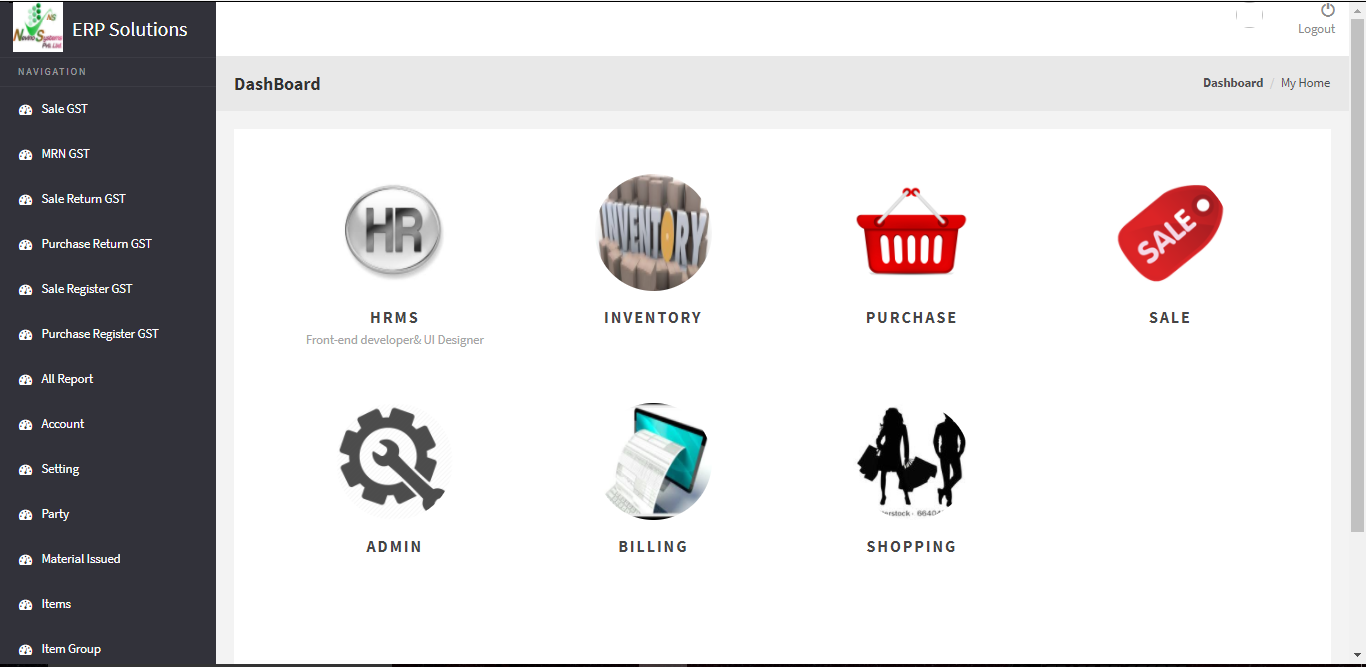
Step 1. When you have login to the Nevino HR Software the window as below will appear.

Step 2. Click on ‘HR’ icon as indicated in below screen shot.
![]()
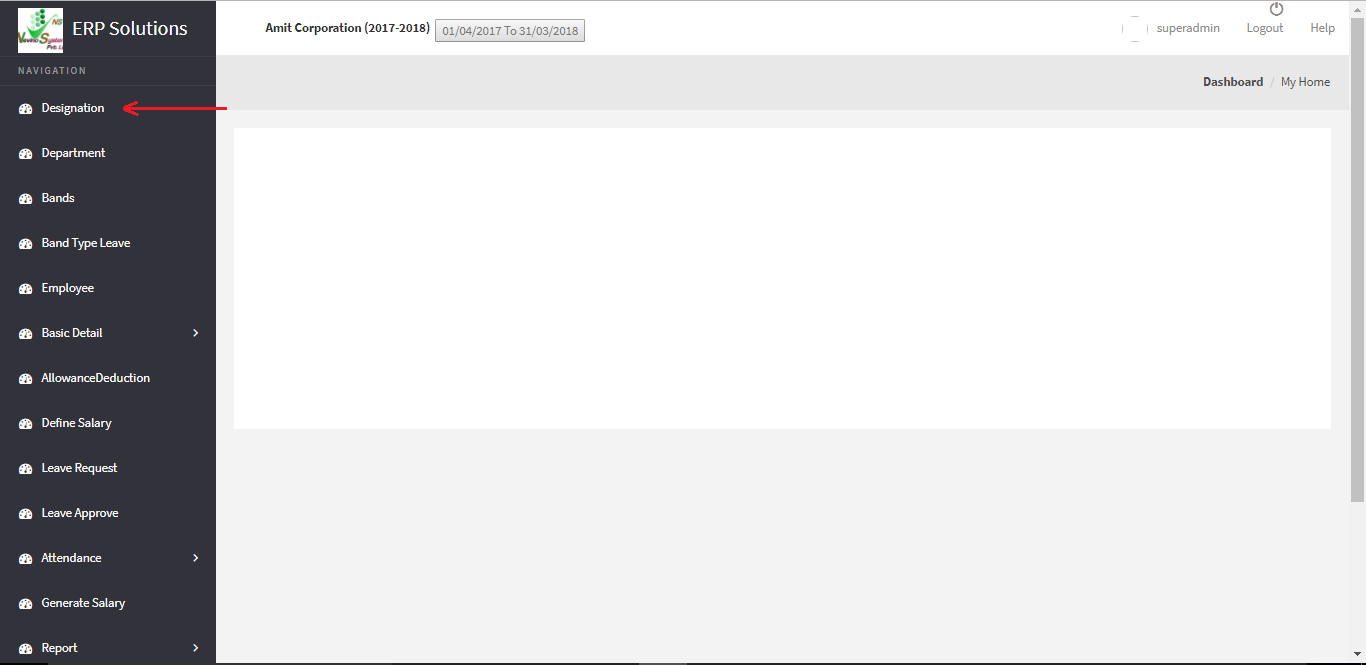
Step 3. When the ‘HR’ icon is clicked a new window will appear as below where you must click on ‘Designation’ as indicated below.

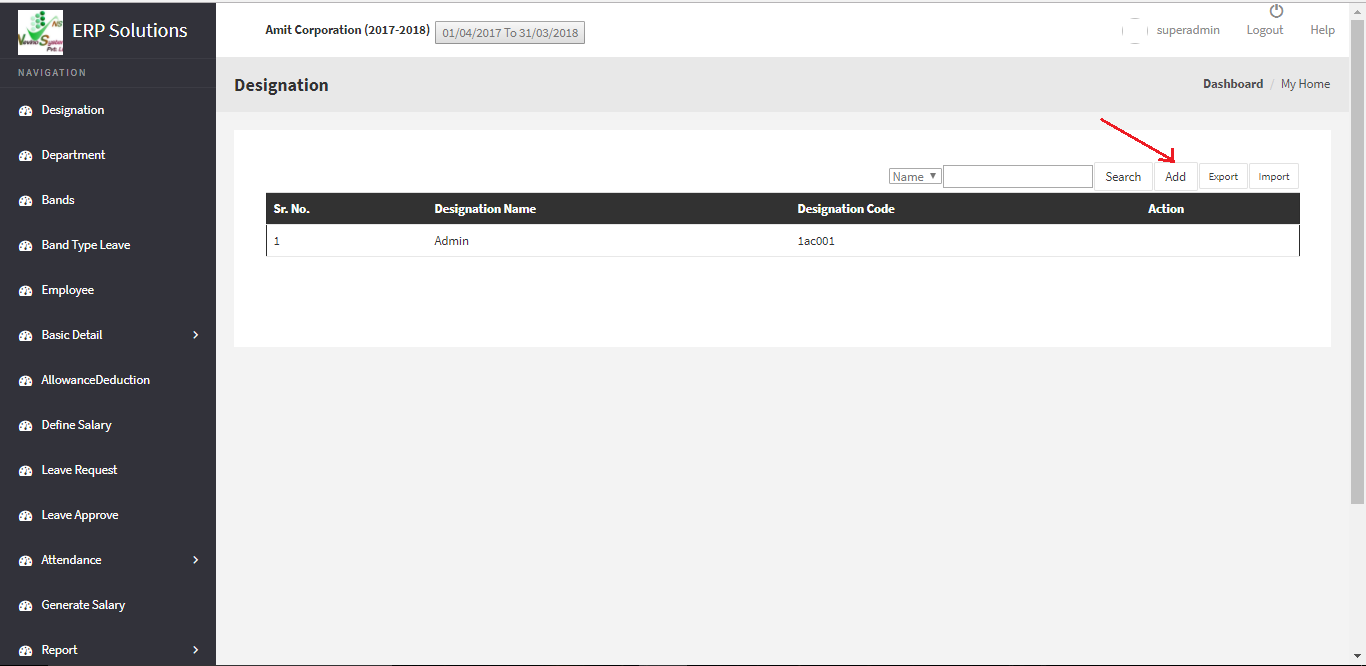
Step 4. This is the ‘Designation’ window of Nevino HR software. Now click on ‘Add’ button as indicated in below image.

Step 5. On click of ‘Add’ button a new window will appear as shown in below image.

Step 6. Enter name of any designation in the blank box provided with ‘Name’ for example we will add ‘Manager’ as designation name as per below image.

Step 7. When you have entered the designation click on ‘Save’ button as indicated below.

Step 8. When ‘Save’ button is clicked designation will be saved and that designation name will appear on ‘Designation’ window as shown below. In this way you can add ‘Designation’ into the Nevino HR Software.

* The Content stated above is for informational purpose only. Expert Software Team is not responsible if any part of content found meaningless in any manner or condition.