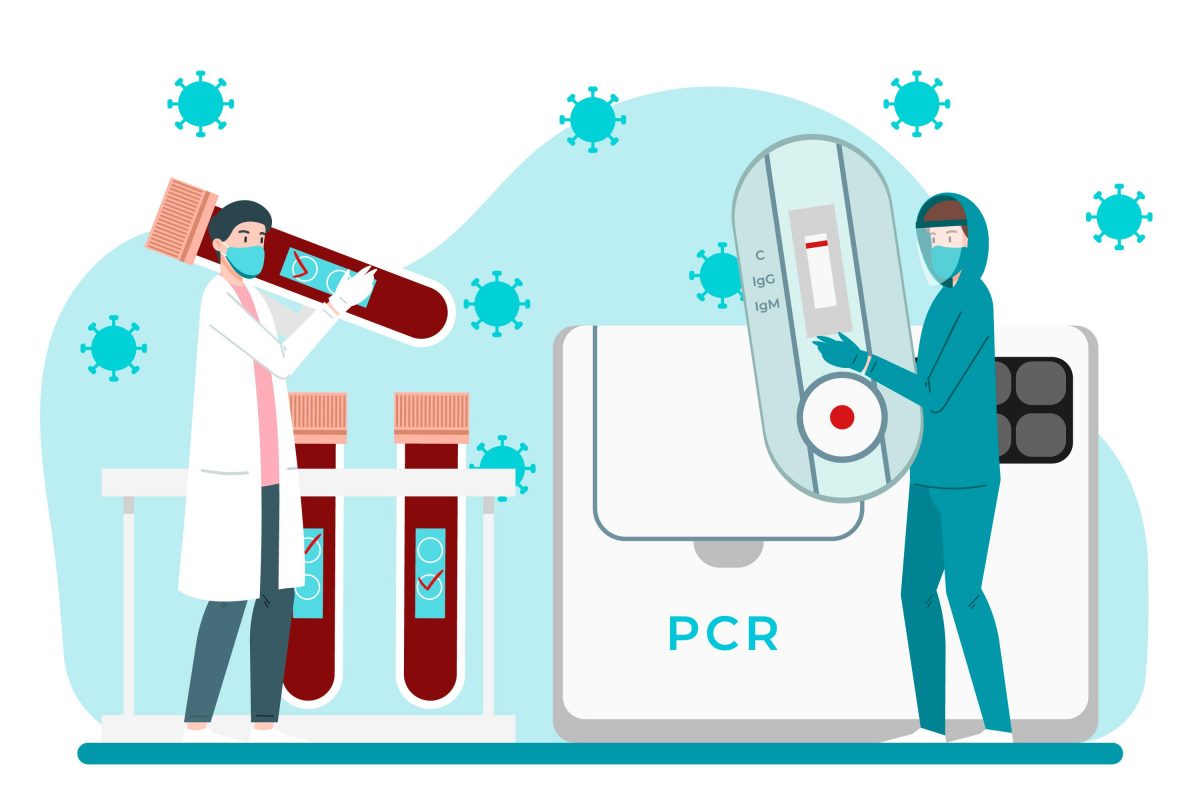
Managing billing and reporting in a diagnostic lab can be challenging. From handling multiple test packages and patient records to generating accurate reports and sharing them quickly, laboratories require a streamlined digital system to ensure efficiency.
Manual billing systems or scattered tools often lead to errors, delays, and confusion. This is where diagnostic lab billing software becomes essential. Kalcee Lab Solutions is a modern lab management system designed to simplify billing, reporting, and patient management for diagnostic labs and pathology centers.
Key Features of Kalcee Lab Solutions
Kalcee Lab Solutions offers advanced tools to help diagnostic labs manage billing, reporting, and patient records efficiently.
- Super-Fast Report Generation
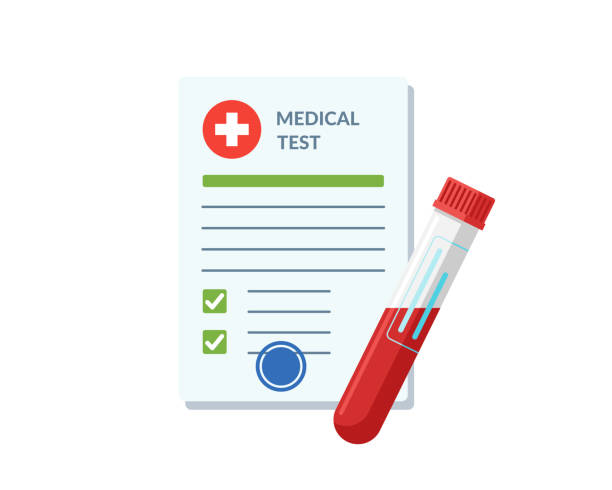
Create branded, professional diagnostic reports within seconds. Reports include structured test values and reference ranges, ensuring clear and accurate medical reporting.

- Report Printing Facility
Print patient reports with or without letterhead depending on your lab’s requirements. This allows laboratories to maintain professional documentation and branding.
- QR Code & Barcode Integration
Each report includes a QR code and barcode for secure and accurate report access. This improves data management and reduces manual errors.
- Mobile App Compatibility
Patients can download their diagnostic reports through the mobile app available on Android and iOS platforms, improving accessibility and convenience.
- One-Click Report Sharing
Share reports instantly with patients via WhatsApp in just one click. Faster report delivery improves patient satisfaction and trust.
- Customizable Test & Category Summary
Print reports with or without summaries for each test or category, making reports easier for both doctors and patients to understand.
- Customizable Test Packages
Create diagnostic packages such as Full Body Checkup, Fever Panel, Thyroid Panel, and other health packages easily within the system.
- Doctor-Wise Patient Records & Reports
Track doctor referrals, patient records, and commissions efficiently. This feature helps labs maintain strong relationships with referring doctors.
- Promotional Tools
Promote health checkup packages and special offers directly through SMS or WhatsApp with a single click to attract more patients.
In today’s digital healthcare environment, diagnostic labs must adopt modern systems to stay efficient and competitive. A reliable diagnostic lab billing software like Kalcee Lab Solutions allows labs to streamline billing, generate accurate reports, manage patient data, and share reports instantly.
Digitize your lab operations by booking a free 3-Day demo via calling on 9653590655. Kalcee Lab Solutions helps laboratories improve service quality while saving time and resources.
* The Content stated above is for informational purpose only. Expert Software Team is not responsible if any part of content found meaningless in any manner or condition.