How to add Bands in Nevino HR Software

Every designation of an organization is identified by its Band and according to that authority inside the organization is given to an employee. So now we learn how we can add bands in Nevino Hr Software.

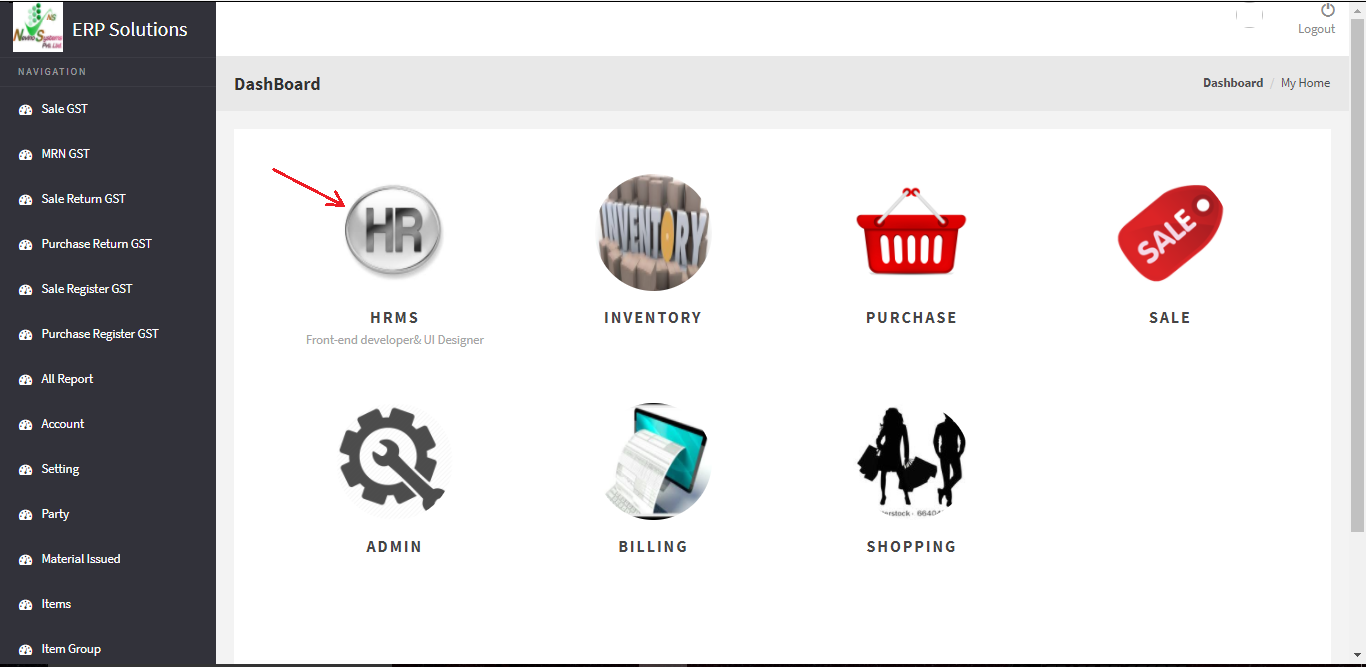
Step 1. Click on the HR Icon as displayed in image below.
main hr dashboard

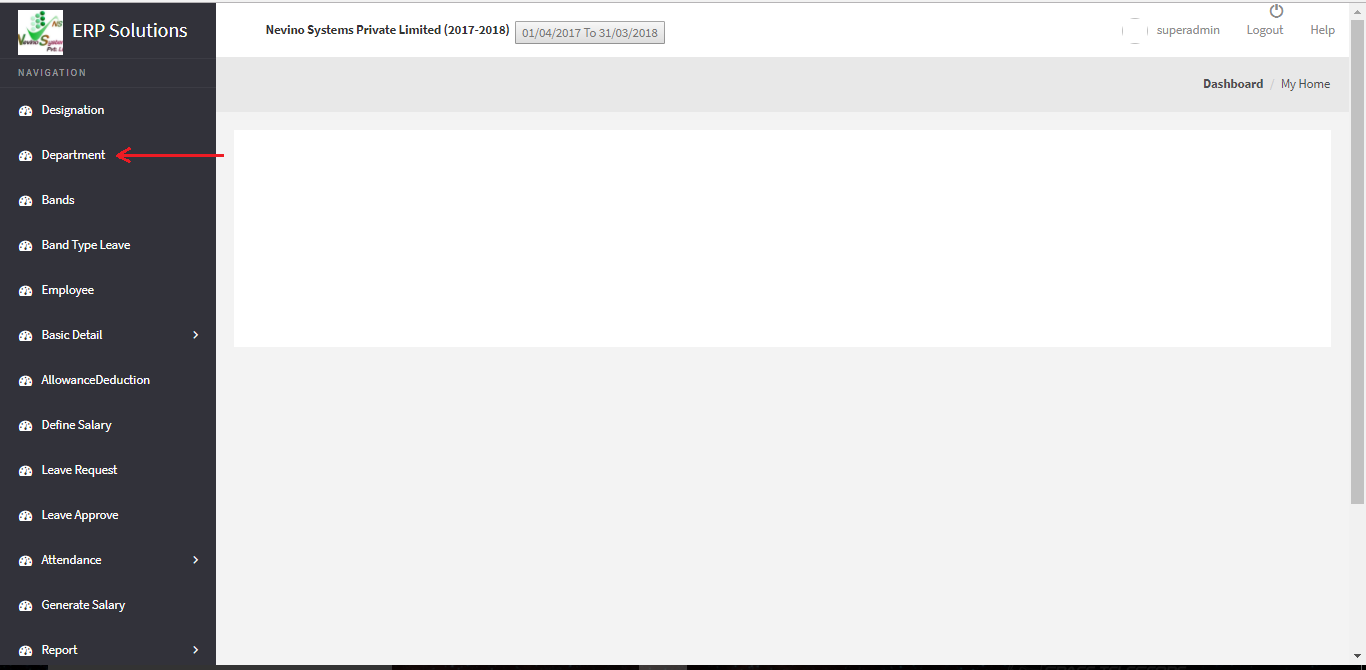
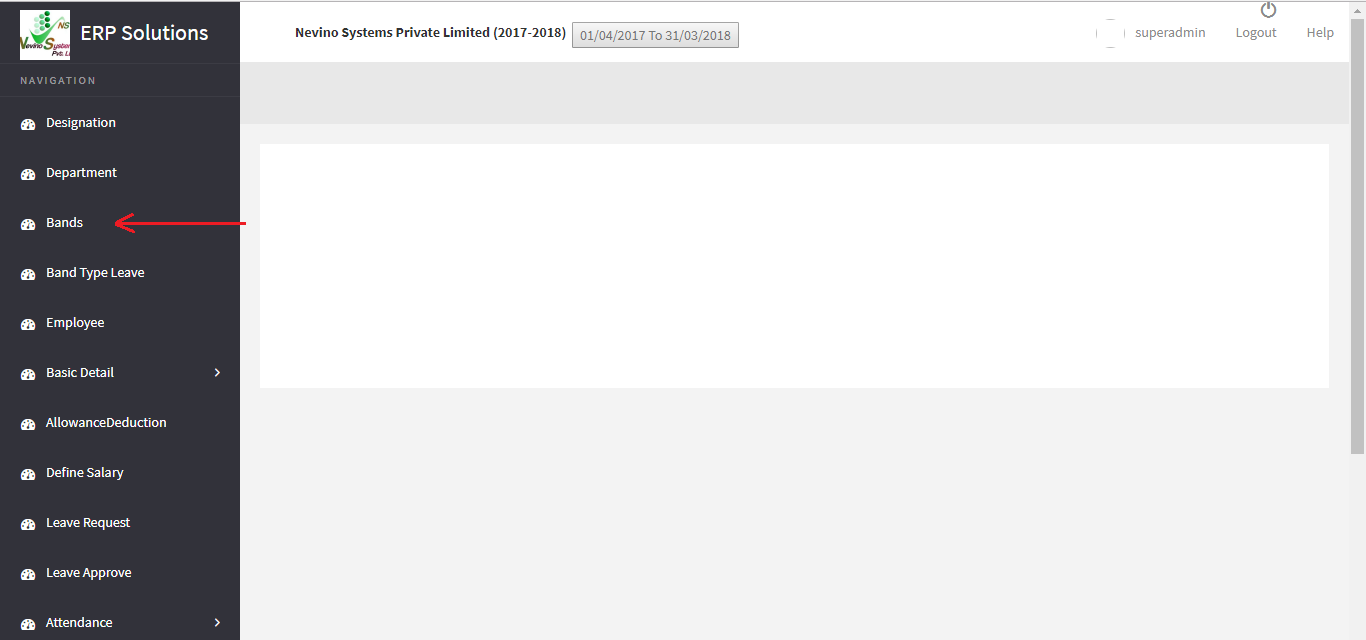
Step 2. Now click on ‘Bands’ as indicated in image below.
select hr band

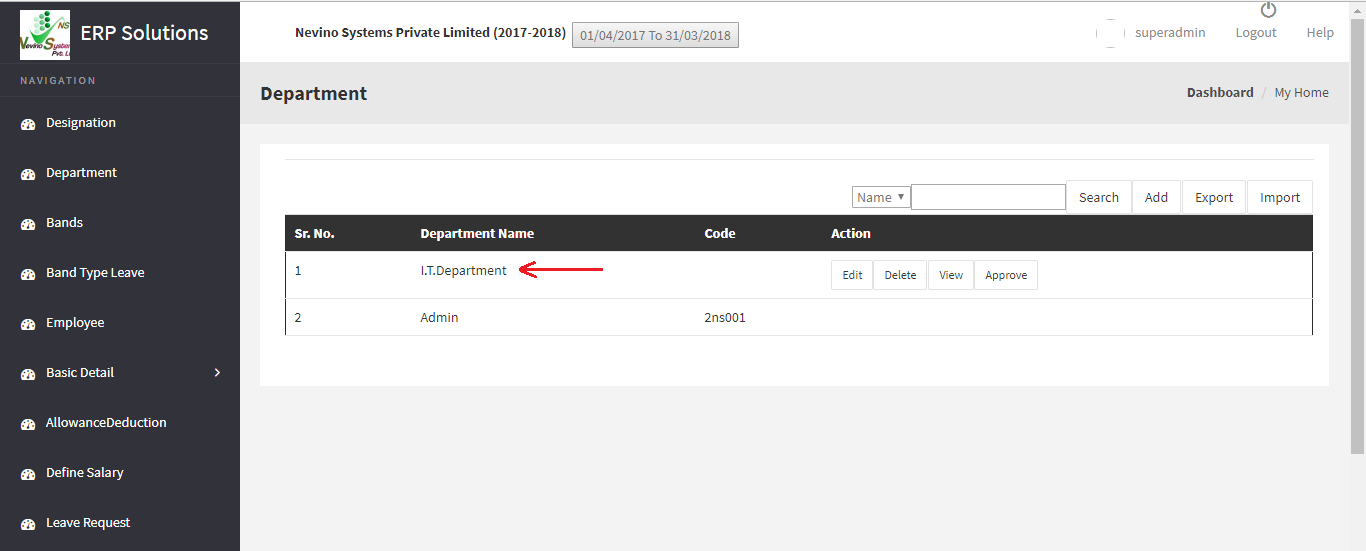
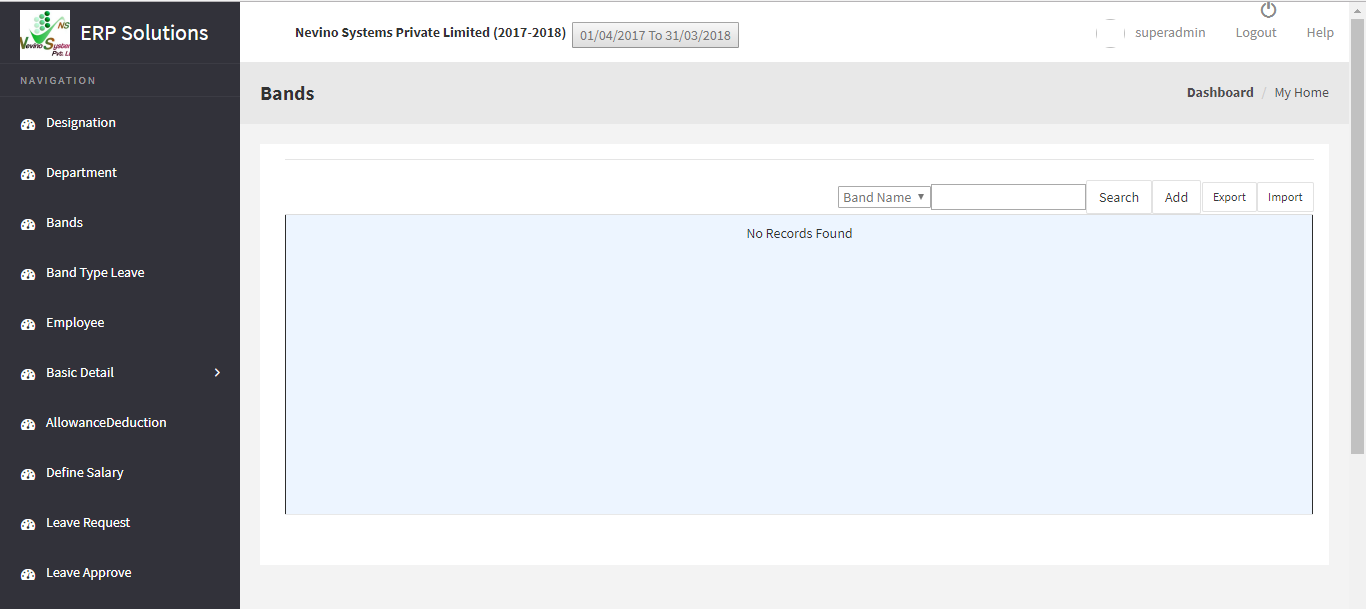
Step 3. On the click of ‘Bands’ a new window will appear as below.
band main hr window

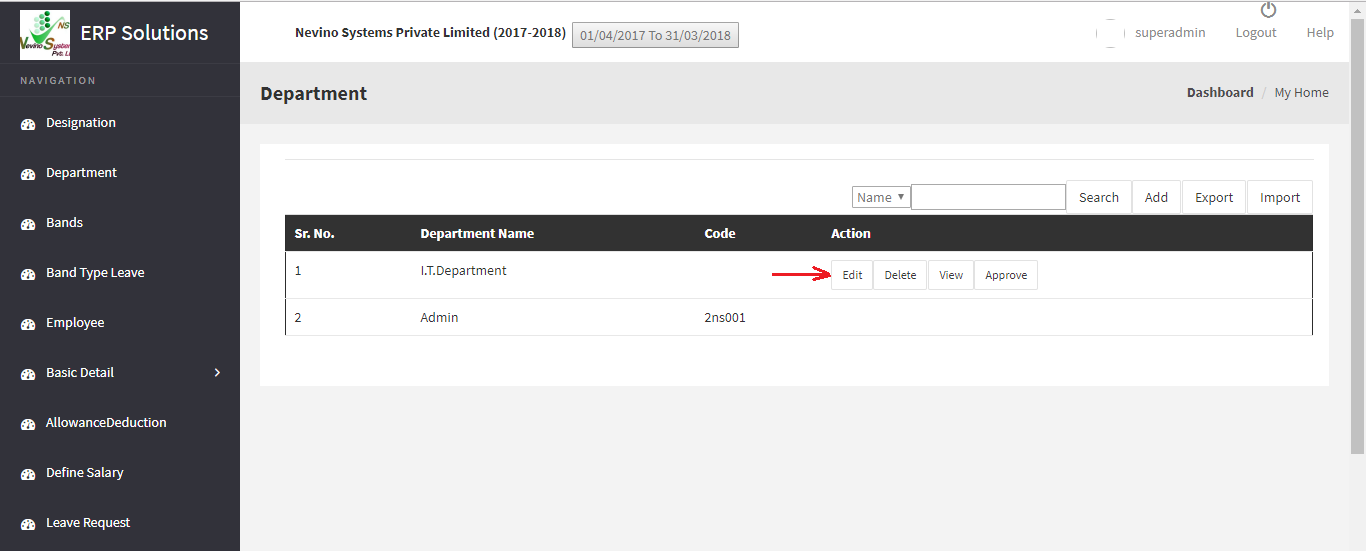
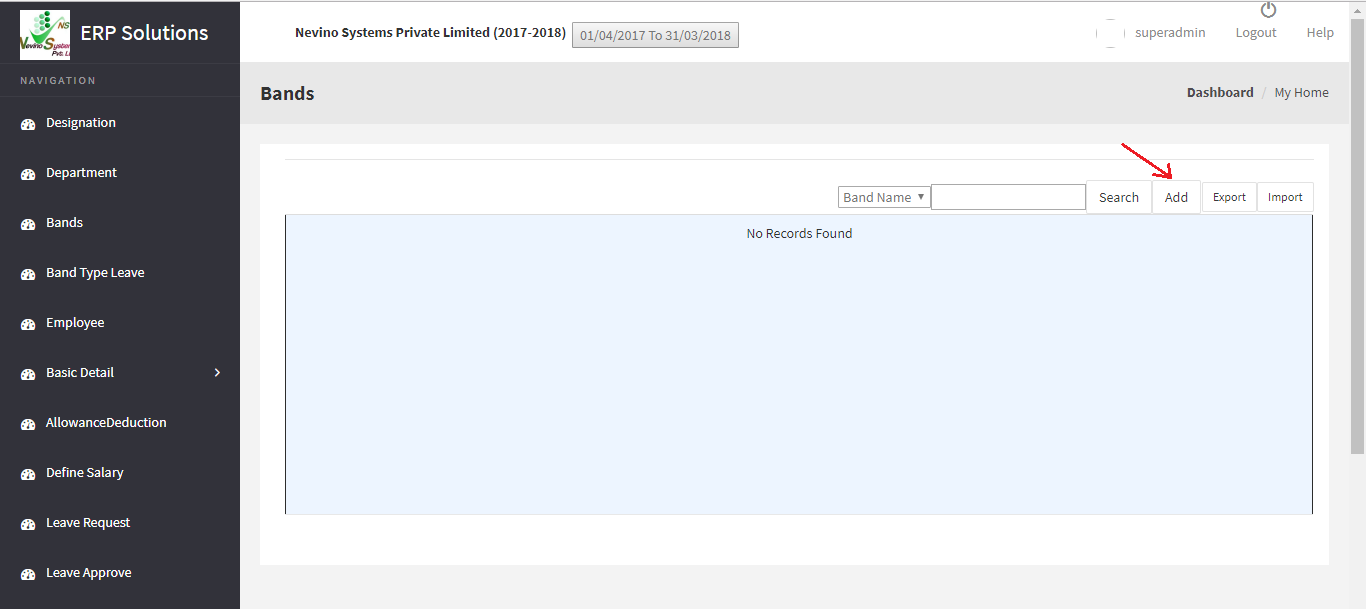
Step 4. This is the main window of ‘Bands’ and here you have to click on add button as indicated in image below.
bands hr add button

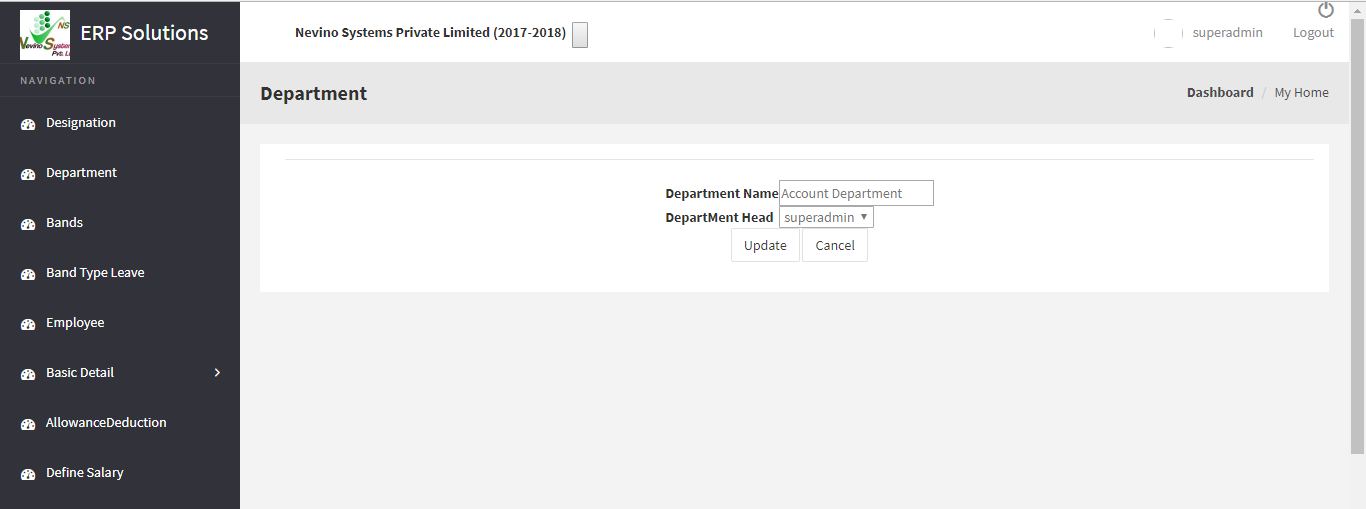
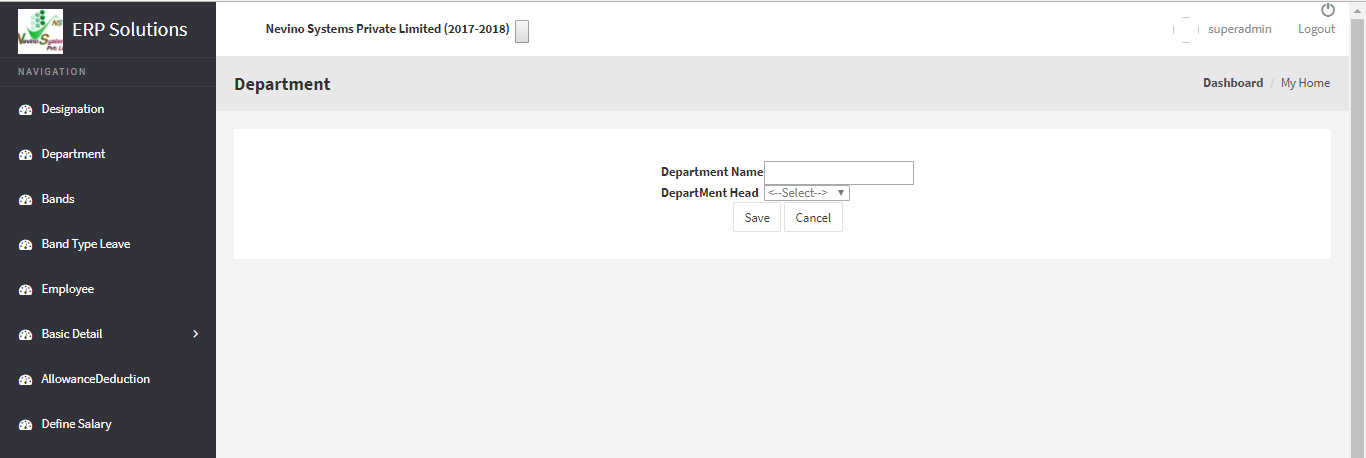
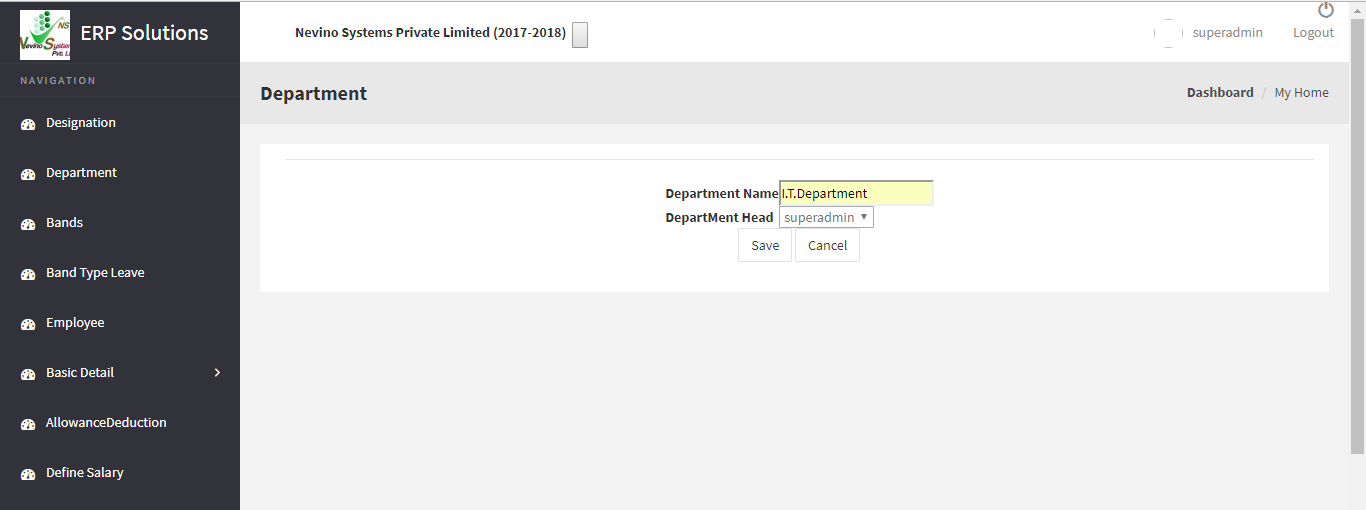
Step 5. On click of ‘Add’ button a new window as below will appear.
hr band main window

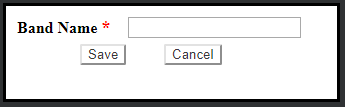
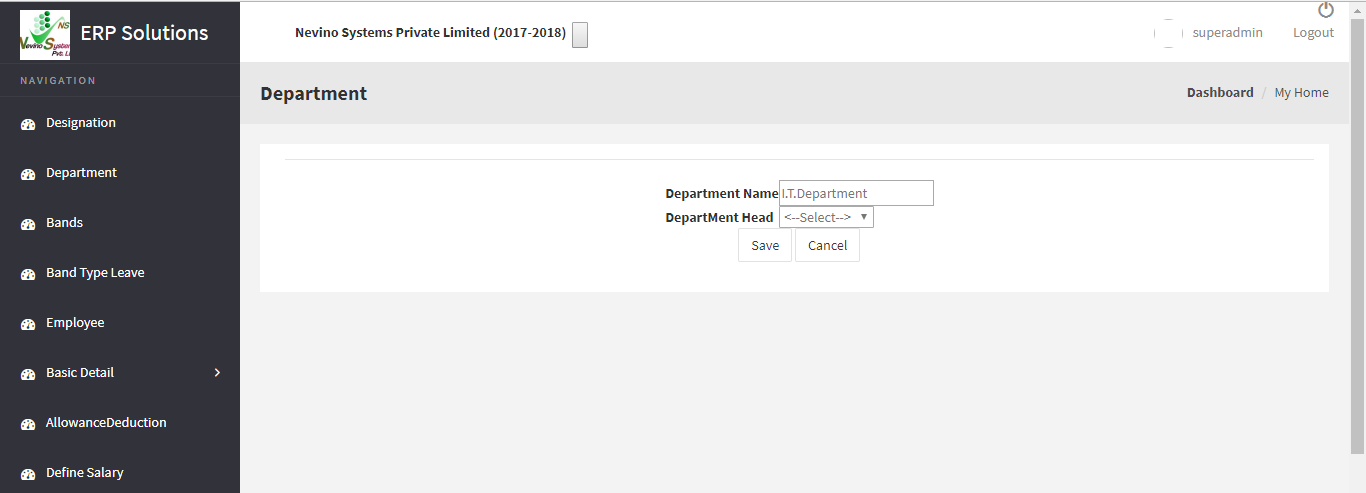
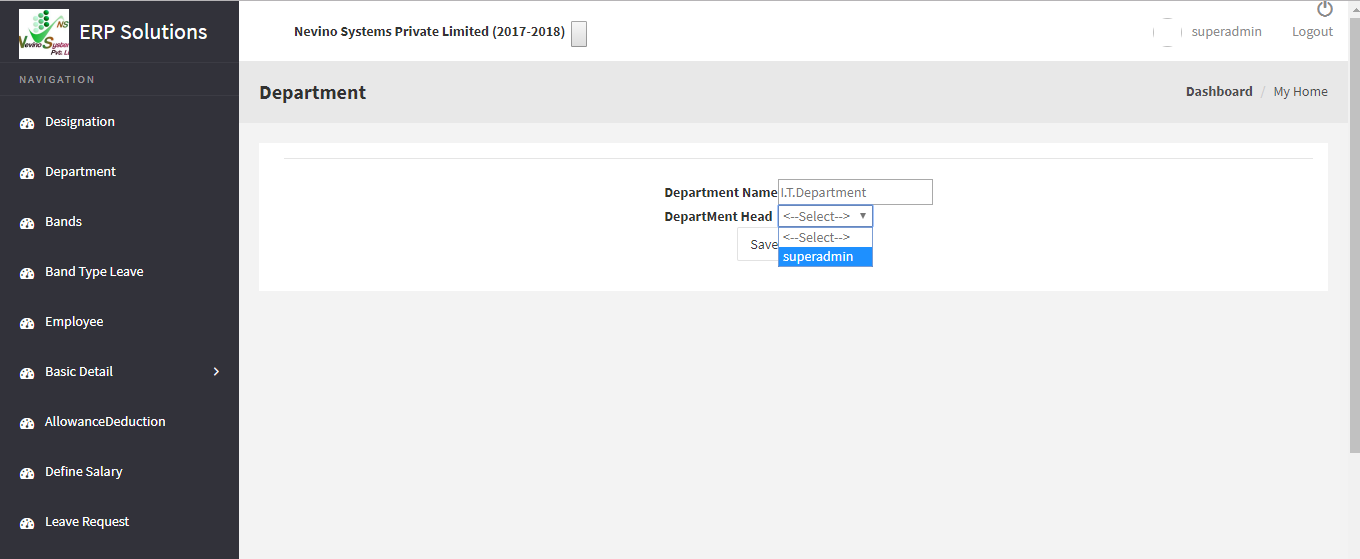
Step 6. Now enter the band name as per your requirement in the blank box provided. For example, we will add band name as ‘Band 1’ as shown in image below.
hr band name entered
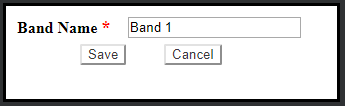
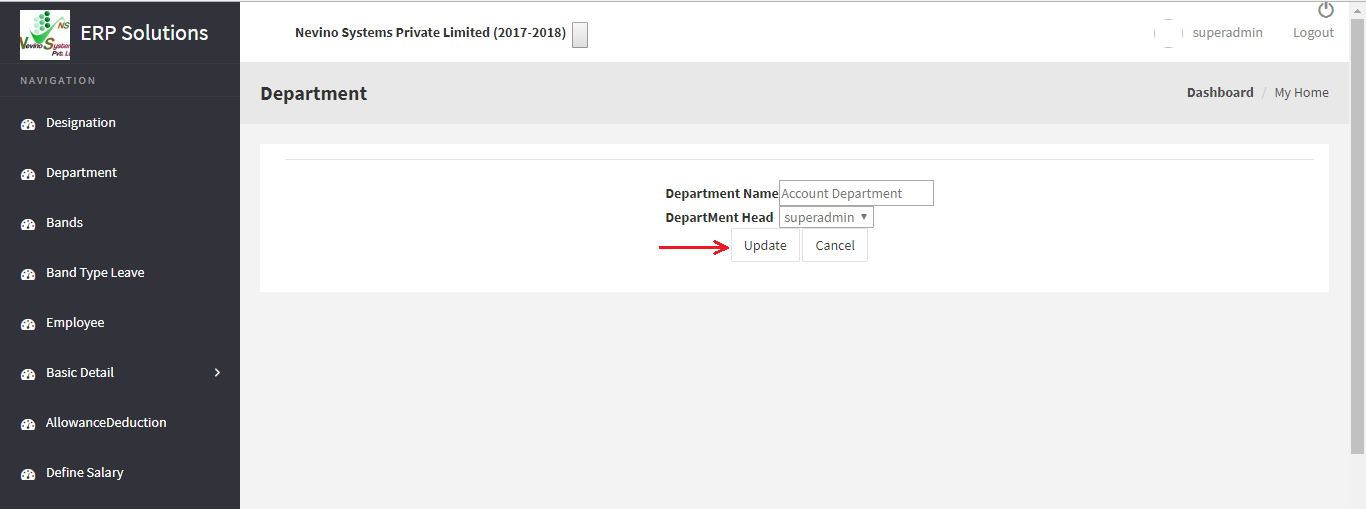
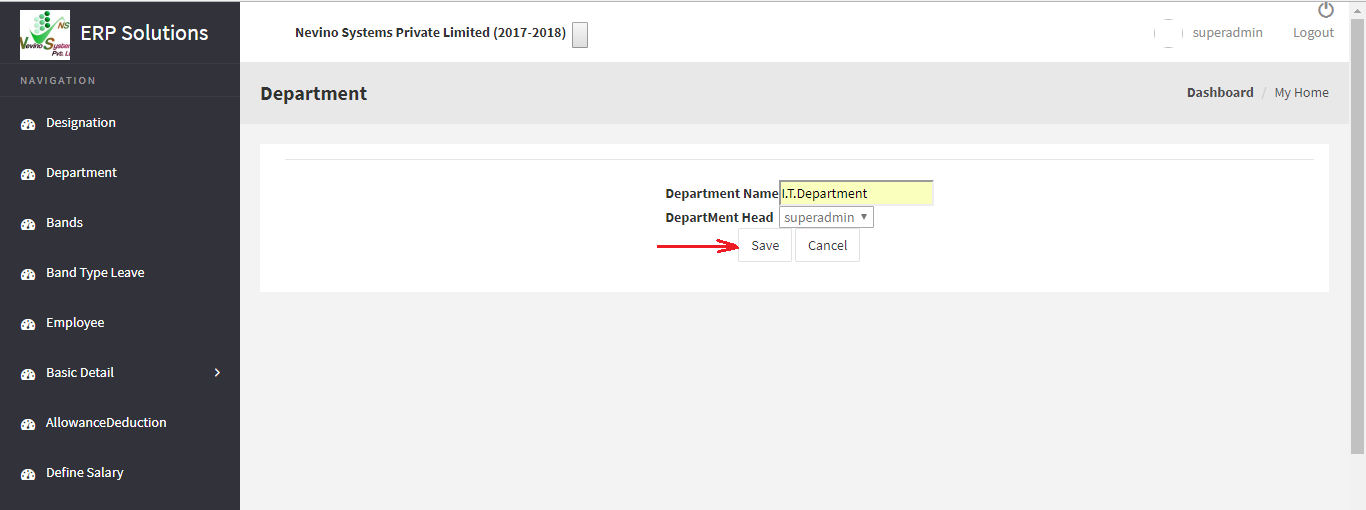
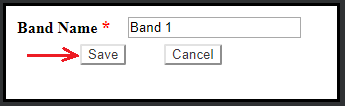
Step 7. When you have entered the band name click on ‘Save’ button as shown below.
hr band save button

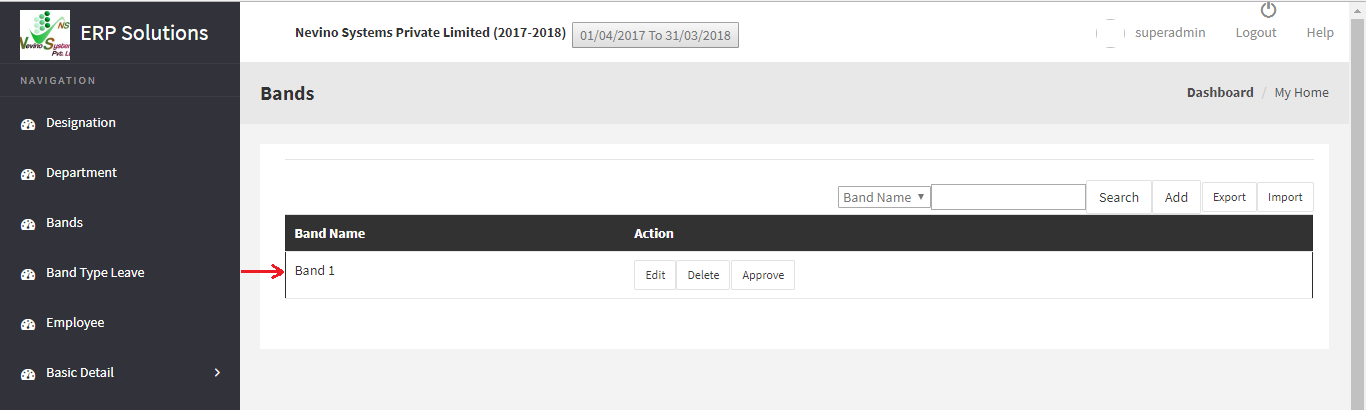
Step 8. On click of ‘Save’ button the data will be saved, and a new window will appear on which you can see your entered band name as shown below.
hr band name created

* The Content stated above is for informational purpose only. Expert Software Team is not responsible if any part of content found meaningless in any manner or condition.

How to edit department in Nevino HR Software

Whenever there is need arises to edit the Department name below mentioned steps can be followed to do the needful. So how to edit department name in Nevino Hr Software is as follows.

Step 1. From the main window of Nevino HR Software click on ‘HR’ icon as shown below.
main hr dashboard

Step 2. When window as below appears click on ‘Department’ as indicated in screen shot below.
select hr department

Step 3. Now a window as below will appear where you can see a department name appearing as ‘I.T.Department’.
department main hr window

Step 4. As we want to edit the department name so click on ‘Edit’ button as indicated in image below.
hr department edit button

Step 5. On click of ‘Edit’ button a new window as below will appear. In this window you can change the department name and department head.
hr department edit window

Step 6. For example, we will change department name as ‘Account Department’ as shown in image below.
enter hr department name

Step 7. Now we will click on ‘update’ button as indicated in below image.
hr department update button

Step 8. On click of update button newly entered data will be saved and window as below will appear where you can see changed department name as ‘Account Department’.

* The Content stated above is for informational purpose only. Expert Software Team is not responsible if any part of content found meaningless in any manner or condition.

How to add Department in Nevino HR Software

In this blog we will learn about adding the department name. So please follow below steps to know how we can add department in Nevino Hr Software.

Step 1. On the main window of Nevino HR Software click on ‘HR’ icon as indicated below.
main window hr

Step 2. Now click on ‘Department’ as indicated in image below.
department hr icon

Step 3. When we click on ‘Department’ the window as below screen shot will appear.
hr department window

Step 4. In this window you can see department name as ‘Admin’ which is auto-generated by default. Now to create new department click on ‘Add’ as indicated in image below.
hr department add button

Step 5. On the click of ‘Add’ button the window as below will appear.
hr

Step 6. Now enter the ‘Department Name’ for example we will enter ‘I.T.Department’ as per below image.
hr enter department name

Step 7. Next, we add ‘Department Head’ so click on drop-down box as shown in image below. You can see here ‘Superadmin’ name under department head is displaying by default.
hr department head select

Step 8. Select the name of ‘Department Head’ as ‘Superadmin’. This is the name of employee so about how to add employee name please see our ‘Employee’ blog. <Employee link>
hr department head

Step 9. After selecting the department head click on ‘Save’ button as shown in image below.
hr department save button

Step 10. On click of ‘Save’ button data will be saved, and new window will appear as below screen shot which is displaying our newly entered ‘Department Name’.
hr department name created

* The Content stated above is for informational purpose only. Expert Software Team is not responsible if any part of content found meaningless in any manner or condition.