After installation we need a database where we can store our previous version and new version of file. In SVN, a Repository folder acts as a database so now we learn ‘How to create Repository’ plus we will ‘Import the project folder’ which we want to share on network.
Installing the SVN software<< Already gone through this page >>How to create working copy through Checkout command
Step 1.When you have installed Tortoise SVN software in PC, create a folder for example named as ‘svn_repos’. Right click on that folder click on ‘TortoiseSVN’, drag to ‘Create repository here’ and click on it as below.

Step 2. After clicking on ‘create repository here’ a dialog box will be displayed as below. Now click on ‘Create folder structure’ and press OK. Another box will be displayed, press OK again. Folder icon will change as below.
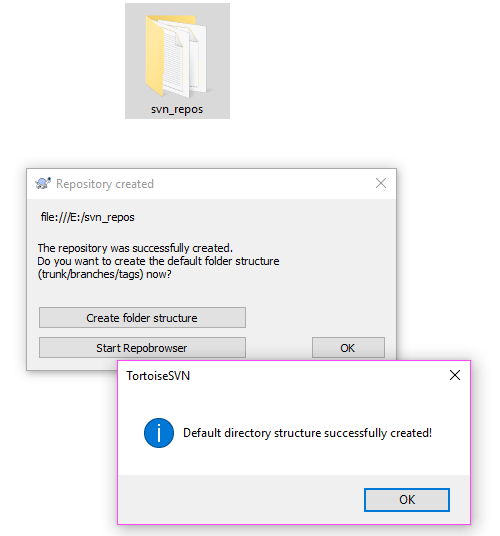
![]() Folder icon changed.
Folder icon changed.
Importing the project folder
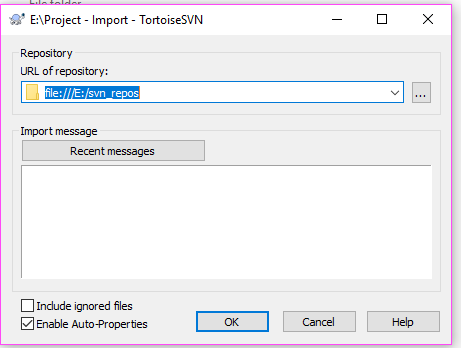
Step 3. Now we import a project or work in repository. For example create a folder named as ‘Project’, inside this folder create a notepad file ‘File1’ and write something in it. Right click on folder now, select ‘TortoiseSVN’-> ‘Import’ and you will see a dialog box as below. Enter the correct address of repository folder and press ok.
Installing the SVN software<< Already gone through this page >>How to create working copy through Checkout command
* The Content stated above is for informational purpose only. Expert Software Team is not responsible if any part of content found meaningless in any manner or condition.