How to add Medical Test results in Nevino Lab Software

Medical report of a patient is an important part of Medical Lab, for that we first need to enter the test result in software. So now we learn how to add medical test result.

Click Here To Buy Nevino Lab Software

How to make Booking for Patient’s medical test<< Already gone through this page >>How to edit Patient details in Nevino Lab Software

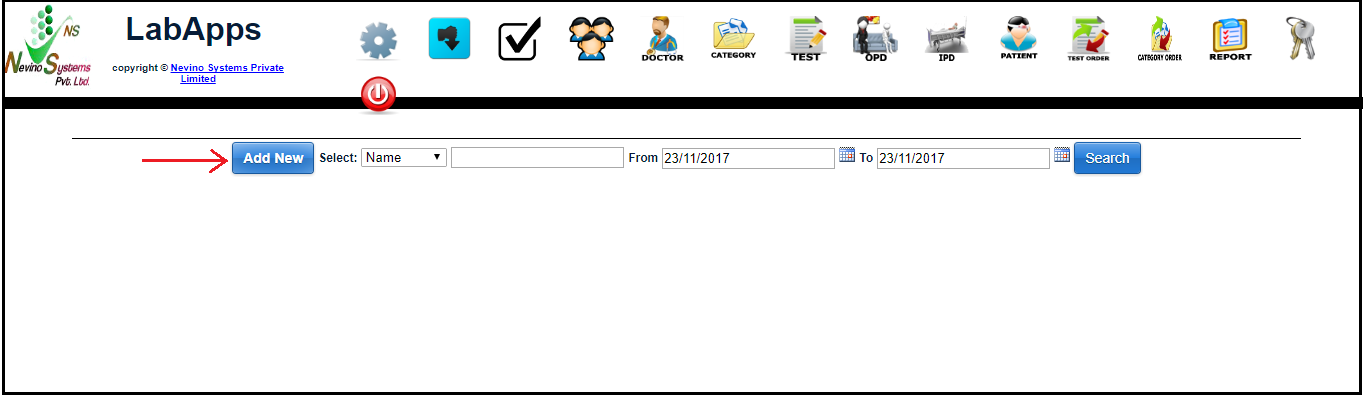
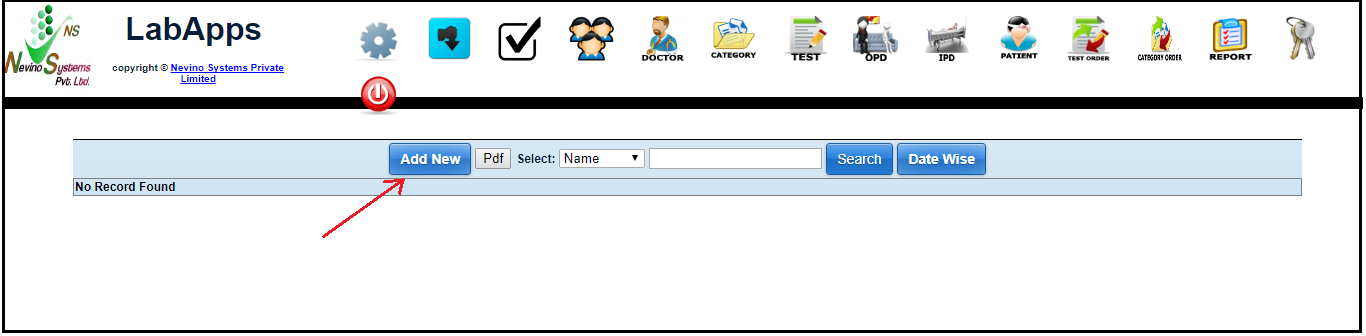
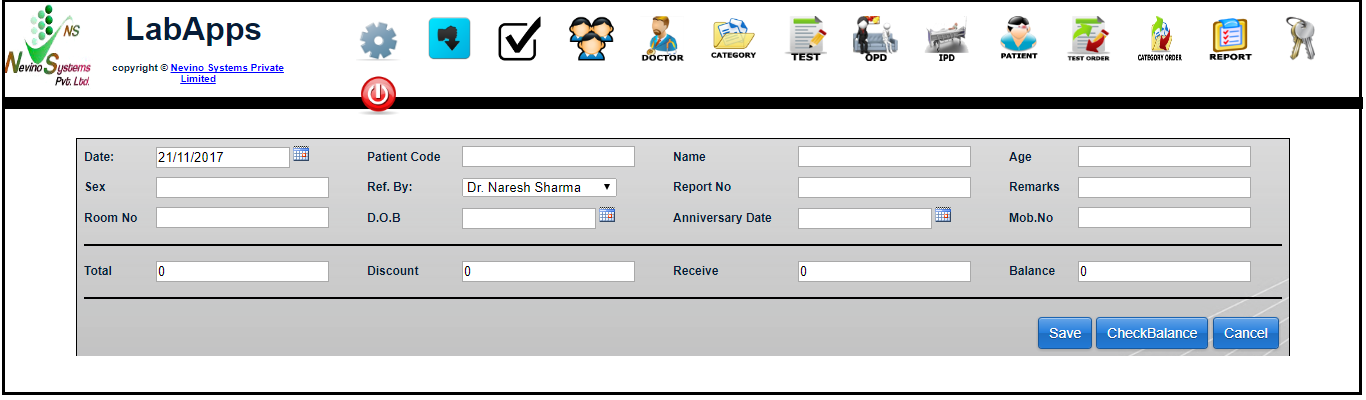
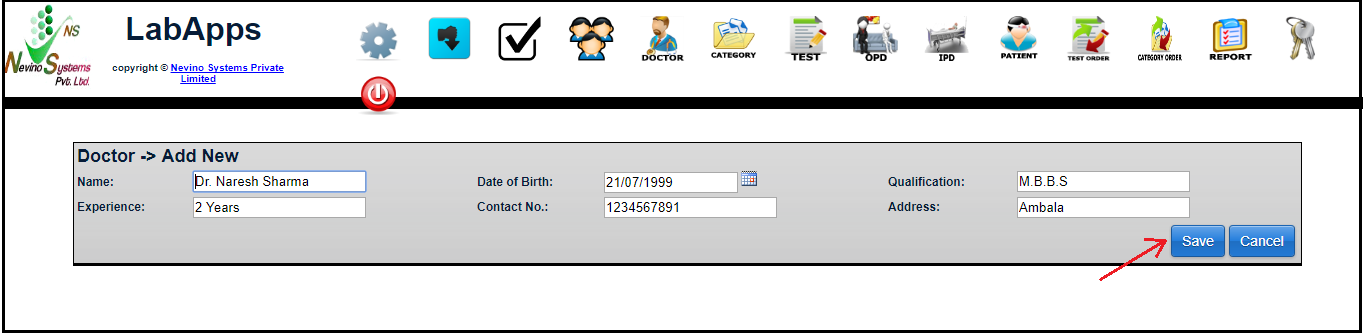
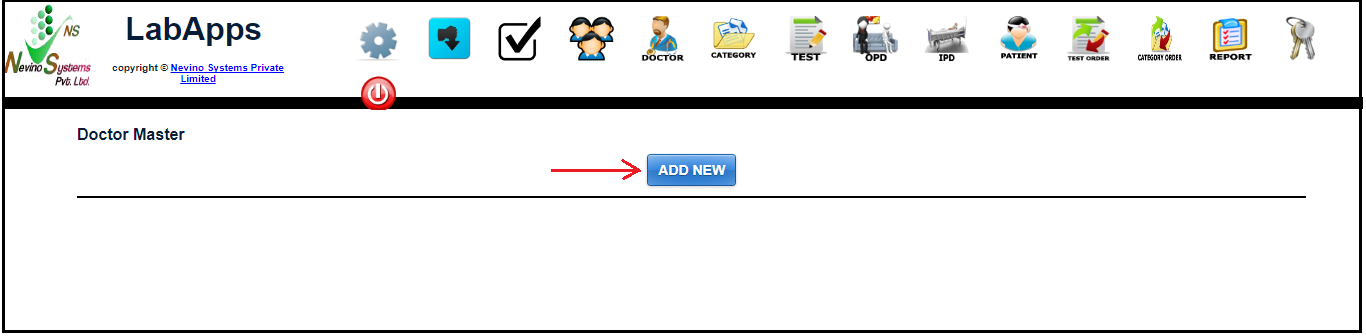
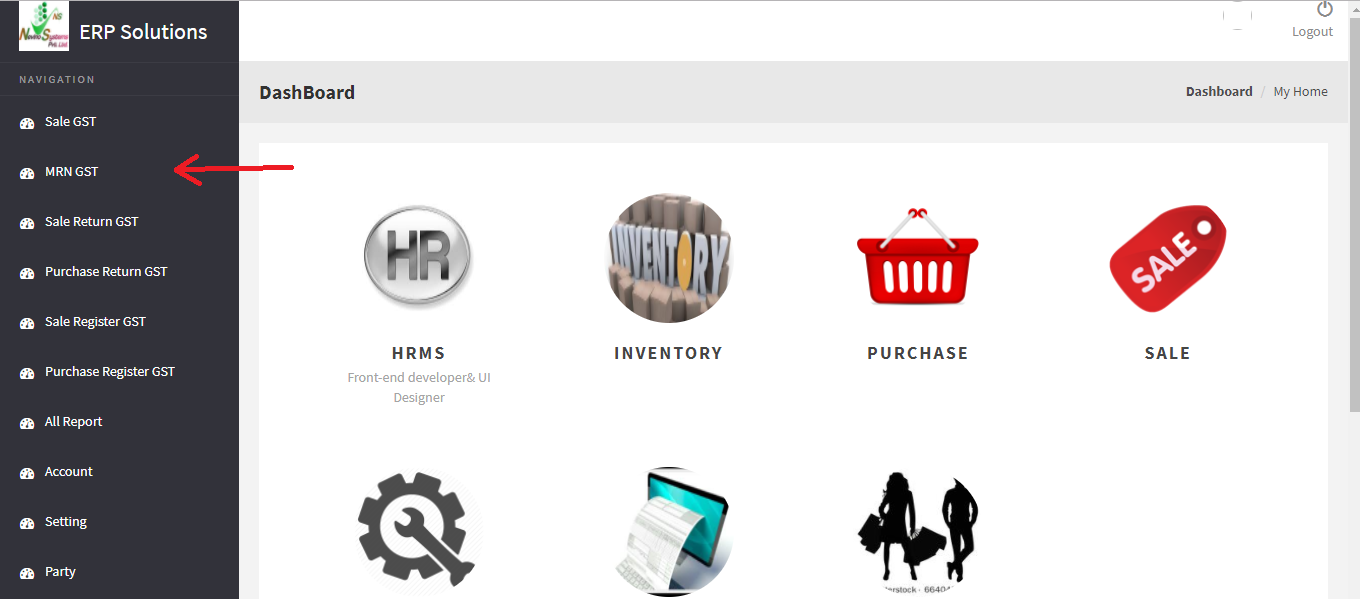
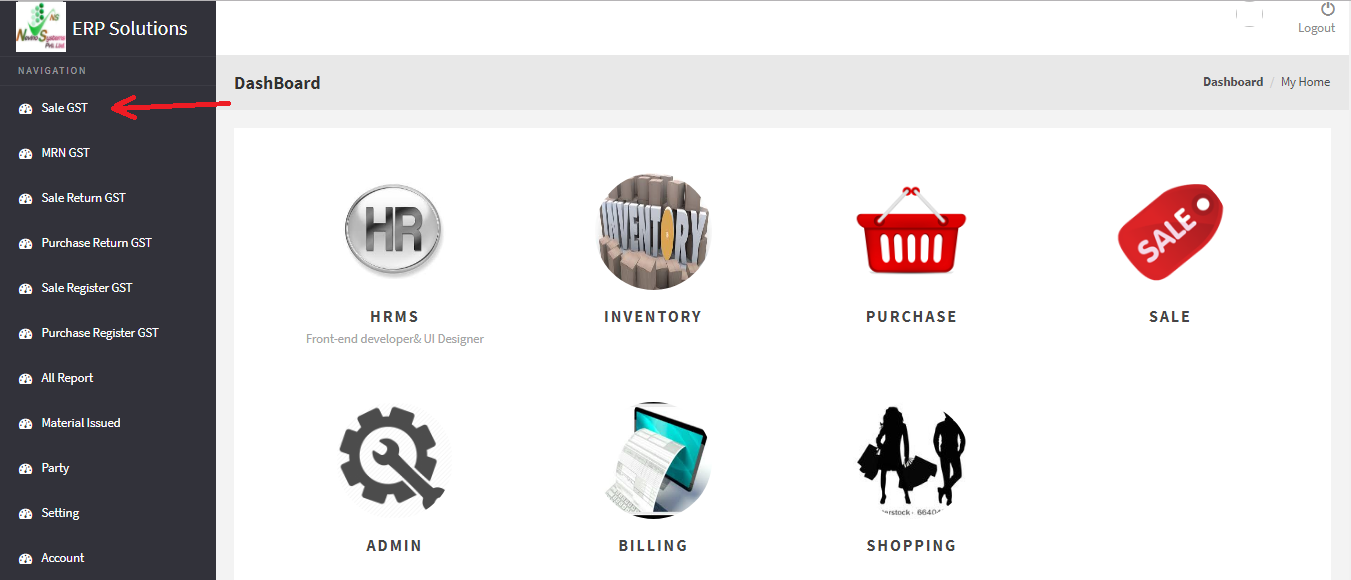
Step 1. On the main page of Nevino Lab Software click on ‘Booking’ icon as indicated in image below.
nevino lab booking icon

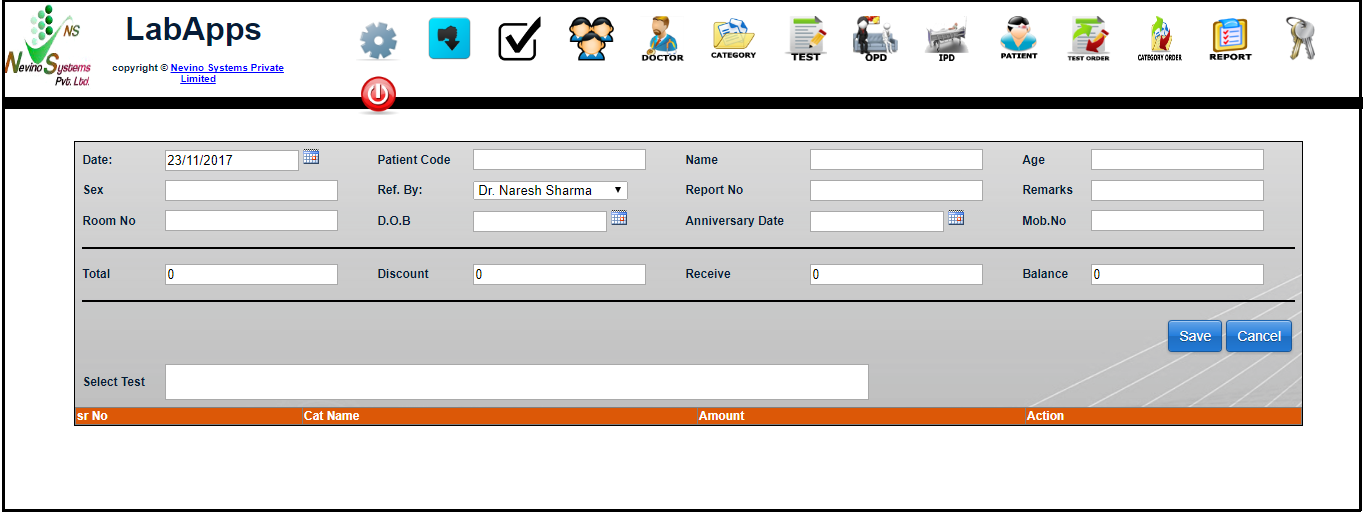
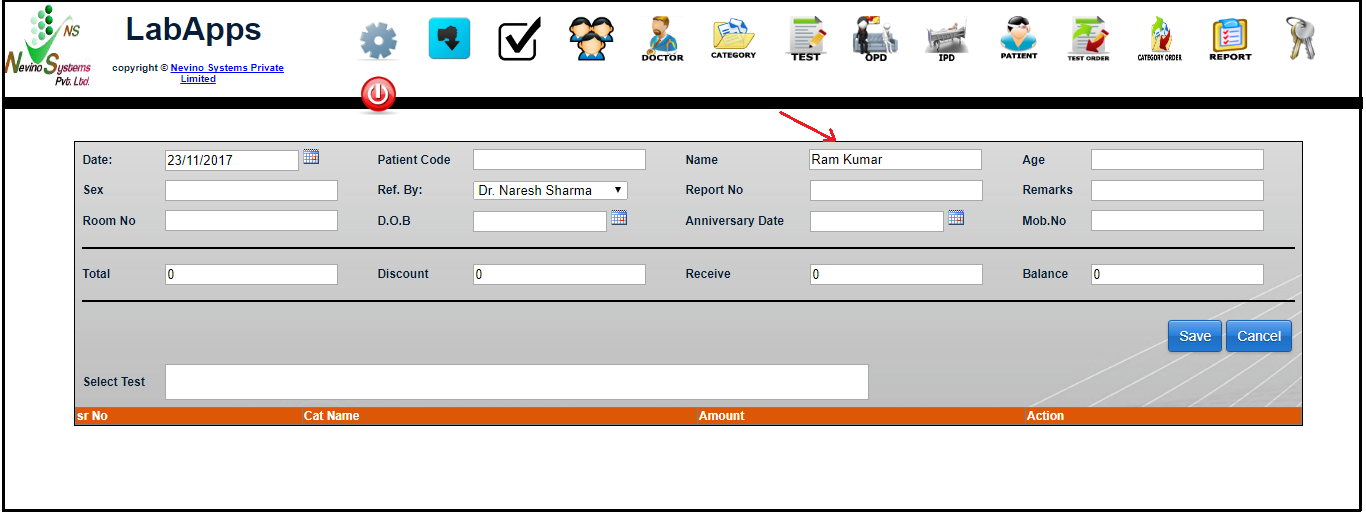
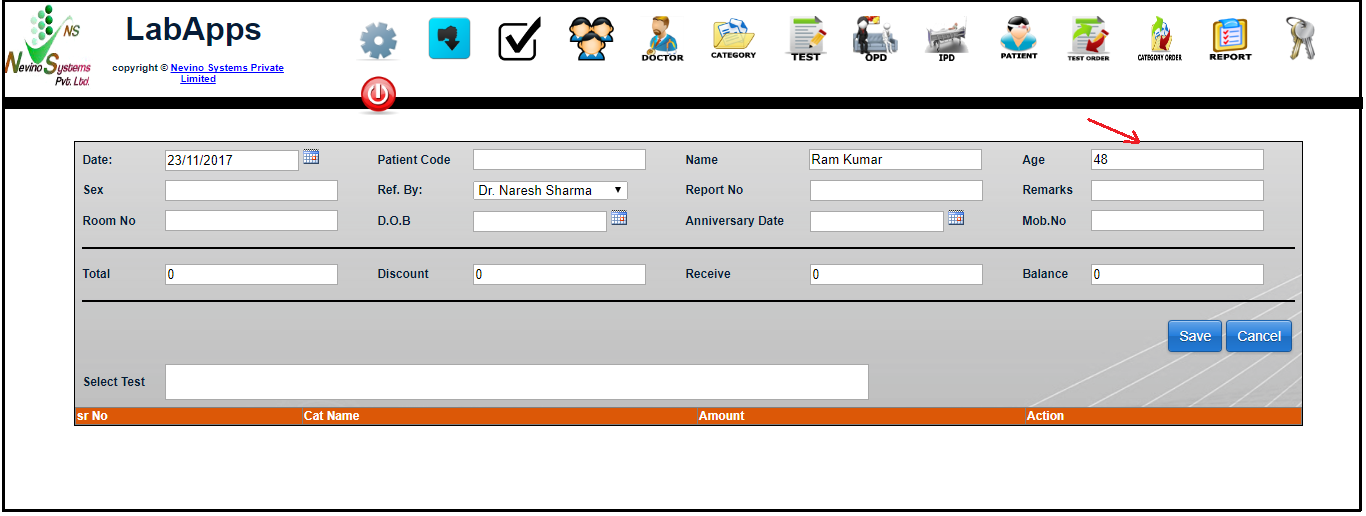
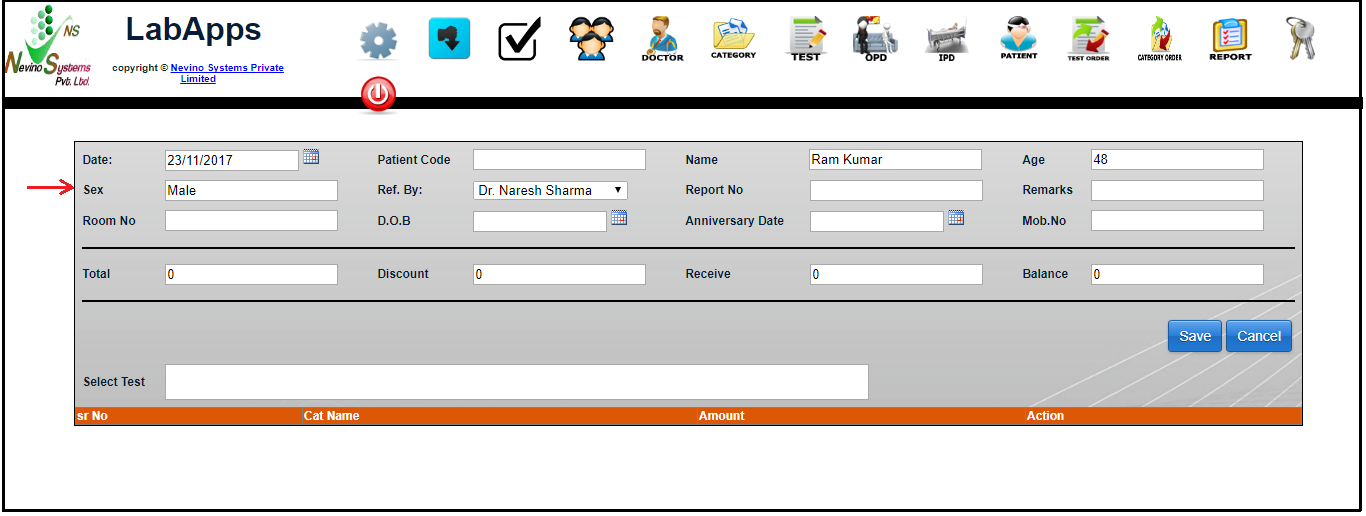
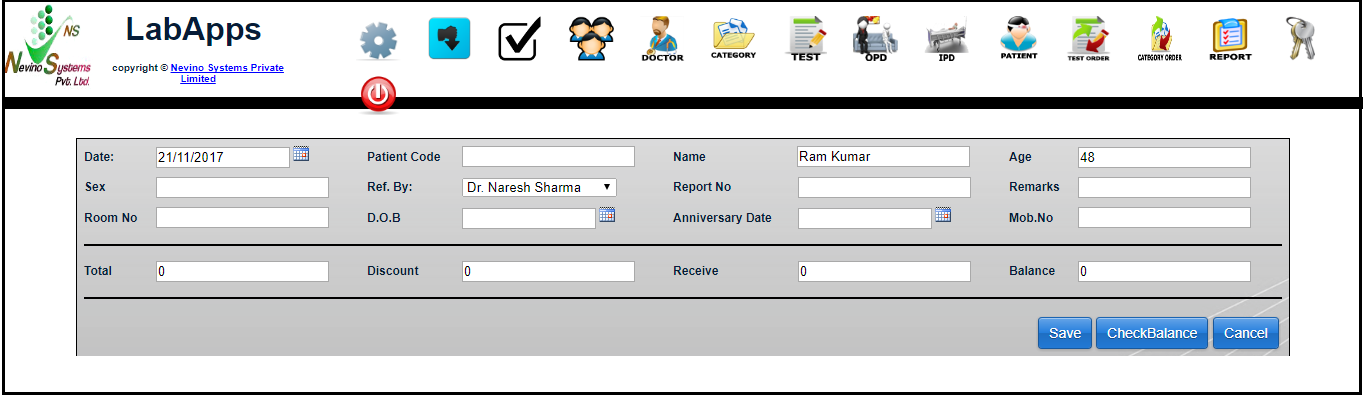
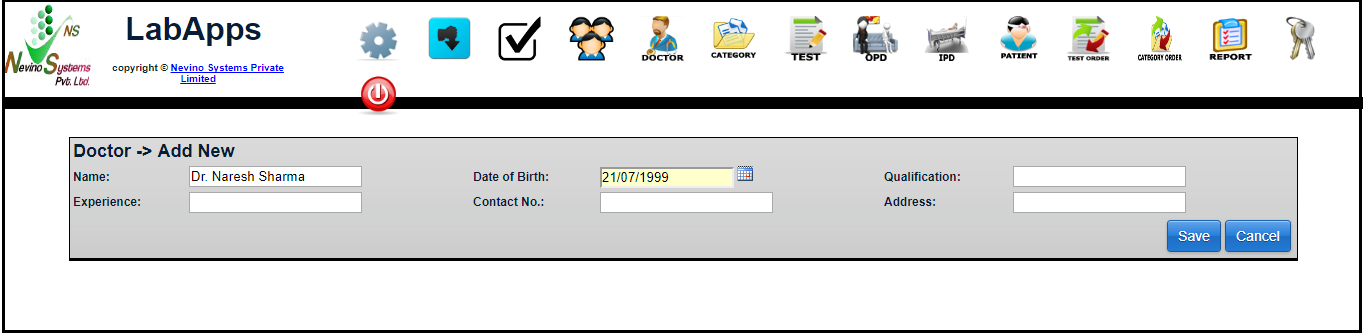
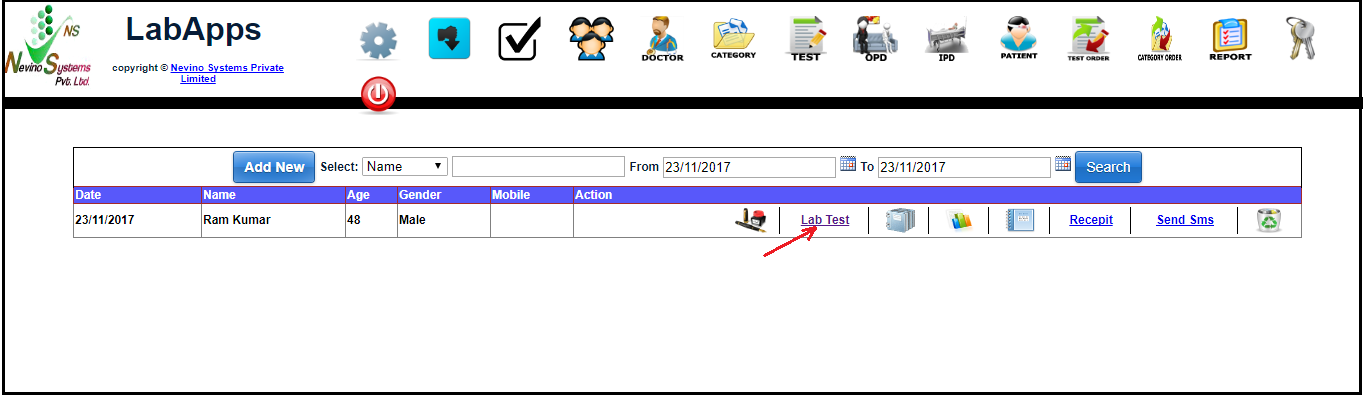
Step 2. A new window will appear as below. As we want to add test results for patient ‘Ram Kumar’ so we will click on ‘Lab Test’ as indicated in image below.
nevino lab test option

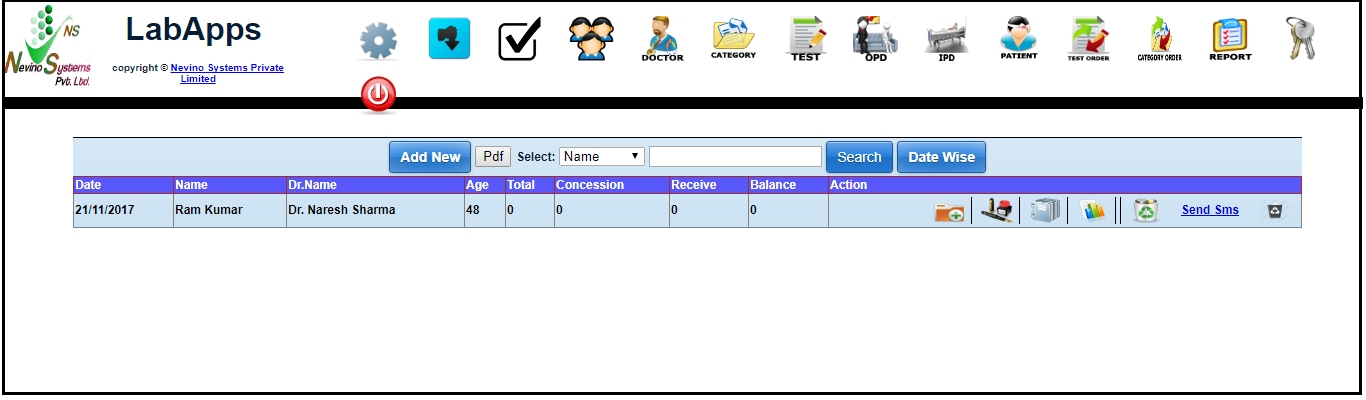
Step 3. Now on a new screen you will see the List of Tests under the patient details as below screen shot. You can also see the tests in details by clicking on ‘Toggle Show/Hide All’ available on top as shown below.
nevino patient detail and test

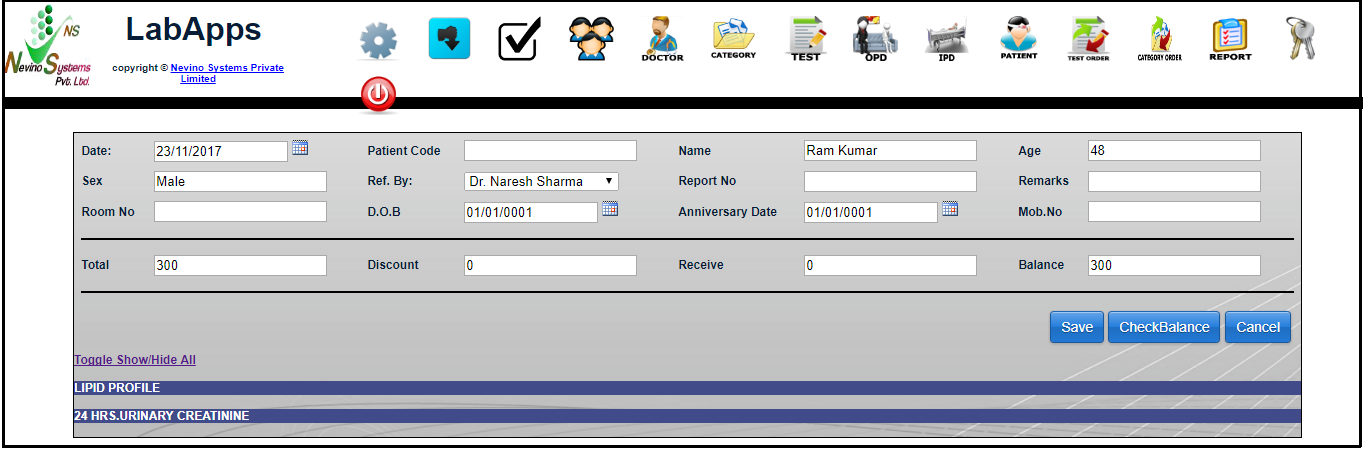
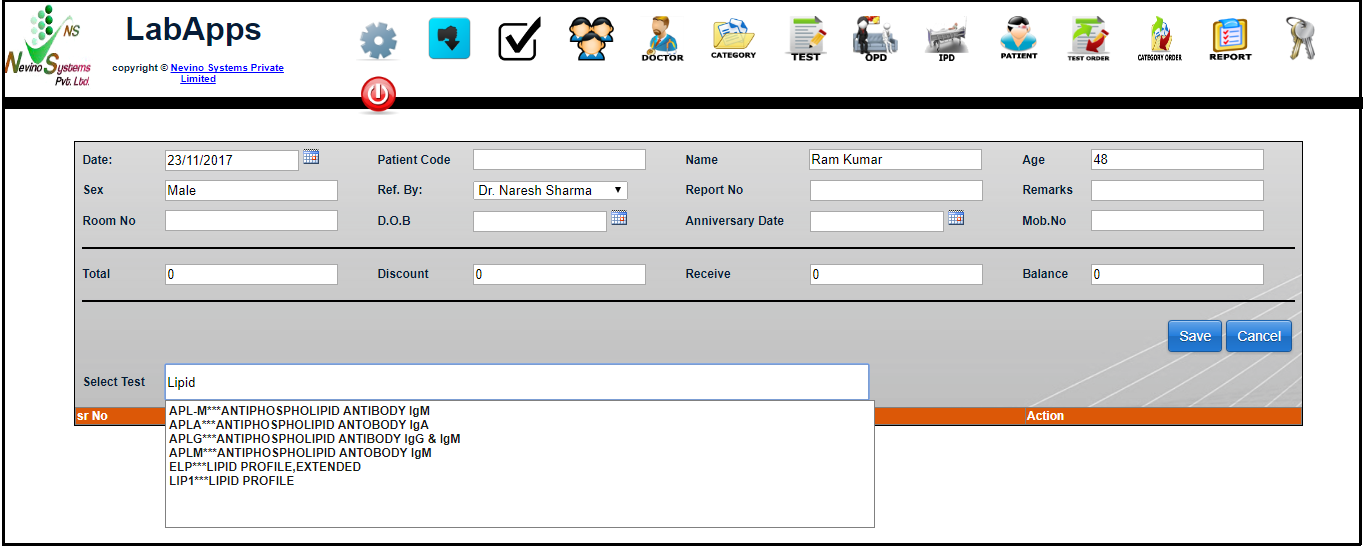
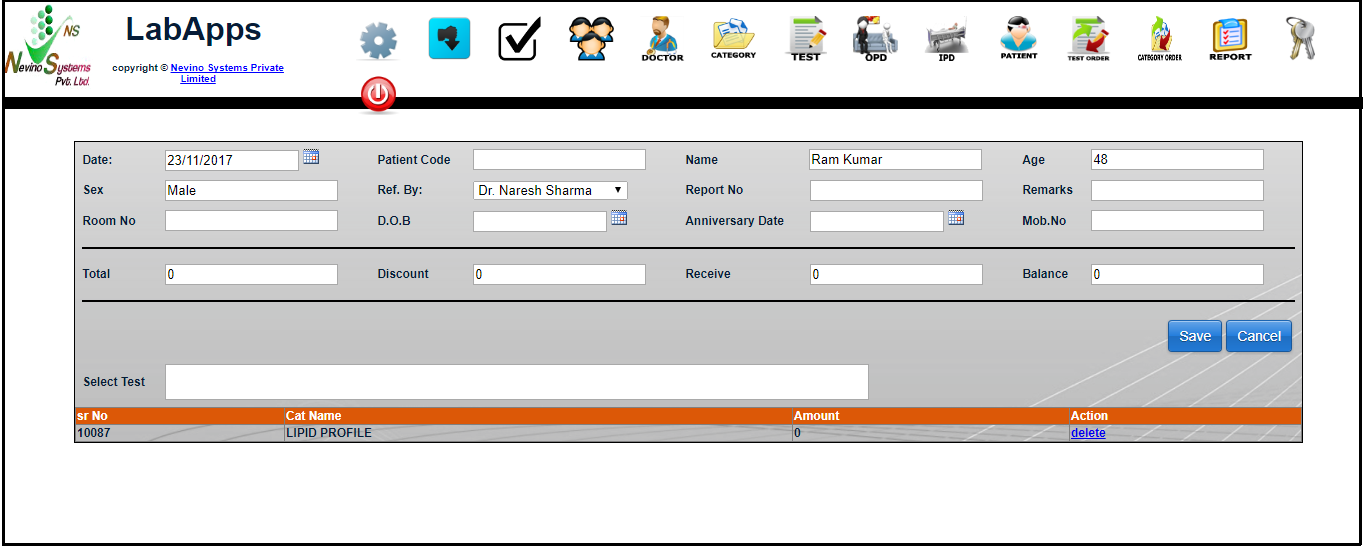
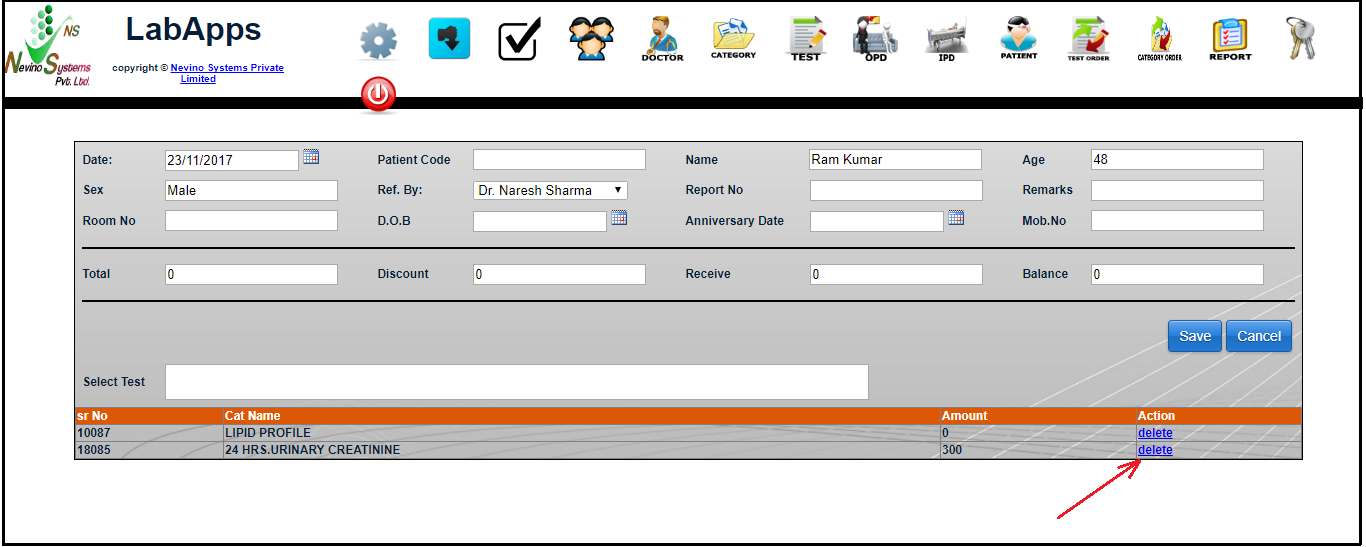
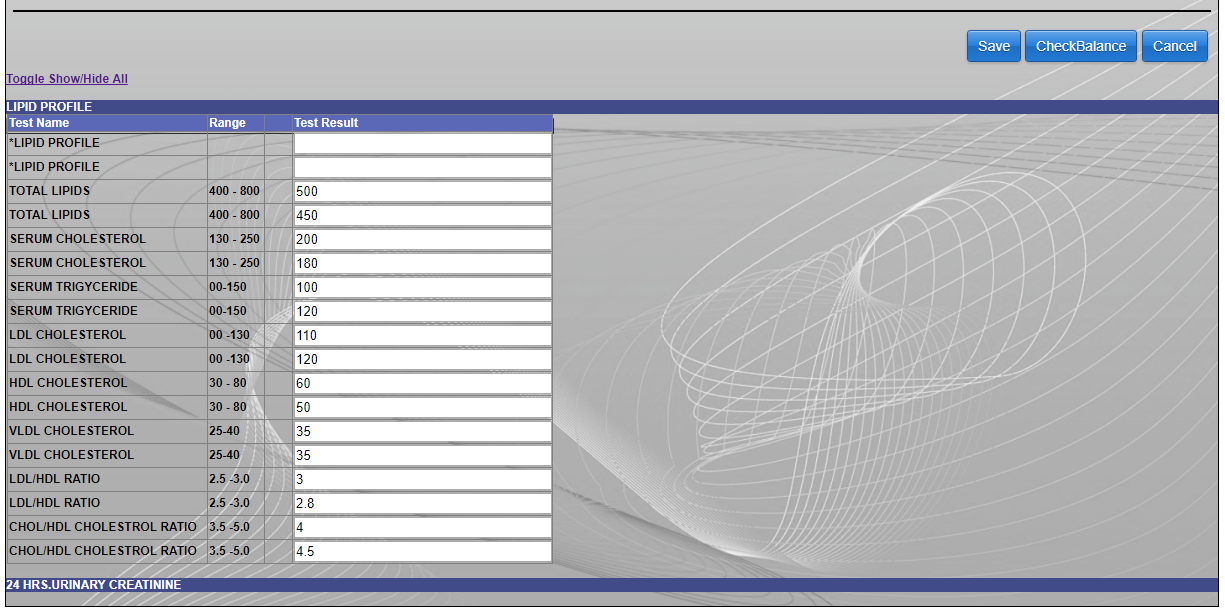
Step 4. For example we want to add test results for ‘LIPID PROFILE’ and ’24 HRS. URINARY CREATININE’. First we will add result for ‘LIPID PROFILE’ so click on it then its window will expand and will look like as shown below.
nevino lipid profile

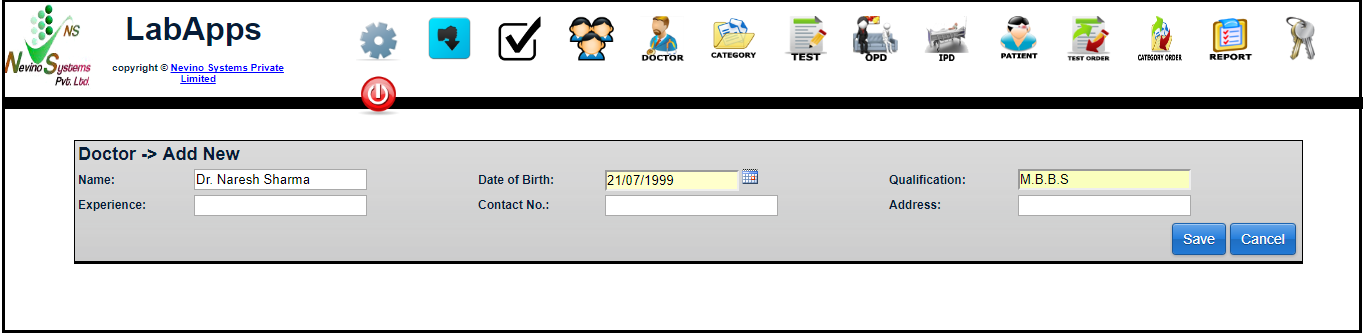
Step 5. Now we will enter the test results in blank boxes provided as shown in below screen shot.
nevino lipid profile filled

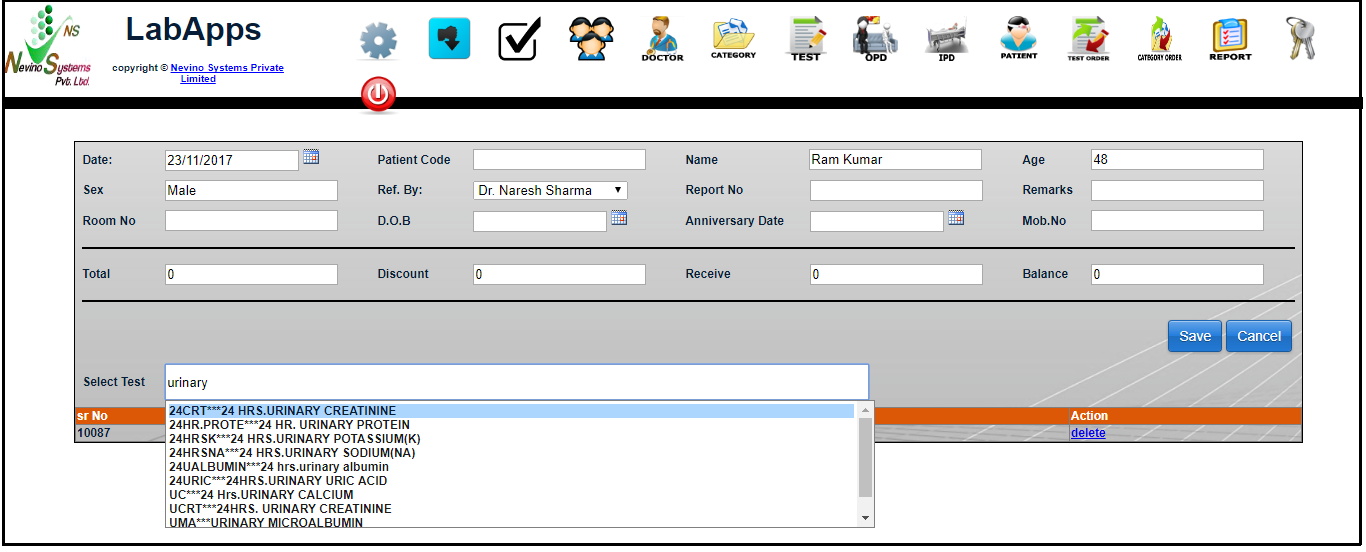
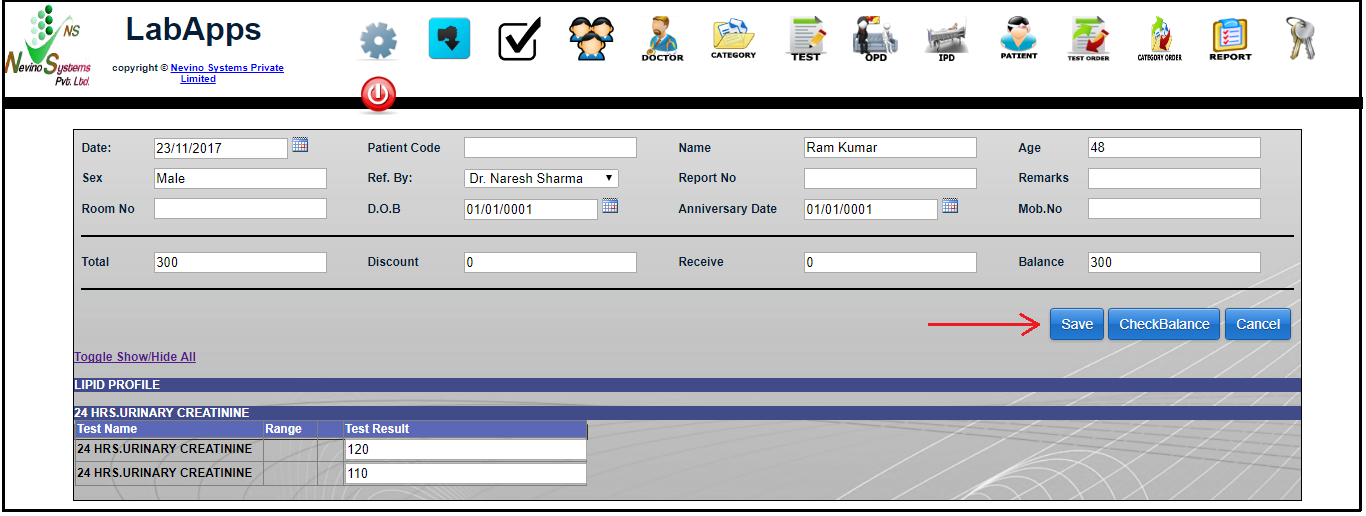
Step 6. Our next test result is ‘24 HRS. URINARY CREATININE’ so click on ‘24 HRS. URINARY CREATININE’ and its window will expand as shown below.
nevino urinary creatinine

Step 7. Now we will enter the test results in blank boxes provided as per below image.
nevino urinary creatinine filled

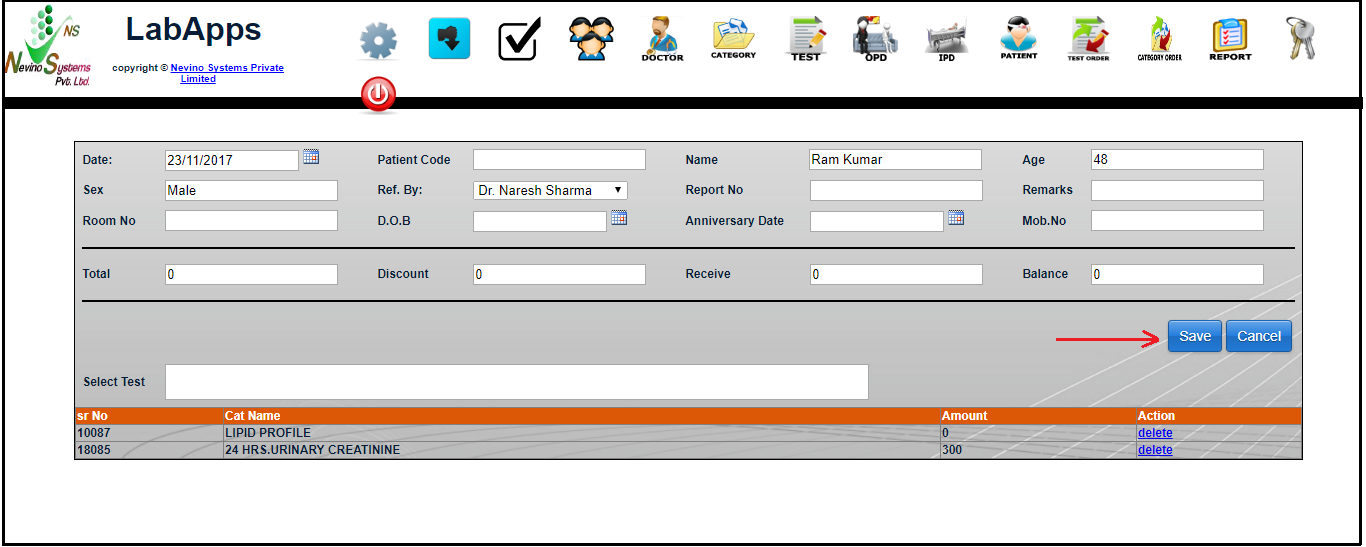
Step 8. After adding both test results click on ‘Save’ button provided above as per below image.
nevino test results save button

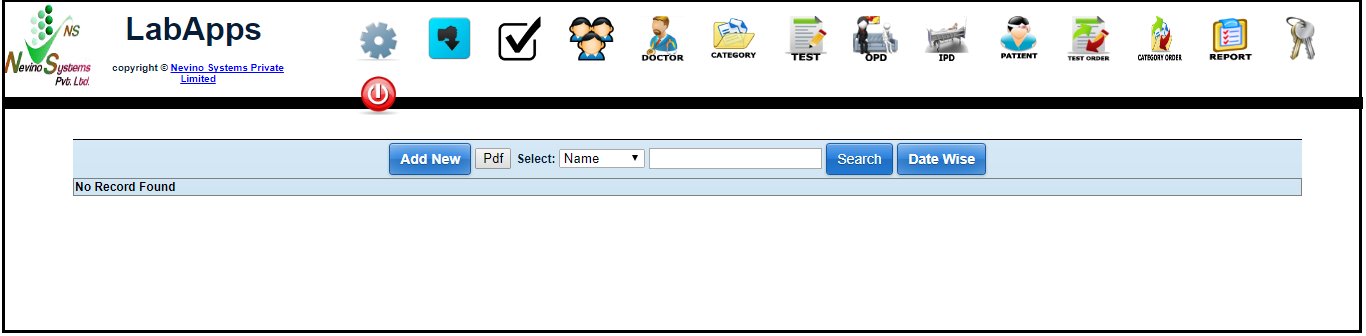
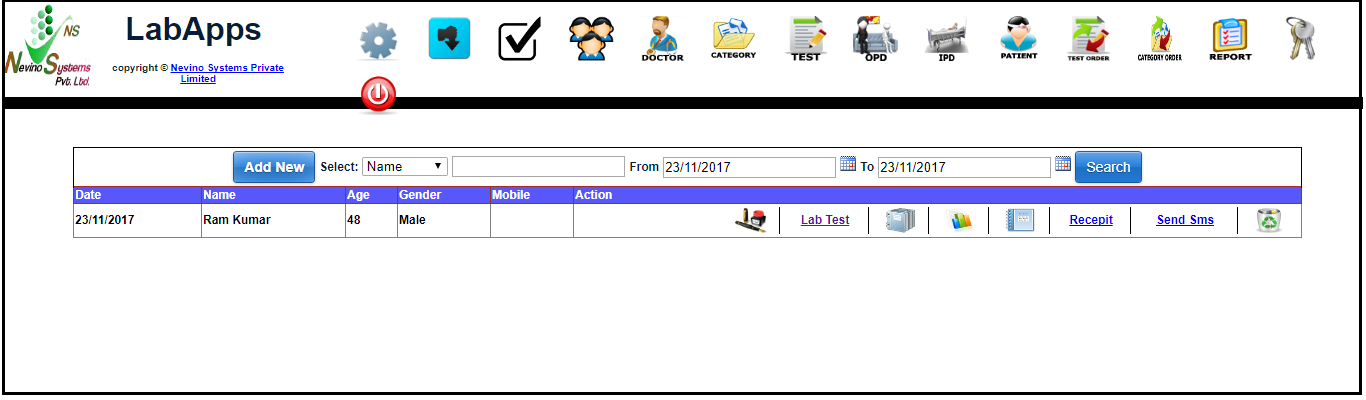
Step 9. On the click of ‘Save’ button all entered details will be saved and new window will appear as below.
nevino test results added

Click Here To Buy Nevino Lab Software

* The Content stated above is for informational purpose only. Expert Software Team is not responsible if any part of content found meaningless in any manner or condition.

Nevino Erp Software Training

* The Content stated above is for informational purpose only. Expert Software Team is not responsible if any part of content found meaningless in any manner or condition.

How to make Booking for Patient’s medical test

We can also make booking for patient’s medical test as per requirement of the lab. So please follow below steps to know how to make booking for patient’s medical test.

Click Here To Buy Nevino Lab Software

How to add patient in Nevino Lab Software<< Already gone through this page >>How to add medical test results in nevino lab software

Step 1. On the main window of Nevino Lab Software click on booking as shown in below image.
nevino lab booking icon

Step 2. The window as below will appear where you have to click on ‘Add New’ button.
nevino lab booking add button

Step 3. On the click of ‘Add New’ button a new screen will be displayed as per below screen shot.
nevino lab add booking window

Step 4. Now we will enter the name of the patient as shown below.
nevino enter patient name

Step 5. Next box is for age of the patient and we will enter it as shown in image below.
nevino enter patient age

Step 6. In the next column we will enter the gender of the patient as shown in image below.
nevino enter patient gender

Step 7. Now we will select the test for which patient is looking for. For example patient want two test Lipid Profile and Urinary Creatinine so we select them one by one. First select Lipid profile by typing its name as shown in below image.
nevino select patient test

Step 8. Here you can see the Lipid test appearing at last in the drop down list, select it from there and it will be shown as in below image.
nevino patient test selected

Step 9. Now type name of the second test Urinary Creatinine as shown below.
select patient test nevino

Step 10. Select it from the drop down list and then it will be added in the test’s list for patient as per image below.
nevino patient test selected

Step 11. In case, if you have selected the wrong test then you can click on ‘delete’ option appearing on the right side of test name as indicated in below image.
nevino patient test delete

Step 12. Our next step is to save the data and for that we will click on ‘Save’ button as shown in image below.
nevino patient save button

Step 13. On the click of ‘Save’ button data will be saved and a new window will open as shown in image below.
nevino patient details added

Click Here To Buy Nevino Lab Software

* The Content stated above is for informational purpose only. Expert Software Team is not responsible if any part of content found meaningless in any manner or condition.

How to add Patient in Nevino Lab Software

Every medical test report contains the Patient’s name so it is important that we must know how we can add patient’s name in nevino lab software.

Click Here To Buy Nevino Lab Software

How to edit Doctor’s details in Nevino Lab Software<< Already gone through this page >>How to make Booking for Patient’s medical test

Step 1. In Nevino Lab Software click on ‘Patient’ icon as indicated in image below.
nevino lab main menu

Step 2. A window shown as below will appear by clicking on ‘Patient’ icon.
nevino patient main window

Step 3. Now click on ‘Add New’ button as indicated in below screen shot.
nevino patient add button

Step 4. A new screen will appear as below where we can add the details of patient.
nevino patient detail

Step 5. We start with ‘Name’. Enter the patient name for example ‘Ram Kumar’ in the blank box provided in front of Name as shown in image below.
nevino patient name

Step 6. Next we will enter the patient’s age as per below image.
nevino patient age

Step 7. Next we will enter the ‘Gender’ of the patient as shown in image below.In ‘Ref. By:’ Doctor’s name is displayed from whom patient is referred.
nevino patient gender

Step 8. As per requirement we can add other details also and after that we will click on ‘Save’ button as indicated in below image.
nevino patient save button

Step 9. On the click of ‘Save’ button details of patient will be saved and will be displayed on new window as per below image.
nevino patient name added

Click Here To Buy Nevino Lab Software

* The Content stated above is for informational purpose only. Expert Software Team is not responsible if any part of content found meaningless in any manner or condition.

How to edit Doctor’s details in Nevino Lab Software

When we have added Doctor’s details in nevino lab software, it might be possible that in future there could be change in details so for that we can use ‘Edit’ option. So now we learn how to edit doctor’s details in nevino lab software.

Click Here To Buy Nevino Lab Software

How to add doctor name in Nevino lab software<< Already gone through this page >>How to add patient in Nevino Lab Software

Step 1. On the Doctor Master window click on ‘Edit’ button as shown below.
nevino doctor edit button

Step 2. On click of edit button a window as below will appear where you can change any detail and again click on ‘save’ button after change in details.
nevino doctor edit window

Step 3. Again the window as below will appear where we can see ‘Unapprove’ button which is use to ‘Approve’ or ‘Unapprove’ the doctor. Here ‘Approve’ means Doctor’s name will be listed with patients name and ‘Unapprove’ means Doctor’s name will not be listed with patients name.
doctor approve button

Step 4. If we want to delete the record of doctor we can click on ‘Delete’ button as shown below.
nevino doctor delete button

Step 5. When the delete button clicked the row will be deleted and window will appear as below.
nevino doctor record deleted

Click Here To Buy Nevino Lab Software

* The Content stated above is for informational purpose only. Expert Software Team is not responsible if any part of content found meaningless in any manner or condition.

How to add Doctor Name in Nevino Lab Software

Doctor name is very important for any medical report so that it will be easy for all to check under which doctor’s supervision patient is going through the medical test. So now we learn how to add Doctor Name in Nevino Lab Software.

Click Here To Buy Nevino Lab Software

How to login in Nevino lab software<< Already gone through this page >>How to edit Doctor’s details in Nevino Lab Software

Step 1. When you have login to the nevino lab software click on the ‘doctor’ icon as show in screen shot below.
nevino lab main dashboard

Step 2. A new window will be open as shown below.
nevino doctor master

Step 3. Now we will click on ‘Add New’ button as per image below.
nevino doctor add button

Step 4. A new window will open as shown below where first we will enter the Doctor’s name as shown below.
nevino doctor add name

Step 5. In next box we will enter the ‘Date of Birth’ as shown in image below.
nevino doctor date of birth

Step 6. Now we will enter the Qualification for example as ‘MBBS’ as shown in image below.
nevino doctor qualification

Step 7. Next box is for Experience and for example we will enter 2 years.
nevino doctor experience

Step 8. Now we have next box is for Contact Number and for example we will add number as 1234567891.
nevino doctor contact number

Step 9. Now the last box left is for Address and for example we will enter address as ‘Ambala’.
nevino doctor address

Step 10. To save the entered data click on ‘Save’ button as shown in image below.
nevino doctor save button

Step 11. When save button clicked data will be saved and shown as below in image.
nevino doctor

Click Here To Buy Nevino Lab Software

* The Content stated above is for informational purpose only. Expert Software Team is not responsible if any part of content found meaningless in any manner or condition.

How to Login in Nevino Lab Software

Nevino Lab Software is a specially designed software to meet the requirements of Diagnostic Lab like generating Reports of tests. Here we start with how to login in Nevino Lab Software.

Click Here To Buy Nevino Lab Software

How to add doctor name in nevino lab software<< Already gone through this page >>

Step 1. When the Nevino Lab Software is installed on your computer by our technical team it will look as per screen shot below.

Step 2. First we will enter the code as indicated in the below screen shot.

Step 3. Next we will enter the Login id as indicated in the screen shot below.

Step 4. Now we will add the password as indicated in the image below.

Step 5. Next step is to click on ‘Submit’ button and you will be login to the NevinoLab Software.

Click Here To Buy Nevino Lab Software

* The Content stated above is for informational purpose only. Expert Software Team is not responsible if any part of content found meaningless in any manner or condition.

Bulk SMS Service provider in Ambala Cantt-9466135659

Nevino Systems Private Limited is the Bulk SMS Service provider in Ambala Cantt and can easily be contacted at 9466135659. Promotional activities in today’s world rely on technology to reach maximum customers around the country and SMS is one of the fastest means of communication to share the information about your product. Many Business firms use sms to do their product marketing inside the city and other cities. To complete these business goals Nevino Systems Private Limited is providing the Bulk SMS Service.The easy bulk SMS solutions helps you send messages to multiple users with the extremely user-friendly interface.

bulk-sms-service-provider-in-ambala-cantt-2.png

Bulk SMS Features

  • SMS delivery to thousands of numbers in a Single click.
  • Functionality of Grouping.
  • 100% delivery on DND numbers.
  • Single and Bulk text messaging.
  • Message will be sent with Sender ID.
  • Sender ID will be like randomly selected six alphabets.
  • Address book import from Excel Files.
  • Developer API (You can integrate SMS solution with your software and can be automated)
  • No hidden cost.
  • Validity according to the plan.

Please contact us at info@nevinosystems.net or at 9466135659 for requirements of above 1,00,000 SMS’s and Extended Validity options.

Bulk SMS Terms & Conditions:

  • Unused Credits will expire at the end of validity period.
  • Above rate are subjected to change as per TRAI or our Company rules.
  • Delivery time may vary between 1 minute to 3 hours.
  • Above cost is inclusive of Interconnect Usage Charge (IUC).
  • Payment will be 100% in advance.
  • GST @ 18% is mandatory on all packages.
  • DND / NDNC Filter applicable for Marketing/Promotional sms.
  • Real time DND filter without deduction of sms credits.
  • After receiving the full payment, SMS will be credited.
  • Set up Charges are only one time and non-refundable.

Bulk SMS Sales Enquires:-
Nevino Systems Private Limited
Email : info@nevinosystems.net
Contact Details: +919466135659,+919034007056


* The Content stated above is for informational purpose only. Expert Software Team is not responsible if any part of content found meaningless in any manner or condition.

How to make Purchase Invoice in Nevino billing software

Making a purchase is an important need of every Business. So now we learn how to make a purchase entry or create material receipt note entry in nevino billing software.
 

Click Here To Buy Nevino Billing Software

How to add Ledger Group in Nevino Billing Software << Already gone through this page >> How to make Sale Invoice in Nevino Billing Software

Step 1. We start from Nevino Billing Software main window as below where we will click on MRN GST as indicated with an arrow.

Step 2. When MRN GST is clicked a new window opens as shown below.

Step 3. This is main window of MRN GST and here we will click on ‘Add’ button.

Step 4. In this window we can enter the details of MRN. First box MRN Code is auto generated so no need to fill anything.

Step 5. In the second box enter the Bill number in blank box in front of ‘Bill No.’ as shown in figure below.

Step 6. Now press ‘Tab’ key and move to next box of ‘Bill Date’. Select the date as shown below in the screen shot.

Step 7. Press ‘Tab’ key and move to next box of Party where we can enter the party name in the blank box in front of it as shown in image below.

Step 8. After selecting the party name it will be shown as per below image.

Step 9. Press ‘Tab’ key and select Bill Type as ‘Exclude Tax’ or ‘Include Tax’ as per your requirement as per image below.

Step 10. Press ‘Tab’ key and move to the Item box. Enter the item name as shown in image below.

Step 11. Now enter the quantity in the ‘Qty’ blank box as shown in screen shot below.

Step 12. The total of the amount will be shown as per image below.

Step 13. Now click on ‘Save’ button as shown in image below.

Step 14. On the click of ‘Save’ button MRN is saved and will be shown as below image under MRN GST.

Step 15. Now we can see our purchase invoice by clicking on ‘Print’ button as per image below.

Step 16. Now Purchase Invoice will be open on another window and will be look like as shown below.

Click Here To Buy Nevino Lab Software

* The Content stated above is for informational purpose only. Expert Software Team is not responsible if any part of content found meaningless in any manner or condition.

How to make Sale Invoice in Nevino Billing Software

For every business Sale transaction is a very important part as it is related with customers and when we sale anything we need a sale invoice to be given to the customers and for self-record of transactions for account purpose. So now we learn how to create sale invoice in nevino billing software.

Click Here To Buy Nevino Billing Software

How to add item<< Already gone through this page >>

Step 1.On the main page of Nevino Billing Software as shown in screen shot below click on ‘Sale GST’ appearing on the left hand side of the screen.

Step 2. New window of Sale GST will be open as per below screen shot.

Step 3. Now click on ‘Add’ button as shown with arrow in the screen shot below.

Step 4. When ‘Add’ button is clicked the sale invoice window will open where we can add all details of the invoice. Please refer the screen shot below.

Step 5. First box is of Sale Invoice number, no need to fill it as it is auto generated. Next box is date, click in blank box in front of it then a date window will open. Kindly select the date you want in invoice as shown in screen shot below.

Step 6. Now press ‘Tab’ key to move to the next box and next box is for Party name. If you have already added the party name then enter first alphabet of it and name will be highlighted as below screen shot.

Step 7. Select the party name and press enter. Then press Tab key to move to the next box.

Step 8. Next is Item box, you can add Item if you have not added it before by clicking on ‘+’ button. Please refer to the link provided to know how to add Item.

Step 9. Next box is Bill Number here you can add the same in the blank box in front of it as shown in screen shot below. Press ‘Tab’ for next box.

Step 10. Next is Bill type. Here you can select ‘Include Tax’ or ‘Exclude Tax’. For example we will select ‘Exclude Tax’ as shown in screen shot below.

Step 11. Pressing the ‘Tab’ key again move us to the next box ‘Item’. In this box we enter the Item name as shown below in screen shot.

Step 12. Select the name of item appearing by pressing ‘Enter’ key and then press ‘Tab’ key. The screen as below will appear.

Step 13. You will see that Unit, HSN code and Rate have been shown automatically. Now we enter the Quantity of item and press ‘Tab’ key. The total as per quantity will be shown as per below screen shot.

Step 14. Now click on ‘Next’ button as shown below.

Step 15. On the same window ‘Update’ button will appear, kindly click on that as below screen shot.

Step 16. Now our sale record is completed which will be shown under Sale GST as below screen shot.

Step 17. Now click on ‘Print’ to see the sale invoice as per below screen shot.

Step 18. Now the ‘sale invoice’ will appear in new window as per below screen shot.

Click Here To Buy Nevino Billing Software

* The Content stated above is for informational purpose only. Expert Software Team is not responsible if any part of content found meaningless in any manner or condition.