How to generate Doctor Wise Monthly collection report

Nevino Lab Software provides the feature to see the monthly collection report doctor wise. So in this blog we will learn that how we can generate doctor wise monthly collection report.

Click Here To Buy Nevino Lab Software

How to generate Monthly Collection report in Nevino Lab Software<< Already gone through this page >>How to generate Monthly Test Collection report in Nevino Lab Software

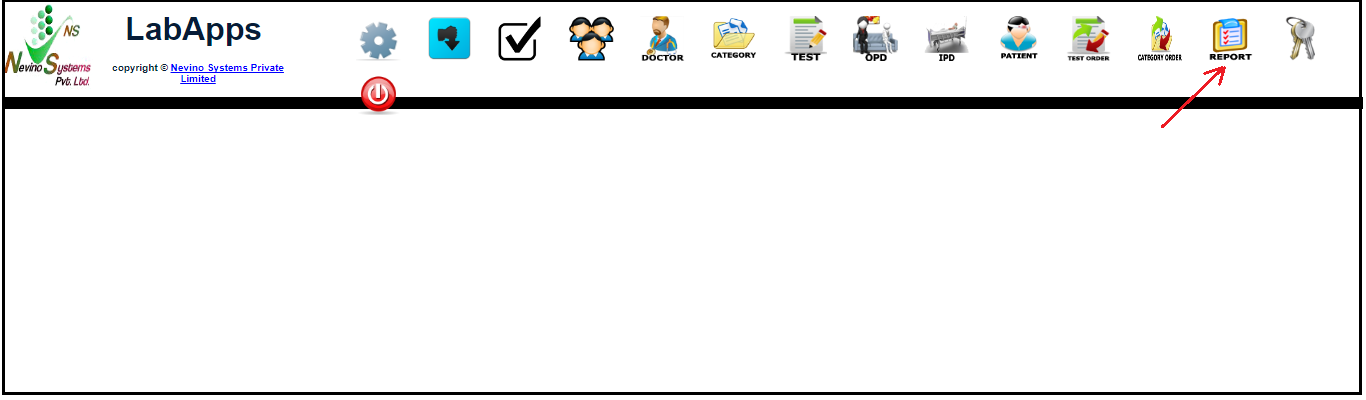
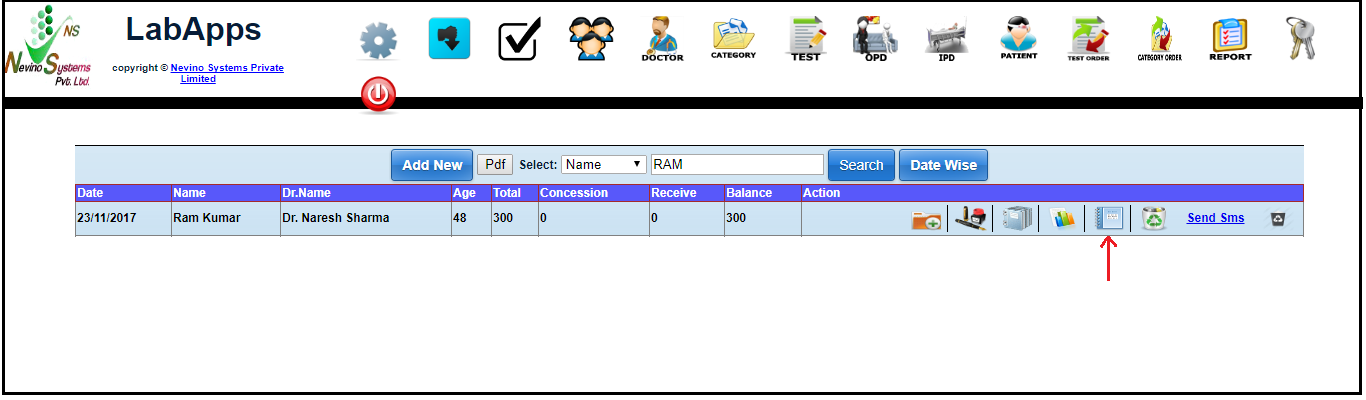
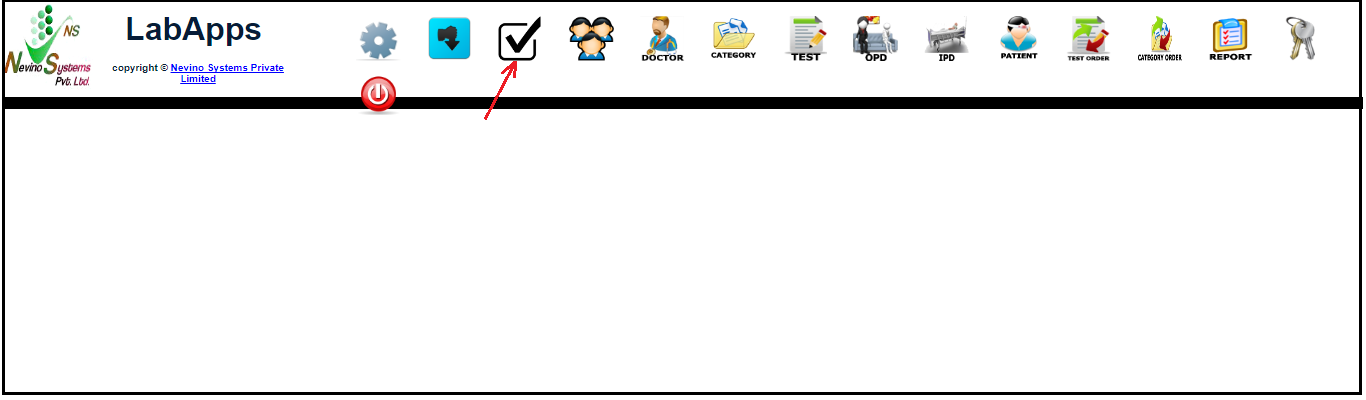
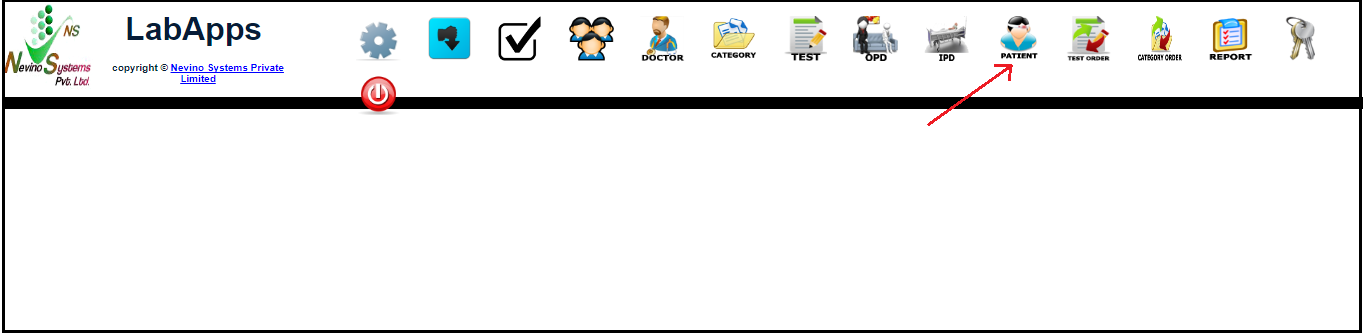
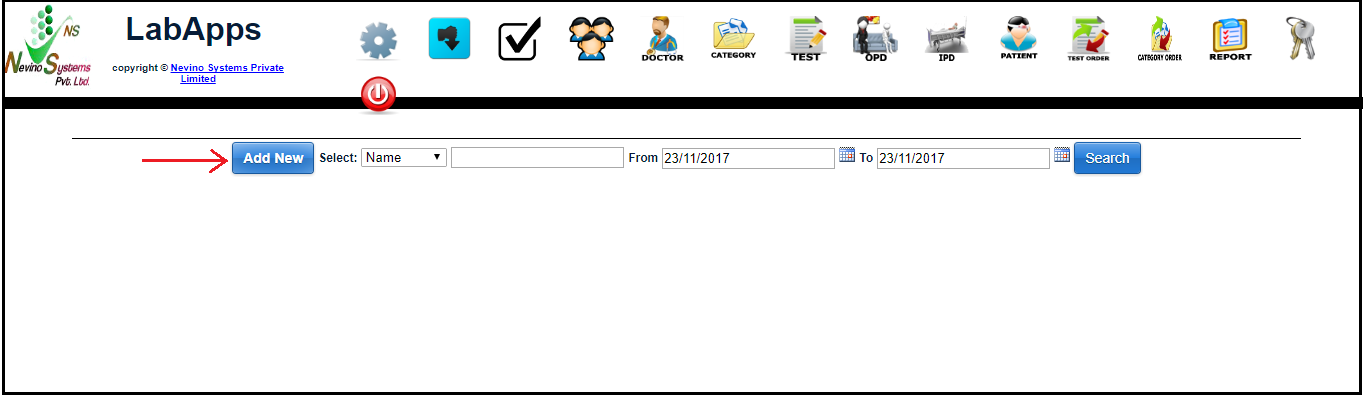
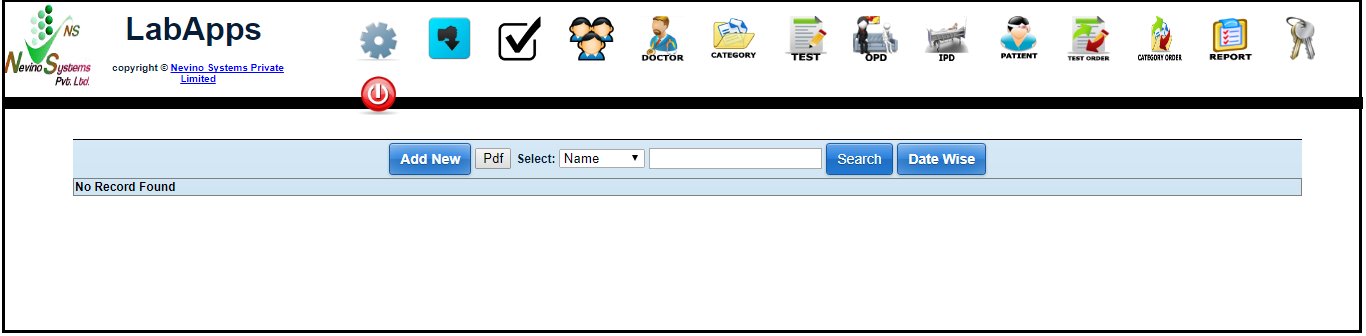
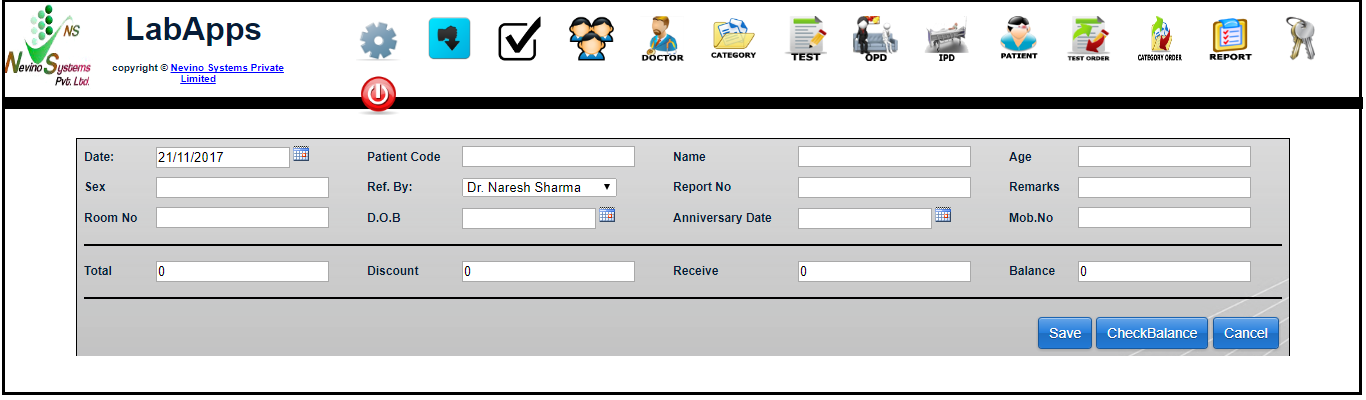
Step 1. We start with the main window of Nevino Lab Software, click on ‘Report’ as shown in image below.
lab window

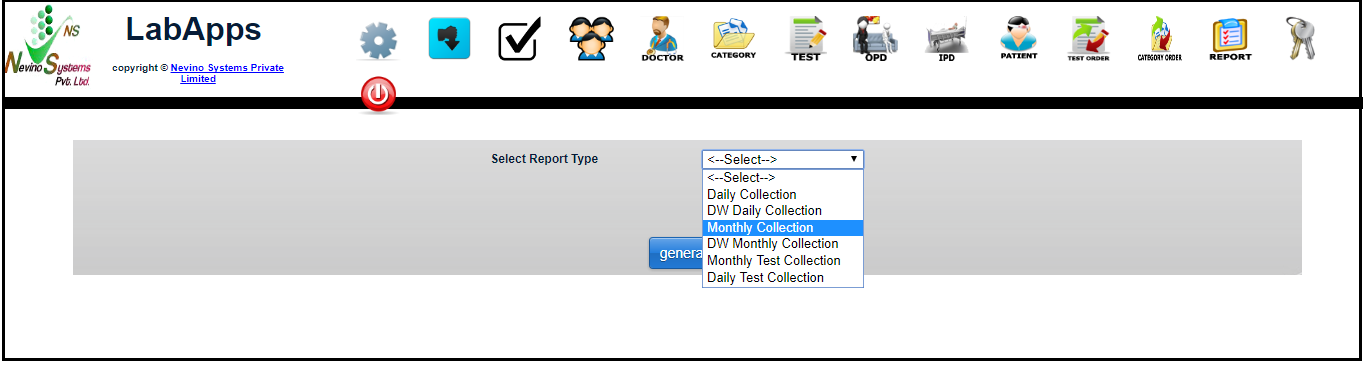
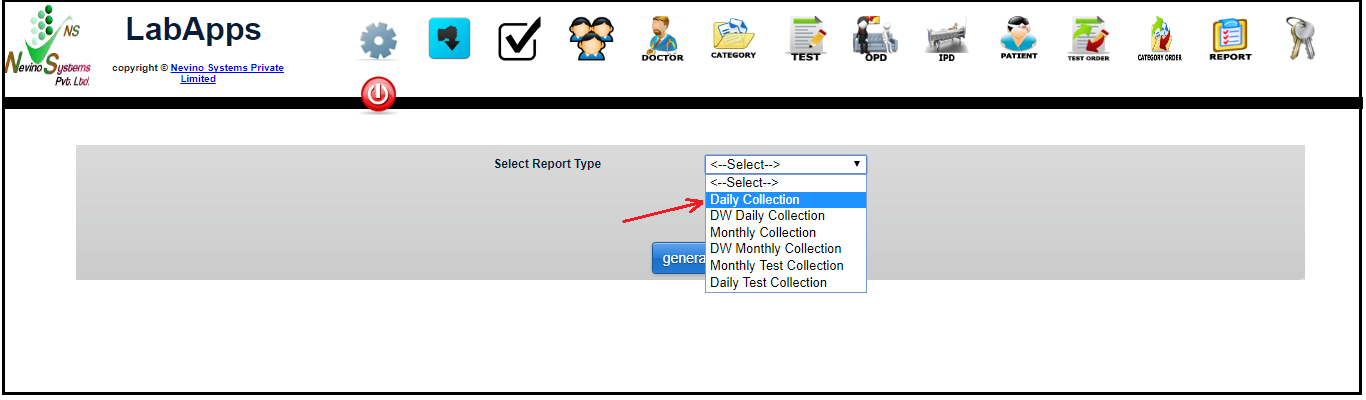
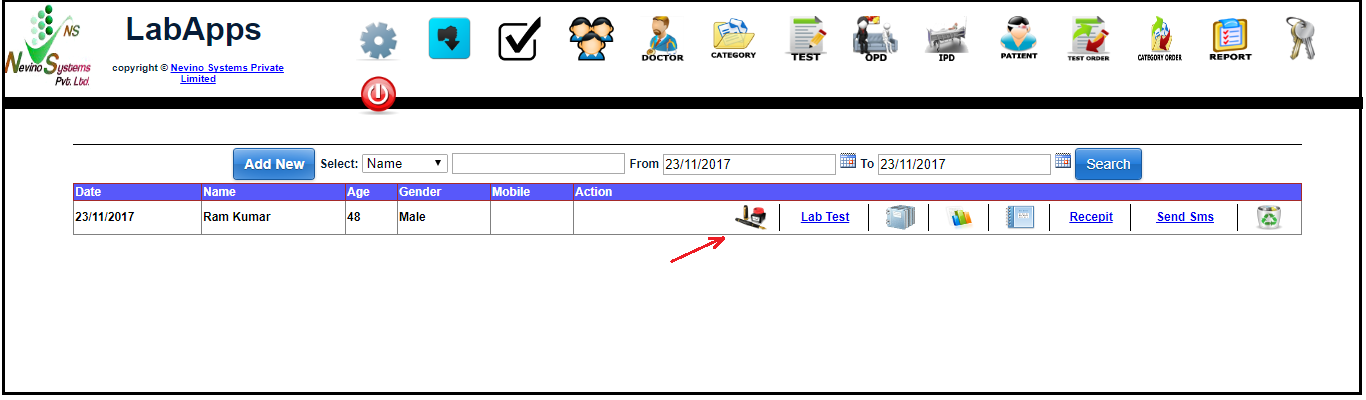
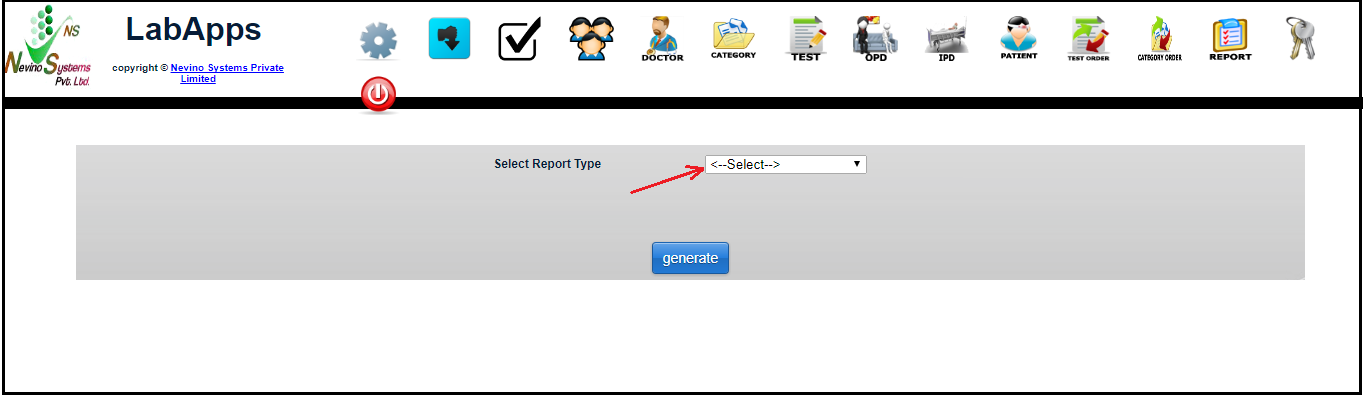
Step 2. As shown in below image click on ‘Select’ to select the report type.
select report type

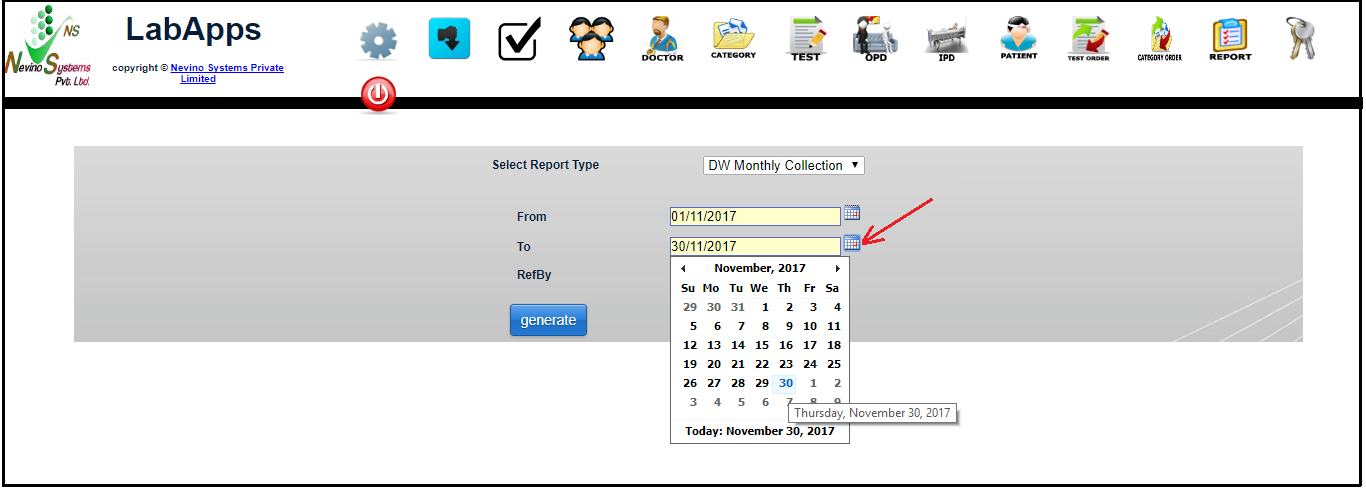
Step 3. As we want to see Doctor Wise monthly collection report so click on ‘DW Monthly Collection’.
select report

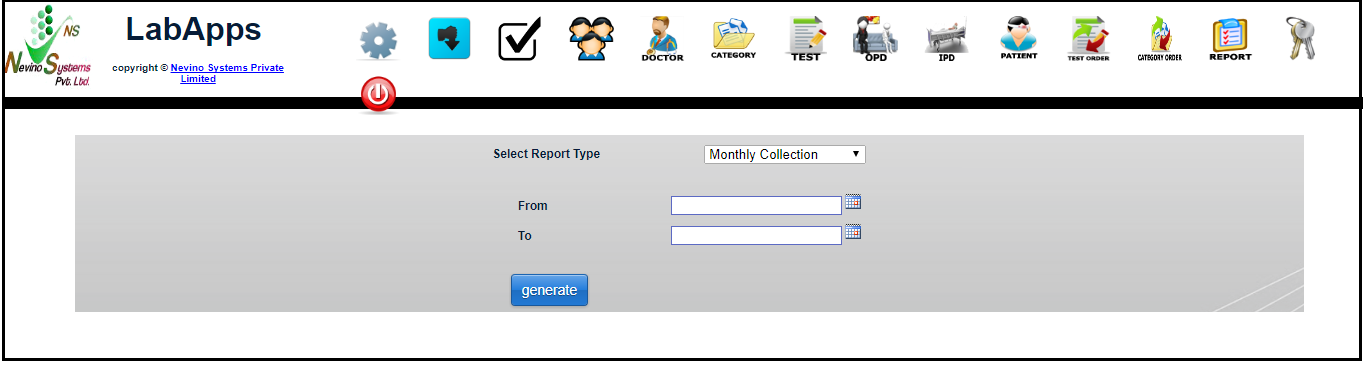
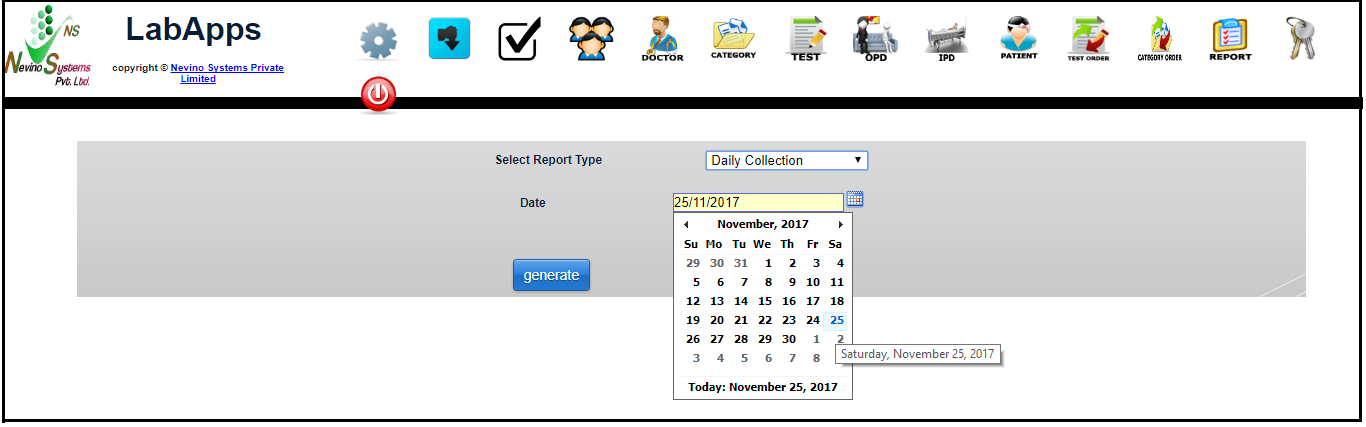
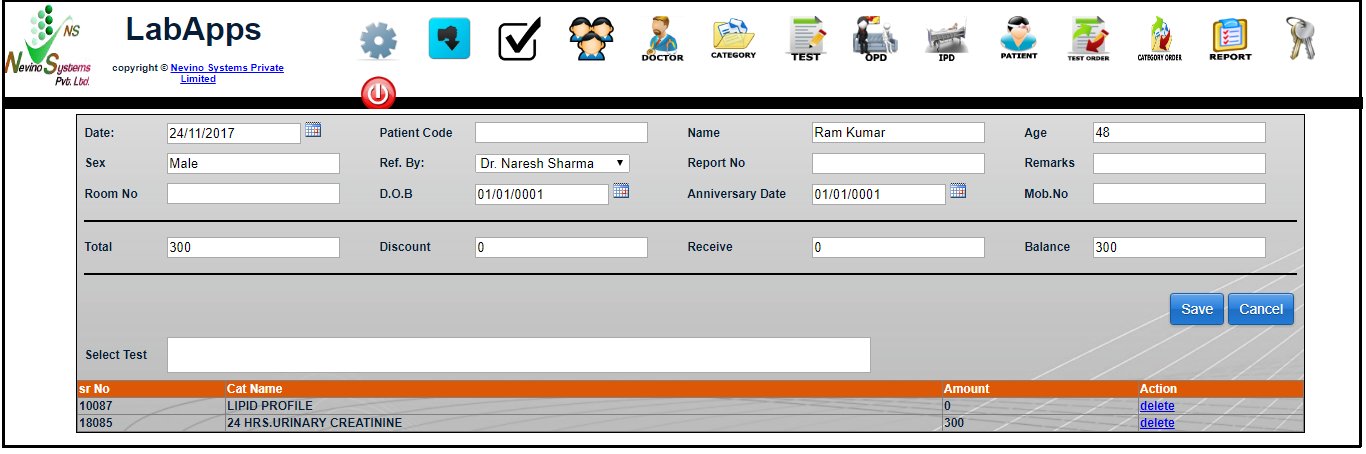
Step 4. On the click of ‘DW Monthly Collection’ a window as below will appear.
dw monthly collection

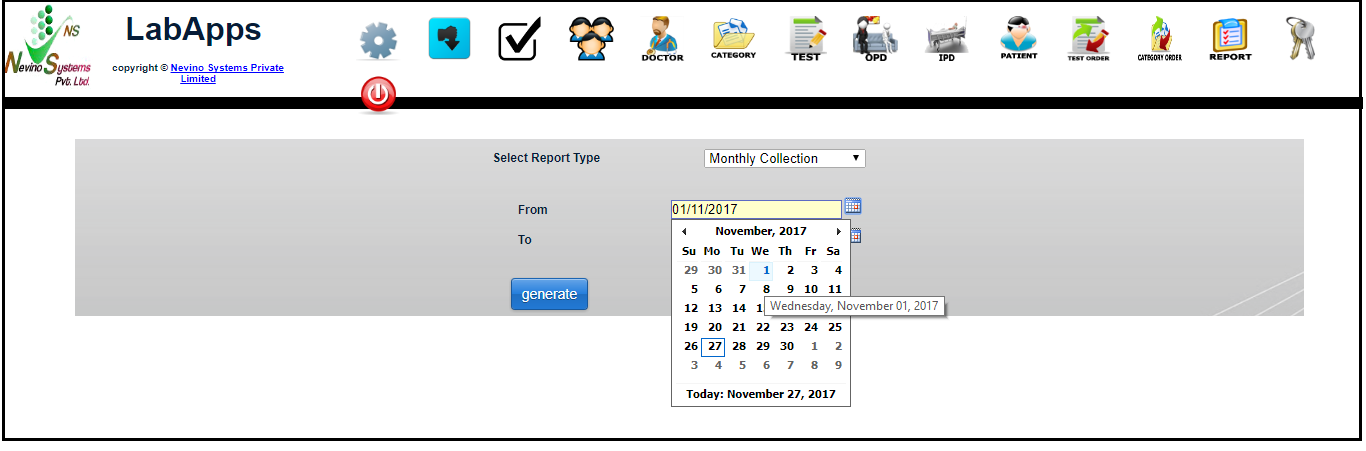
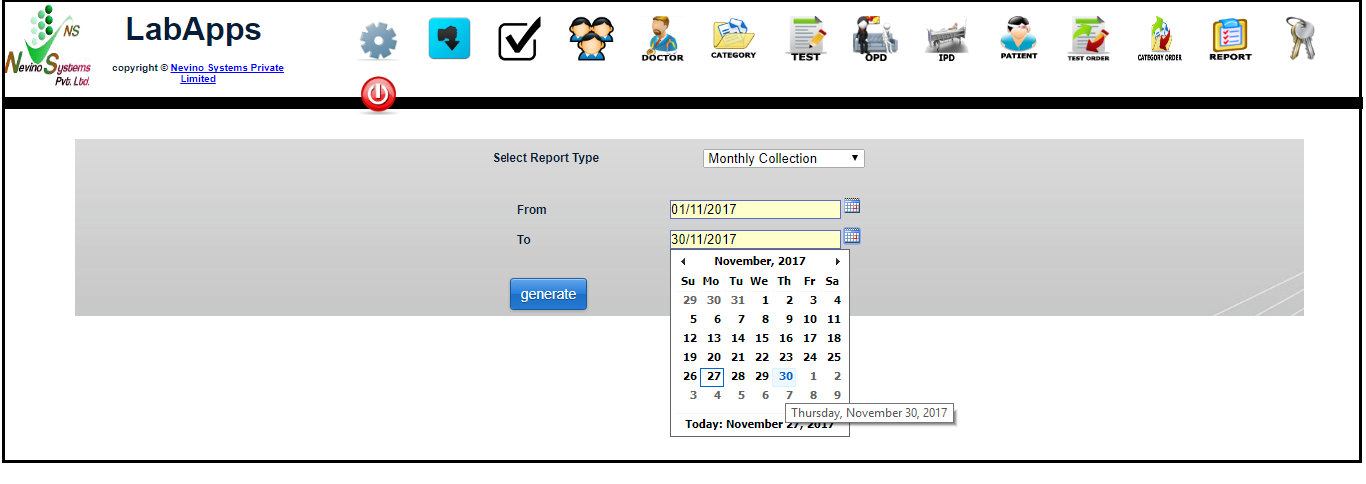
Step 5. To select the start date click on ‘From’ as indicated below and select the date.
select start date

Step 6. To select the end date click on ‘To’ as indicated in image below and select the date.
select end date

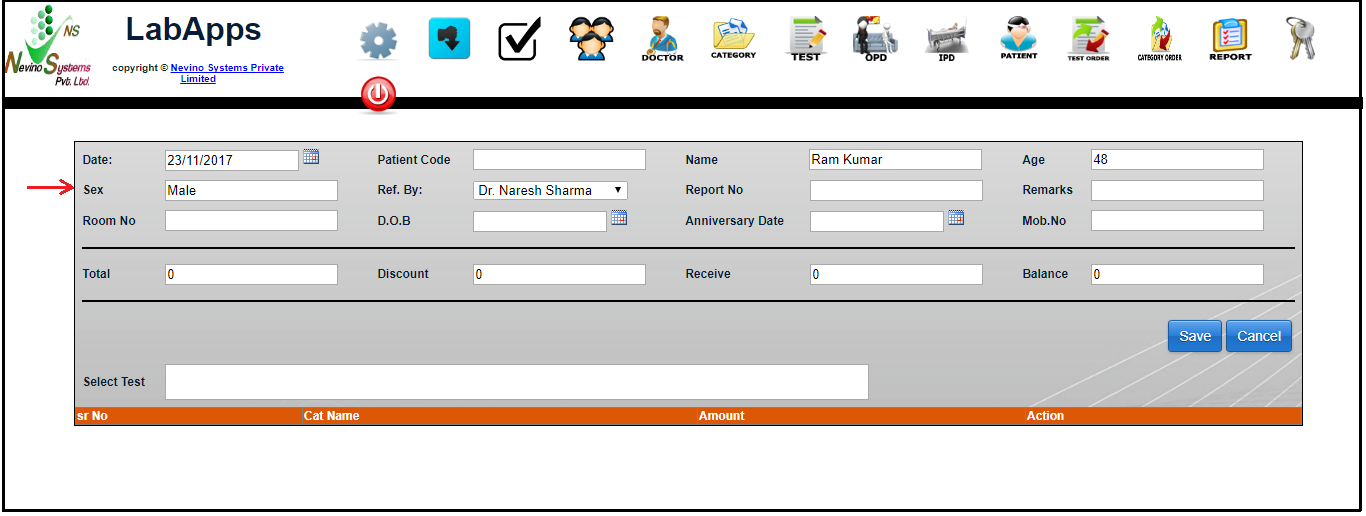
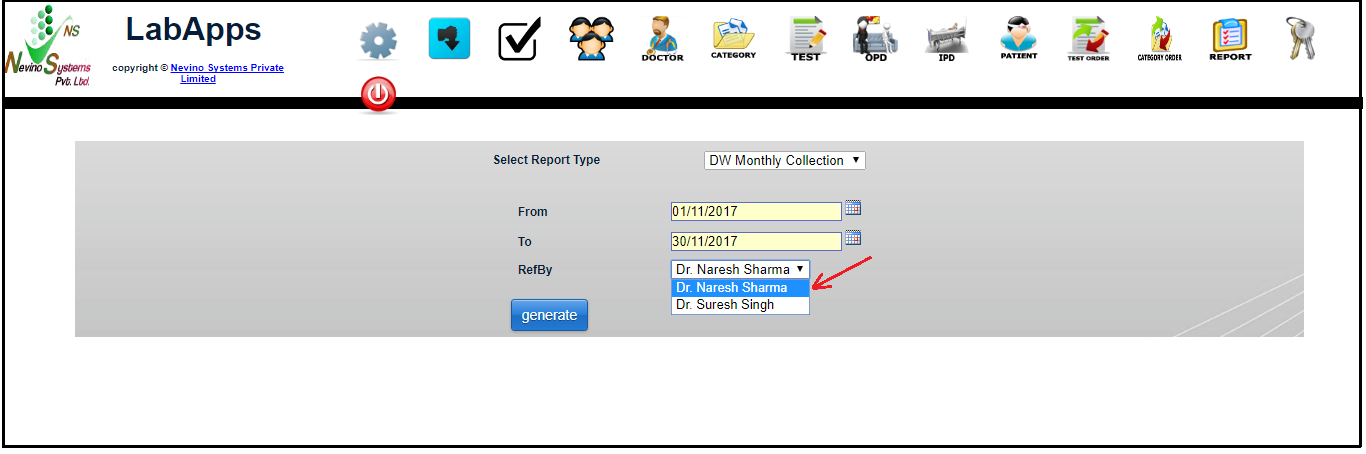
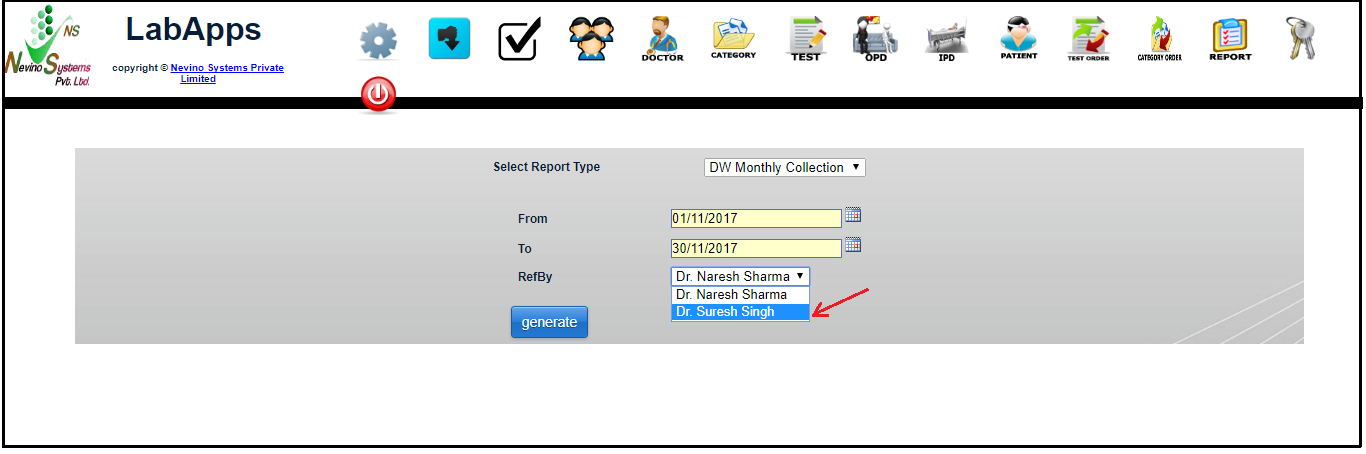
Step 7. Now we select the doctor’s name in ‘RefBy’ option as shown in image below. First we will select Dr.Naresh Sharma.
select doctor name

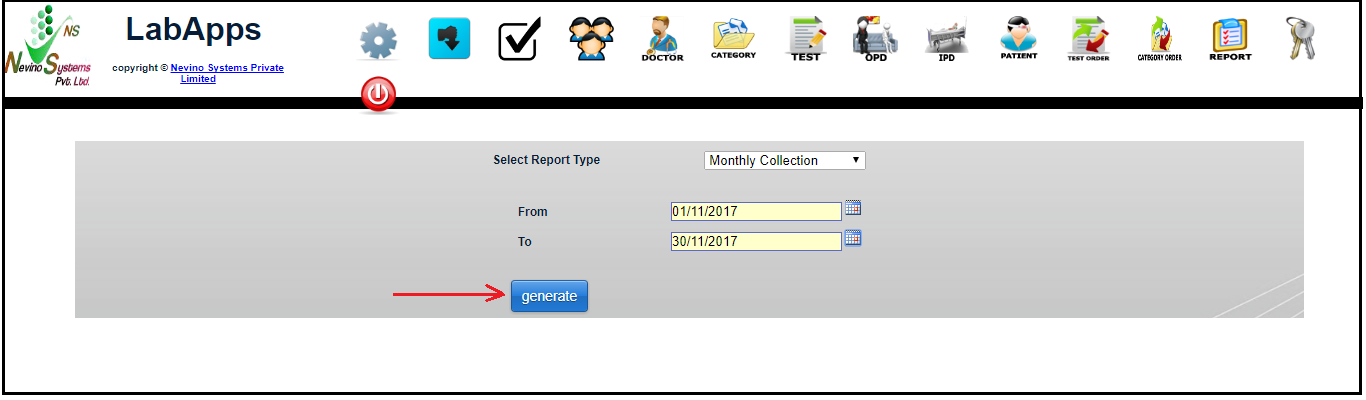
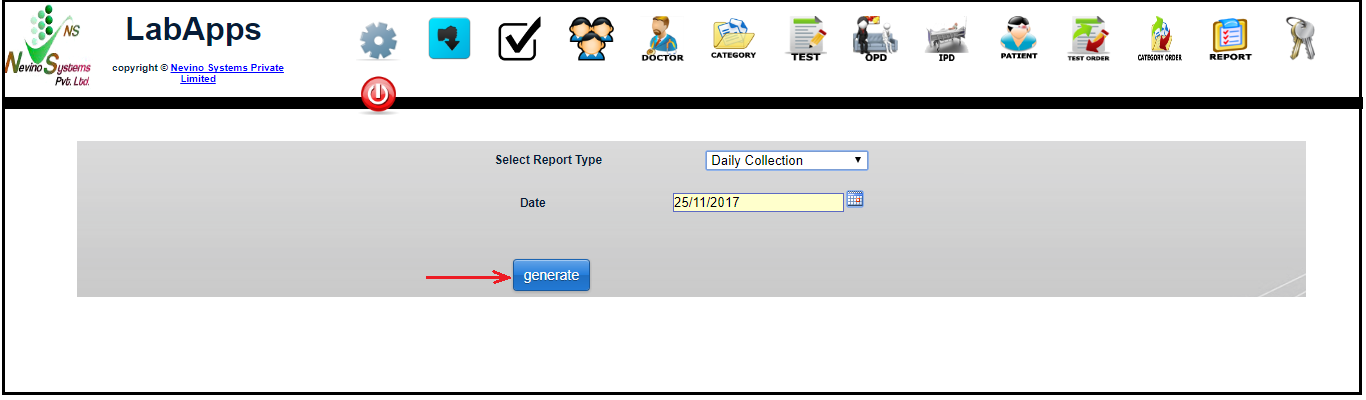
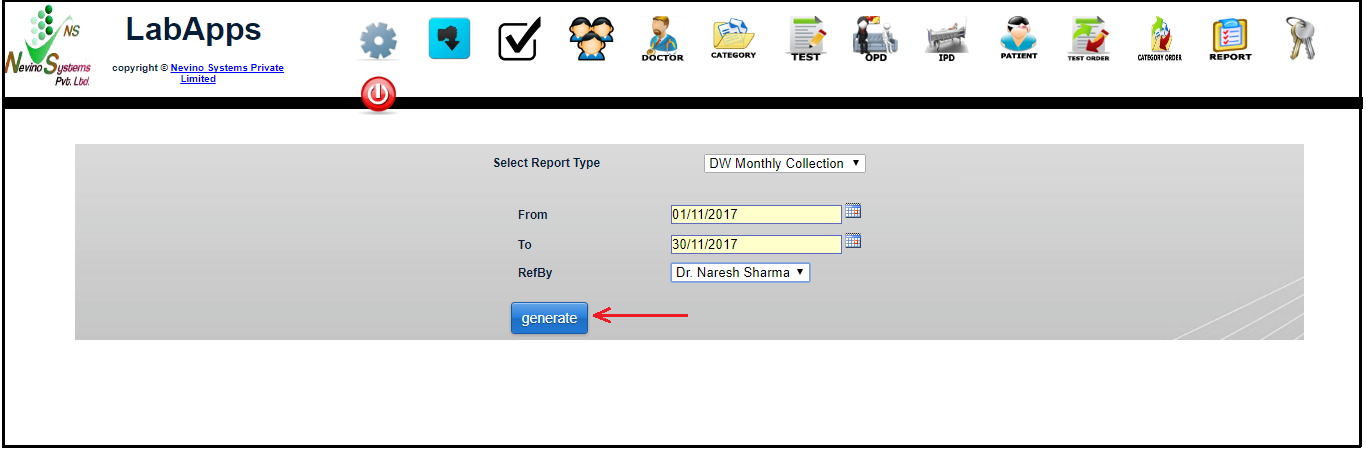
Step 8. Now we will click on ‘Generate’ button as indicated in image below.
generate button

Step 9. On the click of ‘Generate’ button report will be generated in new window as shown below.
doctor wise report

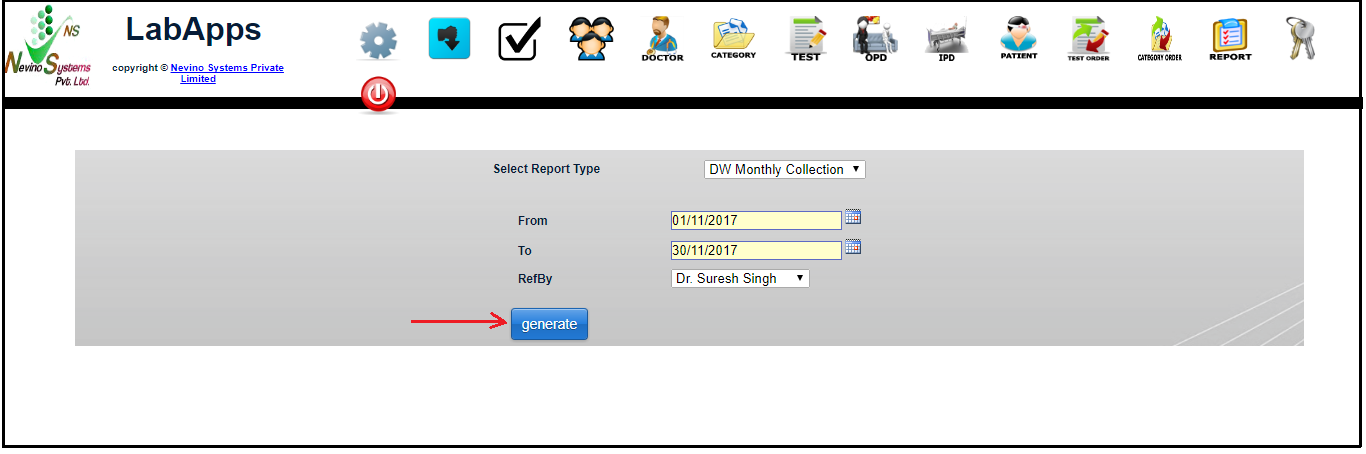
Step 10. Now if we want to see the report for other doctor we will select the name of that doctor. For example we will select the doctor name of ‘Dr. Suresh Singh’ as shown below.
select other doctor

Step 11. Now we again click on ‘Generate’ button.
click generate button

Step 12. The report which will be displayed will be of Dr. Suresh Singh as shown in image below.
doctor wise report

  • Click Here To Buy Nevino Lab Software

    * The Content stated above is for informational purpose only. Expert Software Team is not responsible if any part of content found meaningless in any manner or condition.

Contact Details

Expert Software Team

98-B, Gobind Nagar,

Ambala Cantt,

Haryana – 133001

Contact Person: Mr. Vikram Aggarwal (94661-35659)

Office: 90340-07056

E-mail id: vikramaggarwal13@gmail.com
Website: blog.expertsoftwareteam.com

* The Content stated above is for informational purpose only. Expert Software Team is not responsible if any part of content found meaningless in any manner or condition.

How to generate Monthly Collection report in Nevino Lab Software

This Lab Software has another feature of viewing collection report is to view it month wise. So now we will learn that how we can generate monthly collection report.

Click Here To Buy Nevino Lab Software

How to generate Doctor wise Daily Collection Report<< Already gone through this page >>How to generate Doctor Wise Monthly collection report

Step 1. On the main window of Nevino Lab Software click on ‘Report’ as shown in image below.
lab main dashboard

Step 2. Now click on ‘Select’ as shown in image below.
lab select report type

Step 3. From the drop down list select ‘Monthly Collection’ as per below image.
monthly report

Step 4.When ‘Monthly Collection’ is selected then a window as shown below will appear.
monthly report window

Step 5. Now we select the month for example we want to see the report for November month then we will select start date as 01 November 2017 as shown below.
monthly report from date

Step 6. To select the end date for the month click on box in front of ‘To’ and select the date as 30 November 2017 as shown below.
monthly report to date

Step 7. When the dates are selected click on ‘Generate’ as indicated in the image below.
monthly report generate button

Step 8.On the click of ‘Generate’ button the report will be displayed in new window as shown below.
monthly report

Click Here To Buy Nevino Lab Software

* The Content stated above is for informational purpose only. Expert Software Team is not responsible if any part of content found meaningless in any manner or condition.

How to generate Daily Collection Reports in Nevino Lab Software

The collection report is also an important part for lab to know about the performance of lab. As it also signifies the reliability of lab among patients that how much goodwill lab has gained in the eyes of people. So now we learn that how we can generate collection report in nevino lab software. We have six types of collection report (1) Daily Collection ­­­­­­­Report (2) Doctor Wise Daily Collection Report (3) Monthly Collection Report (4) Doctor Wise Monthly Collection Report (5) Monthly Test Collection Report (6) Daily Test Collection Report.

Click Here To Buy Nevino Lab Software

How to generate Medical Test Report in Nevino Lab Software<< Already gone through this page >>How to generate Doctor wise Daily Collection Report

1.Daily Collection Report

Step 1.To get the daily collection report click on ‘Report’ icon on nevino lab software main window as shown in image below.nevino lab main window

Step 2. Now a new window will open as shown below where we will click on ‘Select’ as indicated in the image.
select nevino lab report type

Step 3.When we click on ‘Select’ a drop down list of all types of collection reports will be displayed but first we will select ‘Daily Collection Report’ as shown in below image.
select daily collection report

Step 4. On the click of ‘Daily Collection Report’ a new window will open as shown in image below.
daily collection report selected

Step 5. Now select the date for which you want to see the daily collection report as shown in image below.
collection report date

Step 6. When date is selected next step is to click on ‘Generate’ as shown in image below.
collection report generate button

Step 7. On click of ‘Generate’ button ‘Daily Collection Report’ will open in a new window as shown in below image.
collection report generated

Click Here To Buy Nevino Lab Software

* The Content stated above is for informational purpose only. Expert Software Team is not responsible if any part of content found meaningless in any manner or condition.

How to generate Medical Test Report in Nevino Lab Software

For complete medical analysis every doctor needs medical report of a patient. So now we learn that how we can generate medical test report in nevino lab software. There are three ways to generate report (1) All Reports (2) Category wise report (3) Report with Summary. We will discuss all of them in this blog one by one.

Click Here To Buy Nevino Lab Software

How to edit Patient details in Nevino Lab Software<< Already gone through this page >>How to generate Daily Collection Reports in Nevino Lab Software

Step 1. On the main page of Nevino Lab Software click on ‘Patient’ icon as shown in image below.
lab main dashboard

Step 2. Now screen as below will appear where we will first click on ‘All Reports’ icon as indicated in the image.
nevino lab all reports option

Step 3. Now a new screen appears where you can see test report as per image below.
nevino lab test report

Step 4. Our Second option of generating report is ‘Category Wise report’ so click on its icon as indicated in below image.
nevino lab category wise report option

Step 5. When ‘Category Wise report’ icon is clicked then a new window will open as per below image.
nevino category wise report

Step 6. First we will see ‘Lipid Profile’ report without summary so select the test name and ‘Without Summary’ as below and click on ‘Generate Report’.
nevino lipid profile generate report

Step 7. Then medical report will appear on new window as per below image.
nevino lipid profile

Step 8. Next we will see medical report with summary by selecting ‘With Summary’ and click on ‘Generate Report’ as per image below.
nevino lipid profile report with summery

Step 9. The report for ‘Lipid Profile’ with summary will be of two pages as below.
nevino lipid profile report

nevino lipid profile

Step 10. Next we will see report for ‘Urinary Creatinine’ without summary by selecting its name, ‘without summary’ and click on ‘Generate Report’ as per image below.
nevino urinary creatnine report

Step 11. The report for ‘Urinary Creatinine’ without summary will look as shown in below image.
urinary createnine report summery

Step 12. Now we will see the report with summary for ‘Urinary Creatinine’ by selecting its name, ‘With Summary’ and click on ‘Generate Report’ as shown in below image.
nevino urinary generate report

Step 13. The report for ‘Urinary Creatinine’ with summary is shown in image below.
nevino urinary creatinine report with summery

Step 14. Our third option of generating report is ‘Report with Summary’ which is indicated in the image below. Click on this option to generate the report.
nevino report with summery option

Step 15. After clicking on ‘Report with Summary’ the report will be generated in new window as shown in below screen shot. Here the report for both the tests will be shown of 3 pages with summary.
nevino test report with summery

test report with summery nevino

test report with summery nevino lab

Click Here To Buy Nevino Lab Software

* The Content stated above is for informational purpose only. Expert Software Team is not responsible if any part of content found meaningless in any manner or condition.

How to edit Patient details in Nevino Lab Software

The details we have already entered about the patient may need to be change if required by the patient. There are two ways in which we can edit the patient details in Nevino lab software. First way is through ‘Booking’ option and second way is through ‘Patient’ option.

Click Here To Buy Nevino Lab Software

How to add Medical Test results in Nevino Lab Software<< Already gone through this page >>How to generate Medical Test Report in Nevino Lab Software

Step 1.We start with ‘Booking’ option, on main window of Nevino lab software click on booking as shown in image below.
nevino lab booking option

Step 2. A window as below will appear where you have to click on ‘Edit’ option as shown below.
nevino lab booking edit option

Step 3. Now we can edit any detail related to patient like personal details and test details where we can add new test through ‘Select Test’ and remove the test through ‘delete’ option.
nevino lab booking edit window

Step 4. Our second way to edit the patient details is by clicking on ‘Patient’ option as shown below.
nevino lab patient option

Step 5.Then a window will appear as shown below.
nevino lab patient

Step 6. Now click on ‘Edit’ option as indicated in image below.
lab patient edit option nevino

Step 7.A new window will open as shown below where you can edit the patient details as well as you can also add the test results by selecting the name of test below and click on ‘Save’ button to save the details.
nevino lab patient edit

Click Here To Buy Nevino Lab Software

* The Content stated above is for informational purpose only. Expert Software Team is not responsible if any part of content found meaningless in any manner or condition.

How to add Medical Test results in Nevino Lab Software

Medical report of a patient is an important part of Medical Lab, for that we first need to enter the test result in software. So now we learn how to add medical test result.

Click Here To Buy Nevino Lab Software

How to make Booking for Patient’s medical test<< Already gone through this page >>How to edit Patient details in Nevino Lab Software

Step 1. On the main page of Nevino Lab Software click on ‘Booking’ icon as indicated in image below.
nevino lab booking icon

Step 2. A new window will appear as below. As we want to add test results for patient ‘Ram Kumar’ so we will click on ‘Lab Test’ as indicated in image below.
nevino lab test option

Step 3. Now on a new screen you will see the List of Tests under the patient details as below screen shot. You can also see the tests in details by clicking on ‘Toggle Show/Hide All’ available on top as shown below.
nevino patient detail and test

Step 4. For example we want to add test results for ‘LIPID PROFILE’ and ’24 HRS. URINARY CREATININE’. First we will add result for ‘LIPID PROFILE’ so click on it then its window will expand and will look like as shown below.
nevino lipid profile

Step 5. Now we will enter the test results in blank boxes provided as shown in below screen shot.
nevino lipid profile filled

Step 6. Our next test result is ‘24 HRS. URINARY CREATININE’ so click on ‘24 HRS. URINARY CREATININE’ and its window will expand as shown below.
nevino urinary creatinine

Step 7. Now we will enter the test results in blank boxes provided as per below image.
nevino urinary creatinine filled

Step 8. After adding both test results click on ‘Save’ button provided above as per below image.
nevino test results save button

Step 9. On the click of ‘Save’ button all entered details will be saved and new window will appear as below.
nevino test results added

Click Here To Buy Nevino Lab Software

* The Content stated above is for informational purpose only. Expert Software Team is not responsible if any part of content found meaningless in any manner or condition.

How to make Booking for Patient’s medical test

We can also make booking for patient’s medical test as per requirement of the lab. So please follow below steps to know how to make booking for patient’s medical test.

Click Here To Buy Nevino Lab Software

How to add patient in Nevino Lab Software<< Already gone through this page >>How to add medical test results in nevino lab software

Step 1. On the main window of Nevino Lab Software click on booking as shown in below image.
nevino lab booking icon

Step 2. The window as below will appear where you have to click on ‘Add New’ button.
nevino lab booking add button

Step 3. On the click of ‘Add New’ button a new screen will be displayed as per below screen shot.
nevino lab add booking window

Step 4. Now we will enter the name of the patient as shown below.
nevino enter patient name

Step 5. Next box is for age of the patient and we will enter it as shown in image below.
nevino enter patient age

Step 6. In the next column we will enter the gender of the patient as shown in image below.
nevino enter patient gender

Step 7. Now we will select the test for which patient is looking for. For example patient want two test Lipid Profile and Urinary Creatinine so we select them one by one. First select Lipid profile by typing its name as shown in below image.
nevino select patient test

Step 8. Here you can see the Lipid test appearing at last in the drop down list, select it from there and it will be shown as in below image.
nevino patient test selected

Step 9. Now type name of the second test Urinary Creatinine as shown below.
select patient test nevino

Step 10. Select it from the drop down list and then it will be added in the test’s list for patient as per image below.
nevino patient test selected

Step 11. In case, if you have selected the wrong test then you can click on ‘delete’ option appearing on the right side of test name as indicated in below image.
nevino patient test delete

Step 12. Our next step is to save the data and for that we will click on ‘Save’ button as shown in image below.
nevino patient save button

Step 13. On the click of ‘Save’ button data will be saved and a new window will open as shown in image below.
nevino patient details added

Click Here To Buy Nevino Lab Software

* The Content stated above is for informational purpose only. Expert Software Team is not responsible if any part of content found meaningless in any manner or condition.

How to add Patient in Nevino Lab Software

Every medical test report contains the Patient’s name so it is important that we must know how we can add patient’s name in nevino lab software.

Click Here To Buy Nevino Lab Software

How to edit Doctor’s details in Nevino Lab Software<< Already gone through this page >>How to make Booking for Patient’s medical test

Step 1. In Nevino Lab Software click on ‘Patient’ icon as indicated in image below.
nevino lab main menu

Step 2. A window shown as below will appear by clicking on ‘Patient’ icon.
nevino patient main window

Step 3. Now click on ‘Add New’ button as indicated in below screen shot.
nevino patient add button

Step 4. A new screen will appear as below where we can add the details of patient.
nevino patient detail

Step 5. We start with ‘Name’. Enter the patient name for example ‘Ram Kumar’ in the blank box provided in front of Name as shown in image below.
nevino patient name

Step 6. Next we will enter the patient’s age as per below image.
nevino patient age

Step 7. Next we will enter the ‘Gender’ of the patient as shown in image below.In ‘Ref. By:’ Doctor’s name is displayed from whom patient is referred.
nevino patient gender

Step 8. As per requirement we can add other details also and after that we will click on ‘Save’ button as indicated in below image.
nevino patient save button

Step 9. On the click of ‘Save’ button details of patient will be saved and will be displayed on new window as per below image.
nevino patient name added

Click Here To Buy Nevino Lab Software

* The Content stated above is for informational purpose only. Expert Software Team is not responsible if any part of content found meaningless in any manner or condition.

How to edit Doctor’s details in Nevino Lab Software

When we have added Doctor’s details in nevino lab software, it might be possible that in future there could be change in details so for that we can use ‘Edit’ option. So now we learn how to edit doctor’s details in nevino lab software.

Click Here To Buy Nevino Lab Software

How to add doctor name in Nevino lab software<< Already gone through this page >>How to add patient in Nevino Lab Software

Step 1. On the Doctor Master window click on ‘Edit’ button as shown below.
nevino doctor edit button

Step 2. On click of edit button a window as below will appear where you can change any detail and again click on ‘save’ button after change in details.
nevino doctor edit window

Step 3. Again the window as below will appear where we can see ‘Unapprove’ button which is use to ‘Approve’ or ‘Unapprove’ the doctor. Here ‘Approve’ means Doctor’s name will be listed with patients name and ‘Unapprove’ means Doctor’s name will not be listed with patients name.
doctor approve button

Step 4. If we want to delete the record of doctor we can click on ‘Delete’ button as shown below.
nevino doctor delete button

Step 5. When the delete button clicked the row will be deleted and window will appear as below.
nevino doctor record deleted

Click Here To Buy Nevino Lab Software

* The Content stated above is for informational purpose only. Expert Software Team is not responsible if any part of content found meaningless in any manner or condition.